
You may or may not care about this, but sometimes it physically upsets me when I see gears stuck together haphazardly, with no concern for whether their teeth interlock. I mean, what do you do with non-interlocking gears?
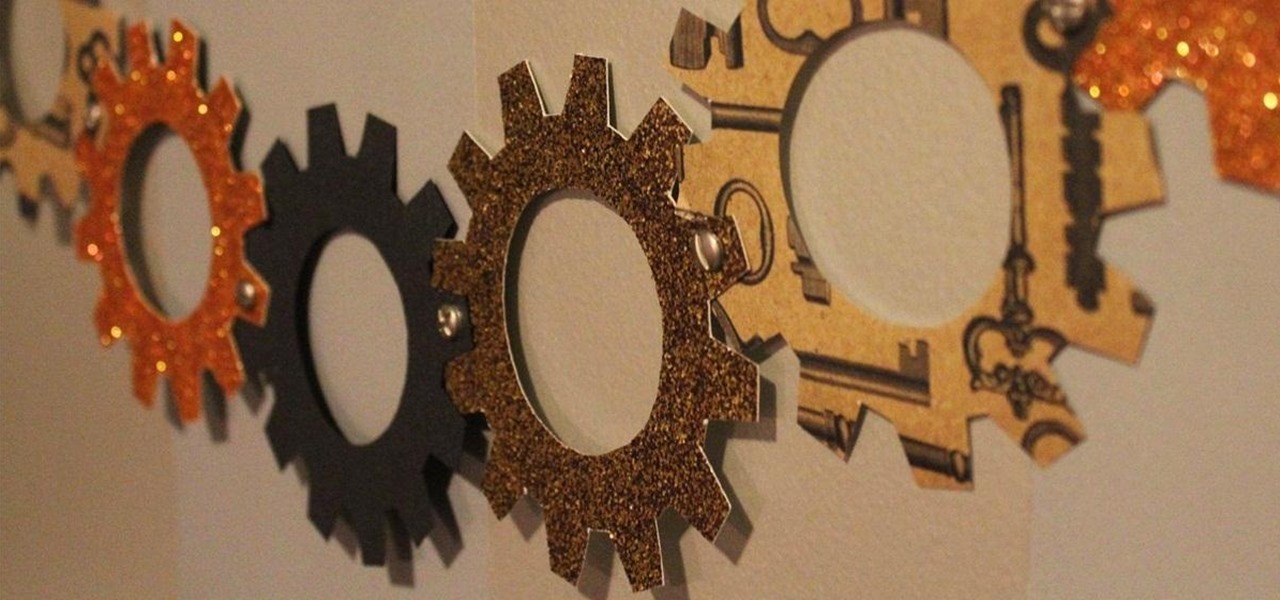
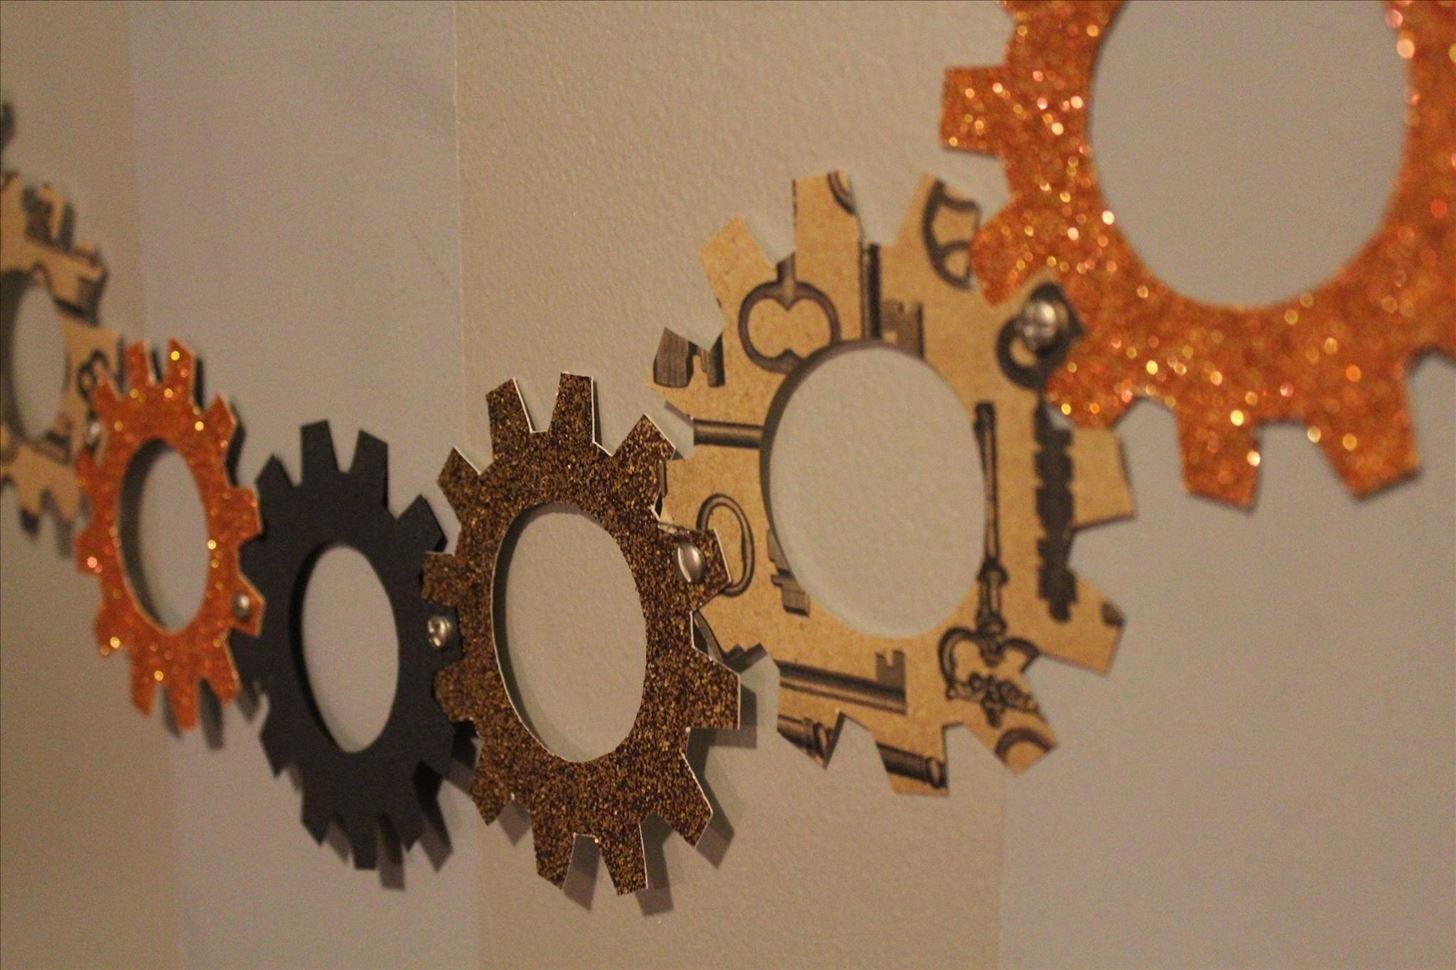
So when I sat down to design a paper chain of gears, I specifically wanted to make it so their teeth lined up properly. Here's what I ended up with:
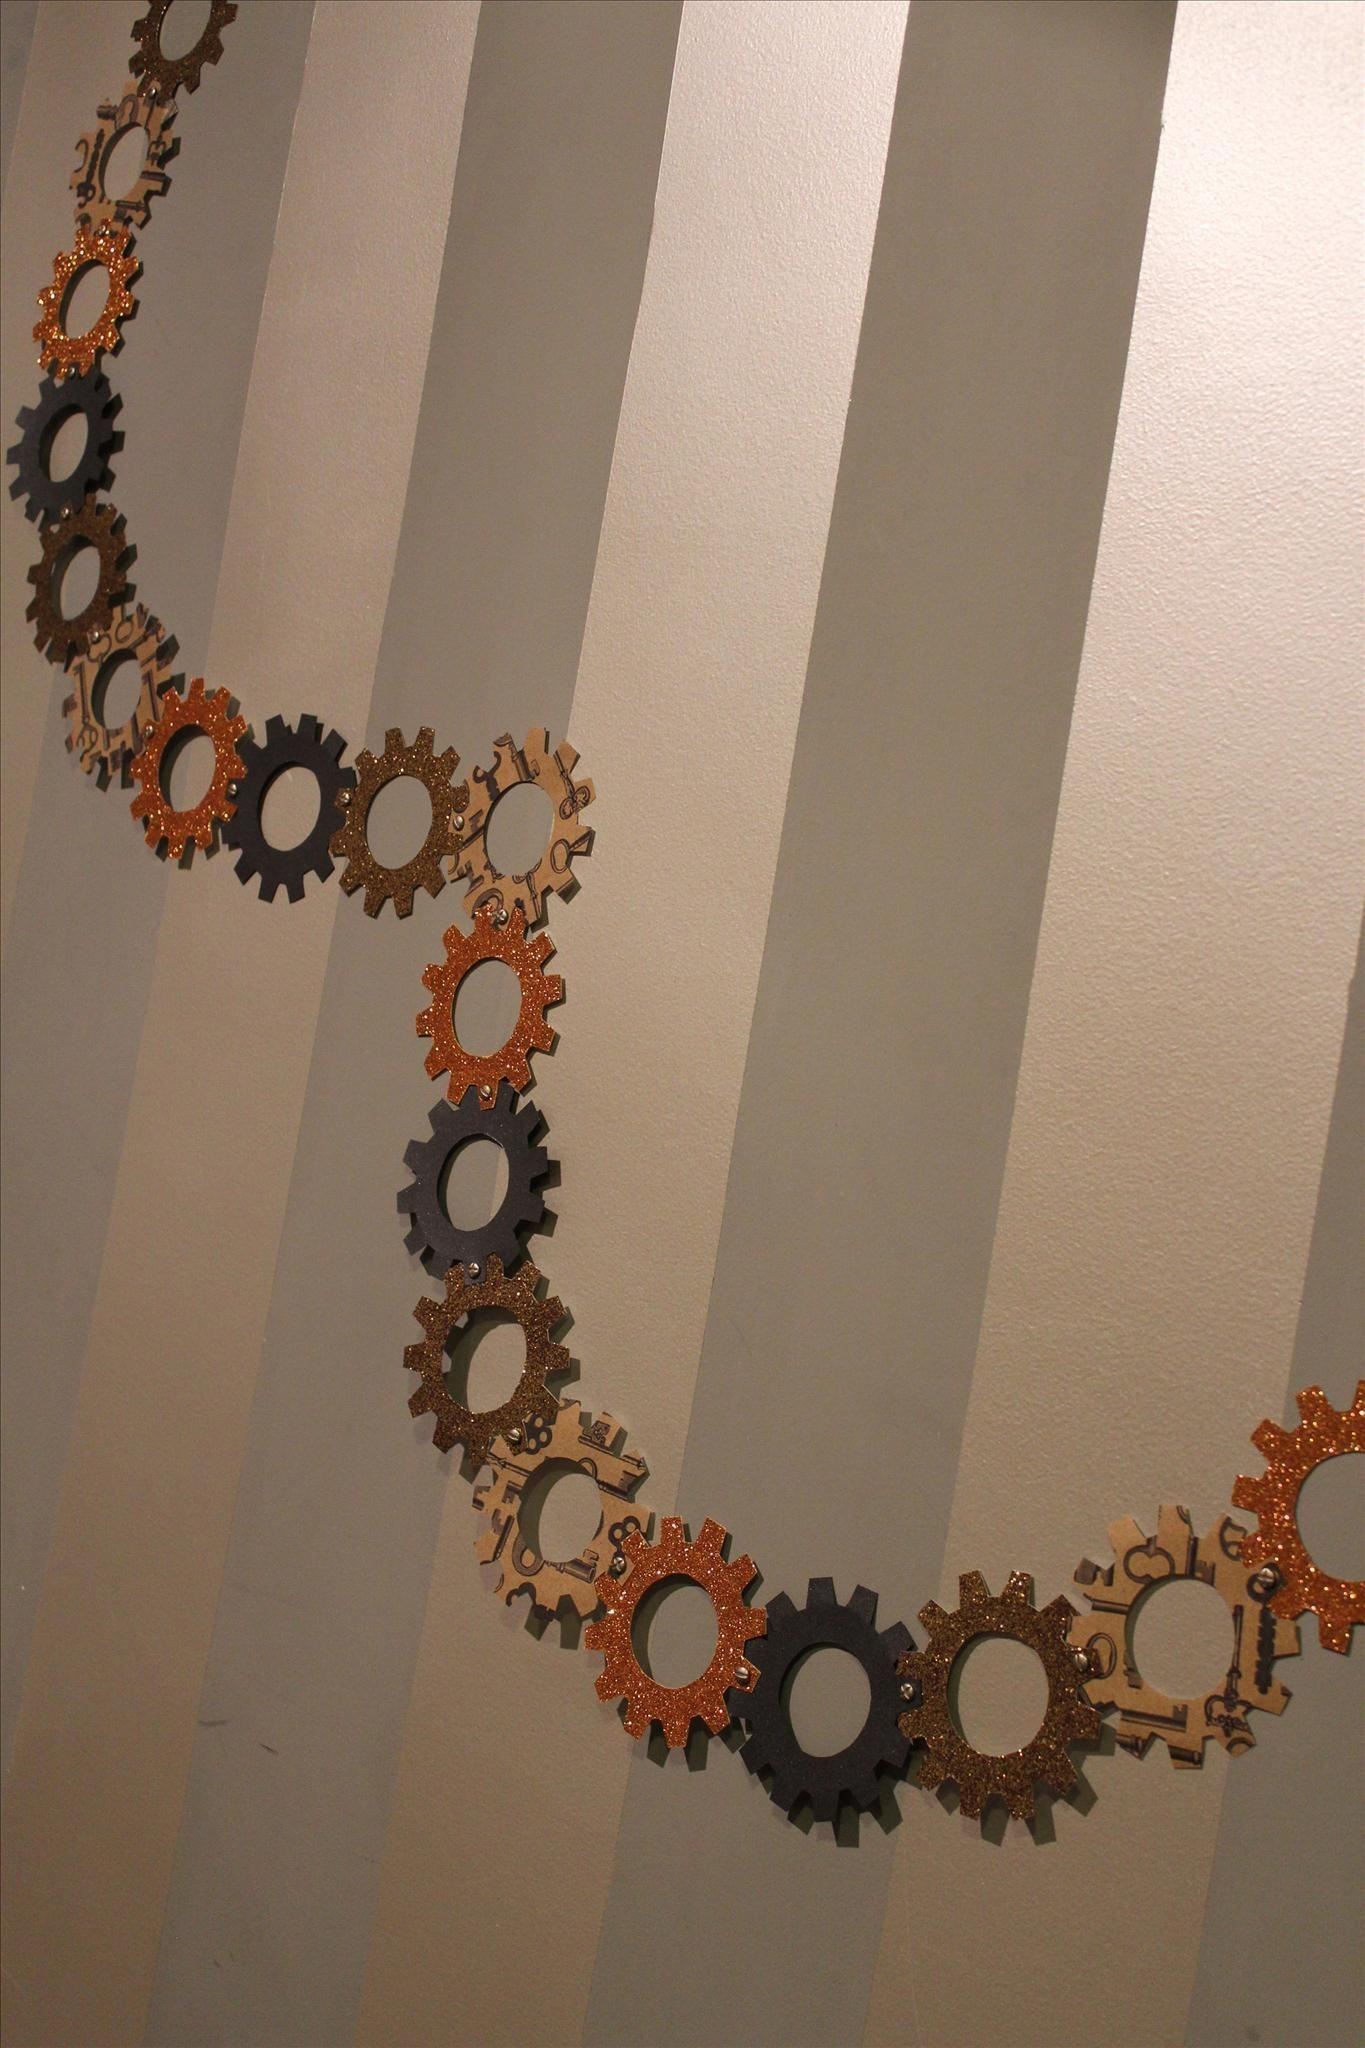
Here are some detail shots:


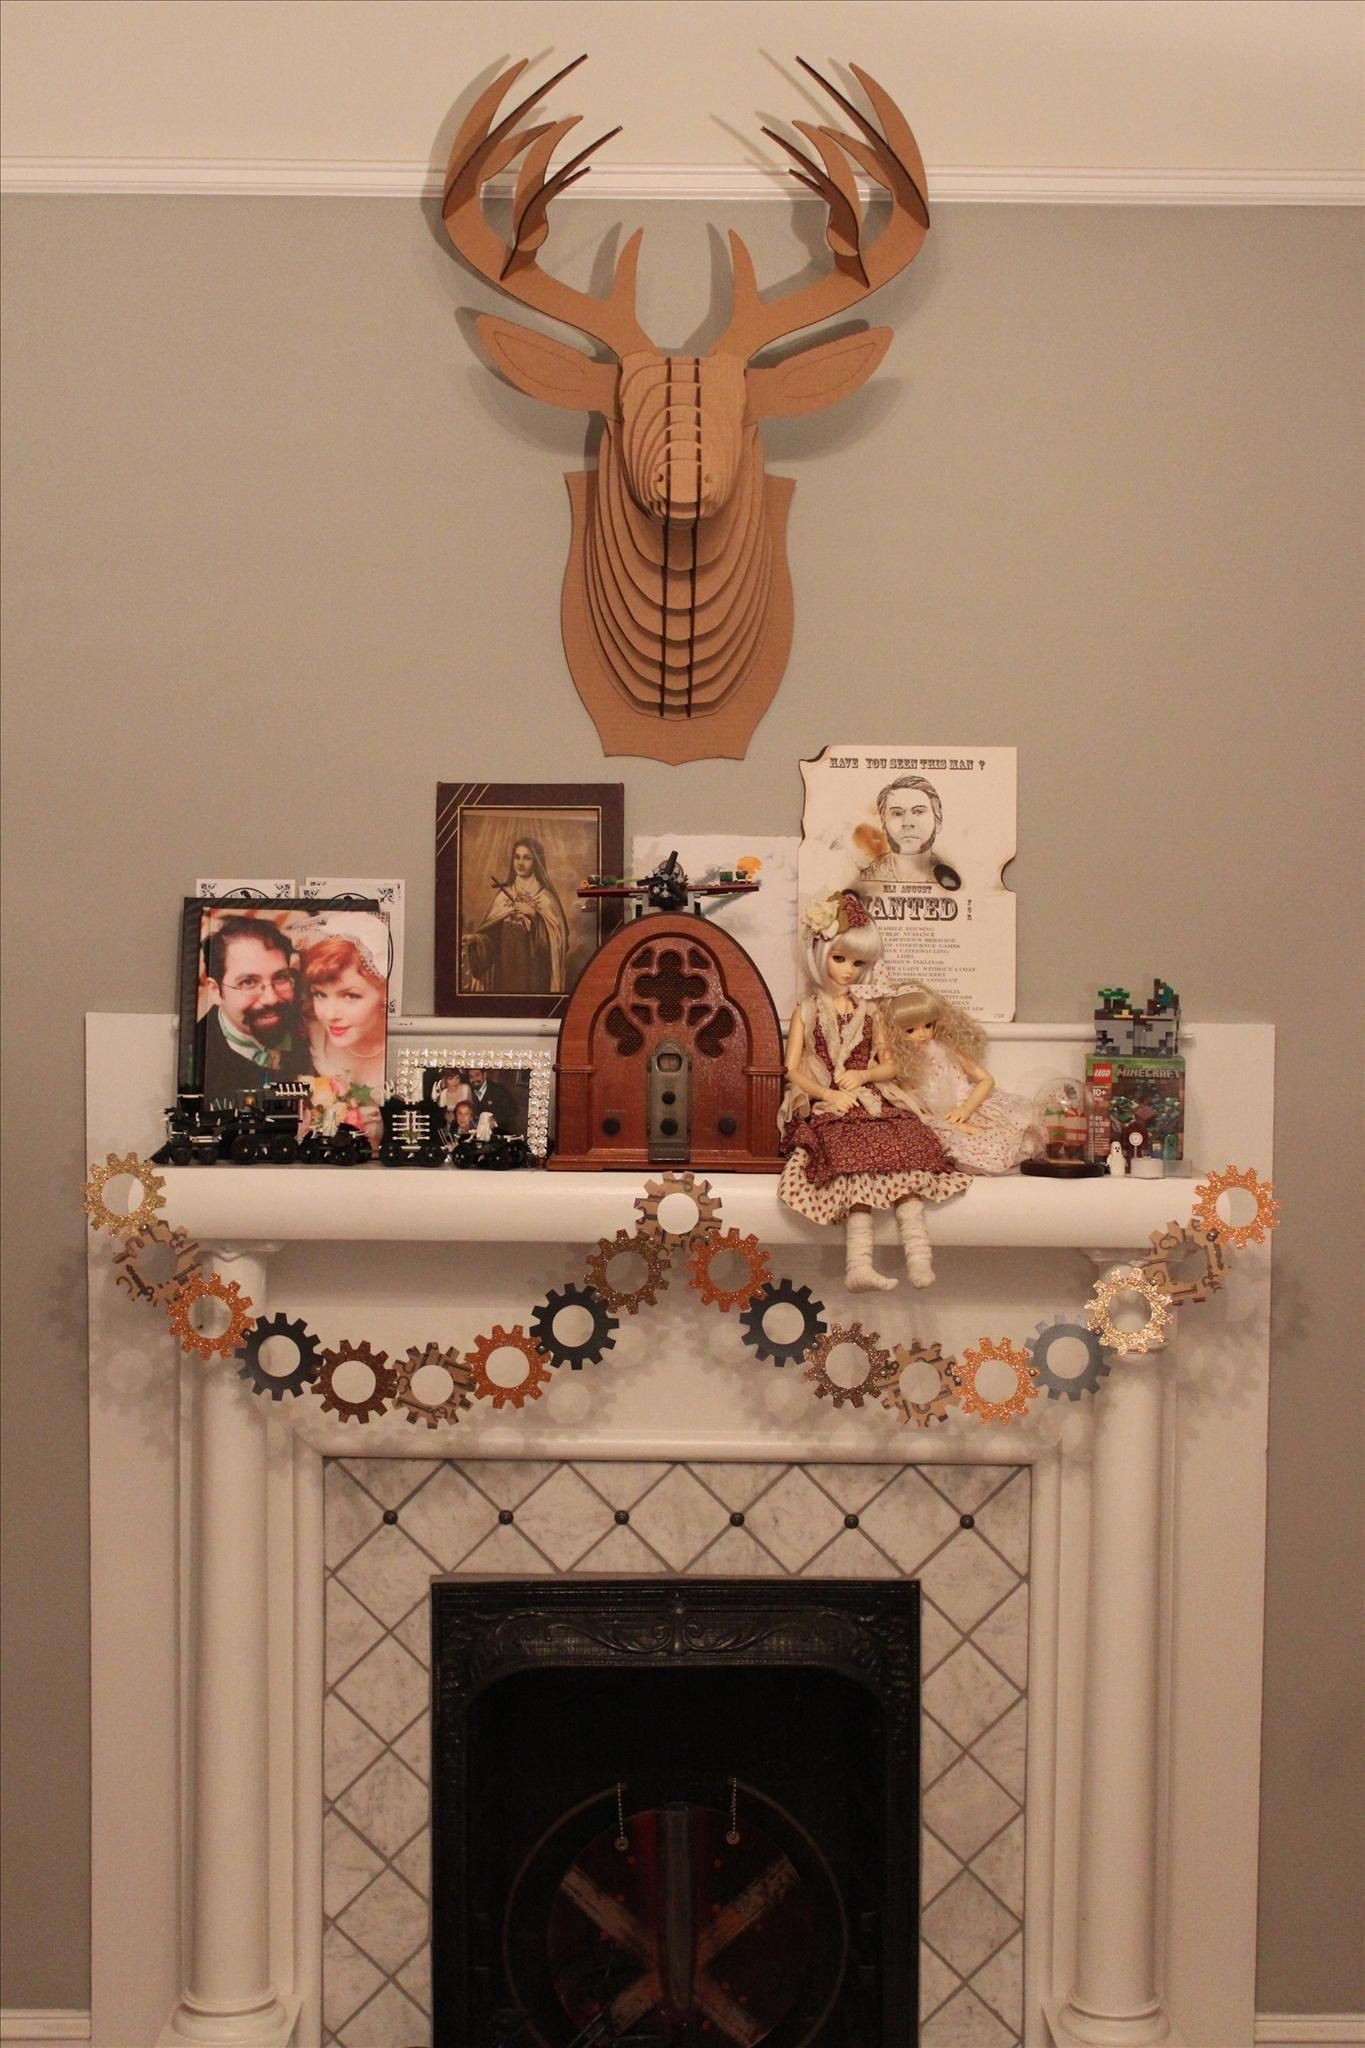
This is a really easy project, and it can quickly make your house much more festive for the holidays, whether it's Halloween, Thanksgiving, or whatever!
How to Make Them
I just bought some paper at the local craft store, along with some brads. I found really cool ones that look like screws! Yeah, those are actually brads, not screws! Here's the package, in case you're curious.
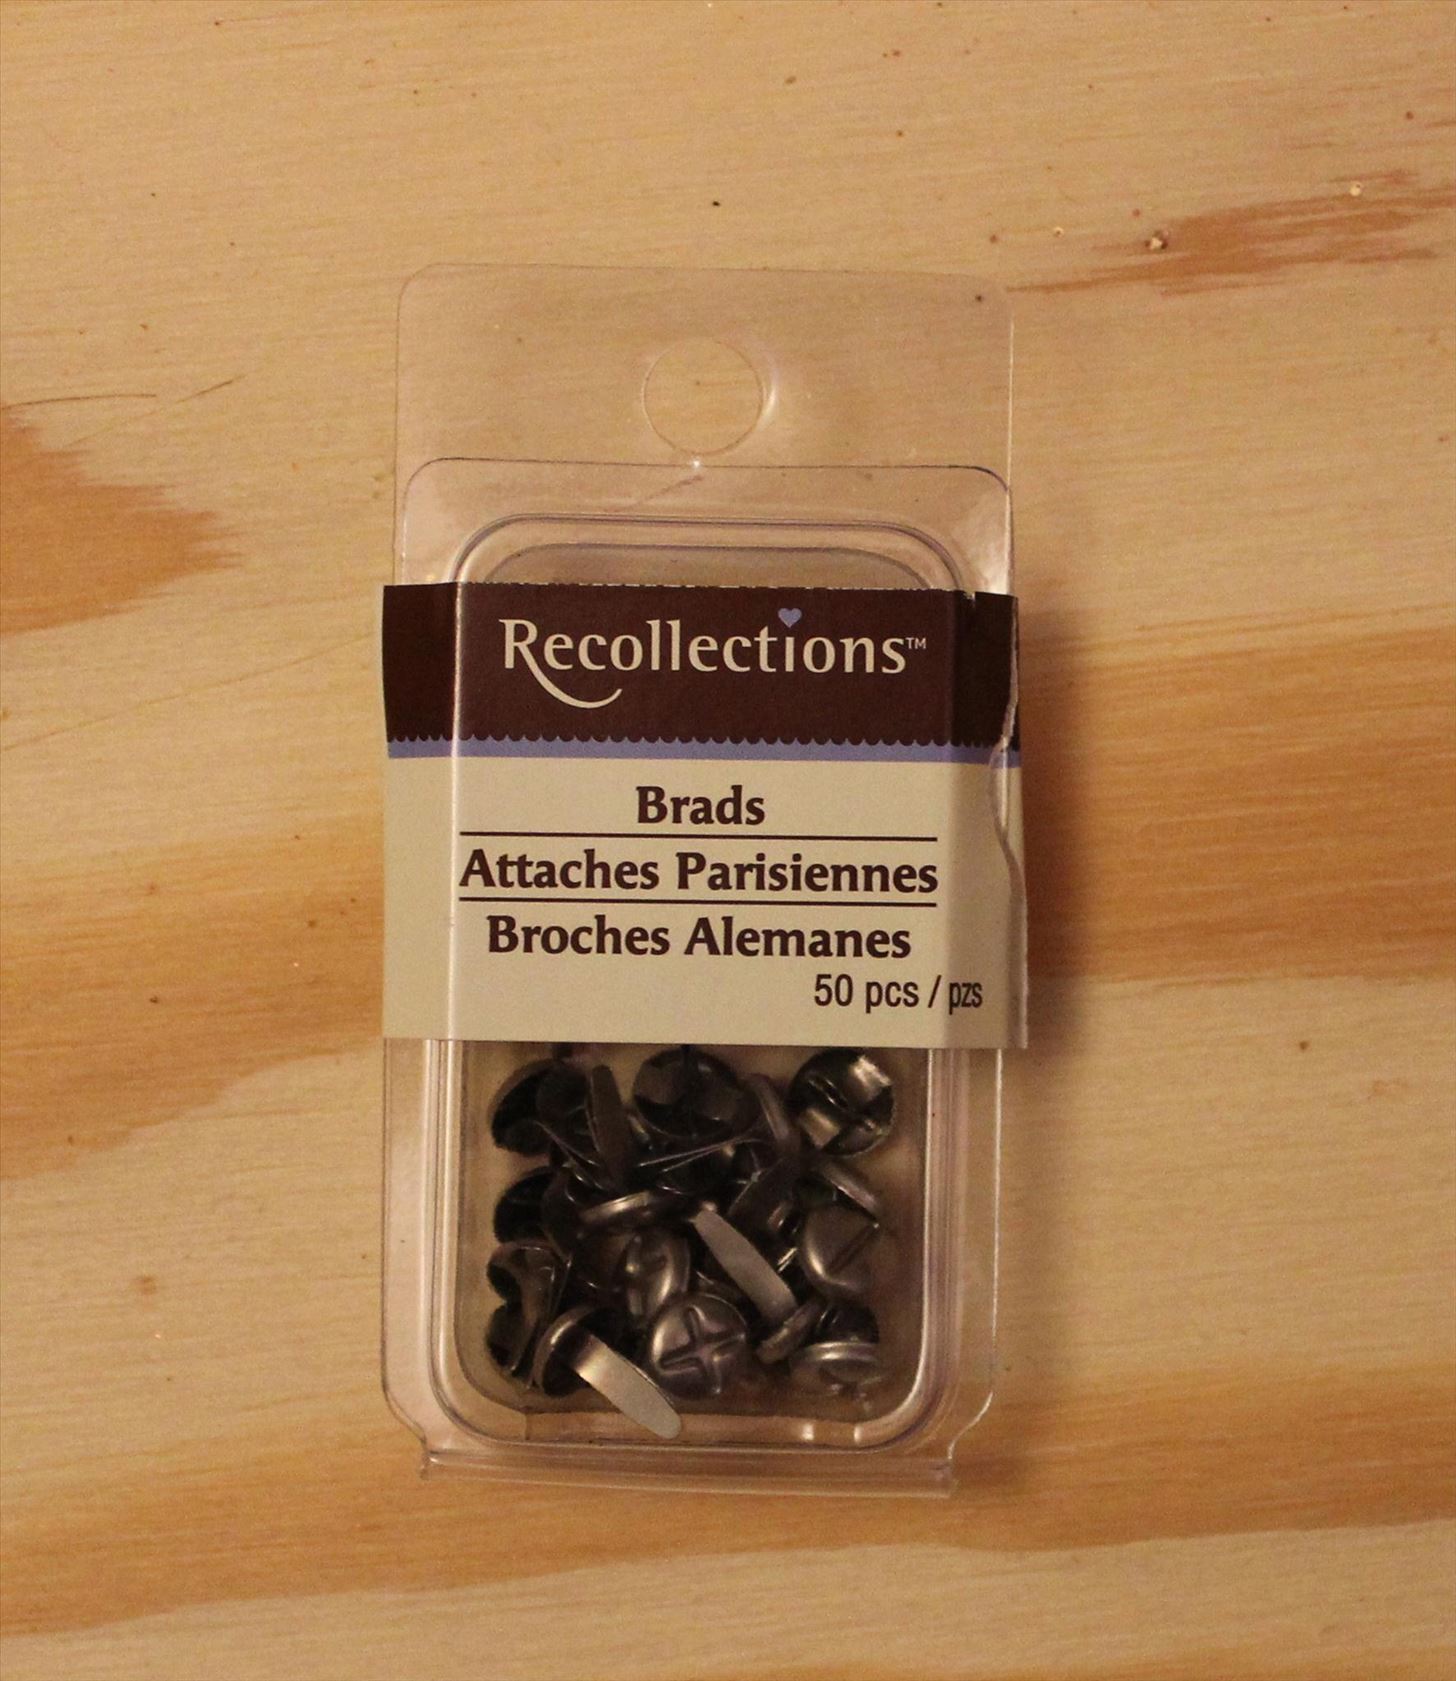
So paper, brads, and a pair of scissors is all you need! Well, a printer too, if you want to make life easier.
Step 1: Print Out This Pattern
I made this pattern myself because I couldn't find anything like it on the internet. The simple trick behind making these gears interlock is the tab located between two of the teeth.
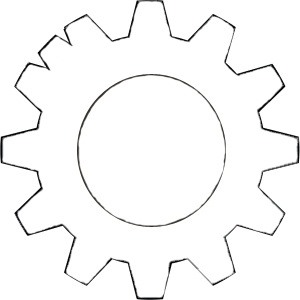
So, print out the above pattern. When properly sized, about four of them should fit on a regular piece of printer paper. Of course, you can adjust the size however you want. If you want bigger gears, make them bigger. Smaller gears...make them smaller.
Step 2: Cut It Out
If you're using thin paper, you can fold it into quarters and cut out four of these bad boys at a time. Otherwise you're stuck doing them all individually. It can be a little time-consuming that way, but it's not that bad. Do it while you're watching TV.
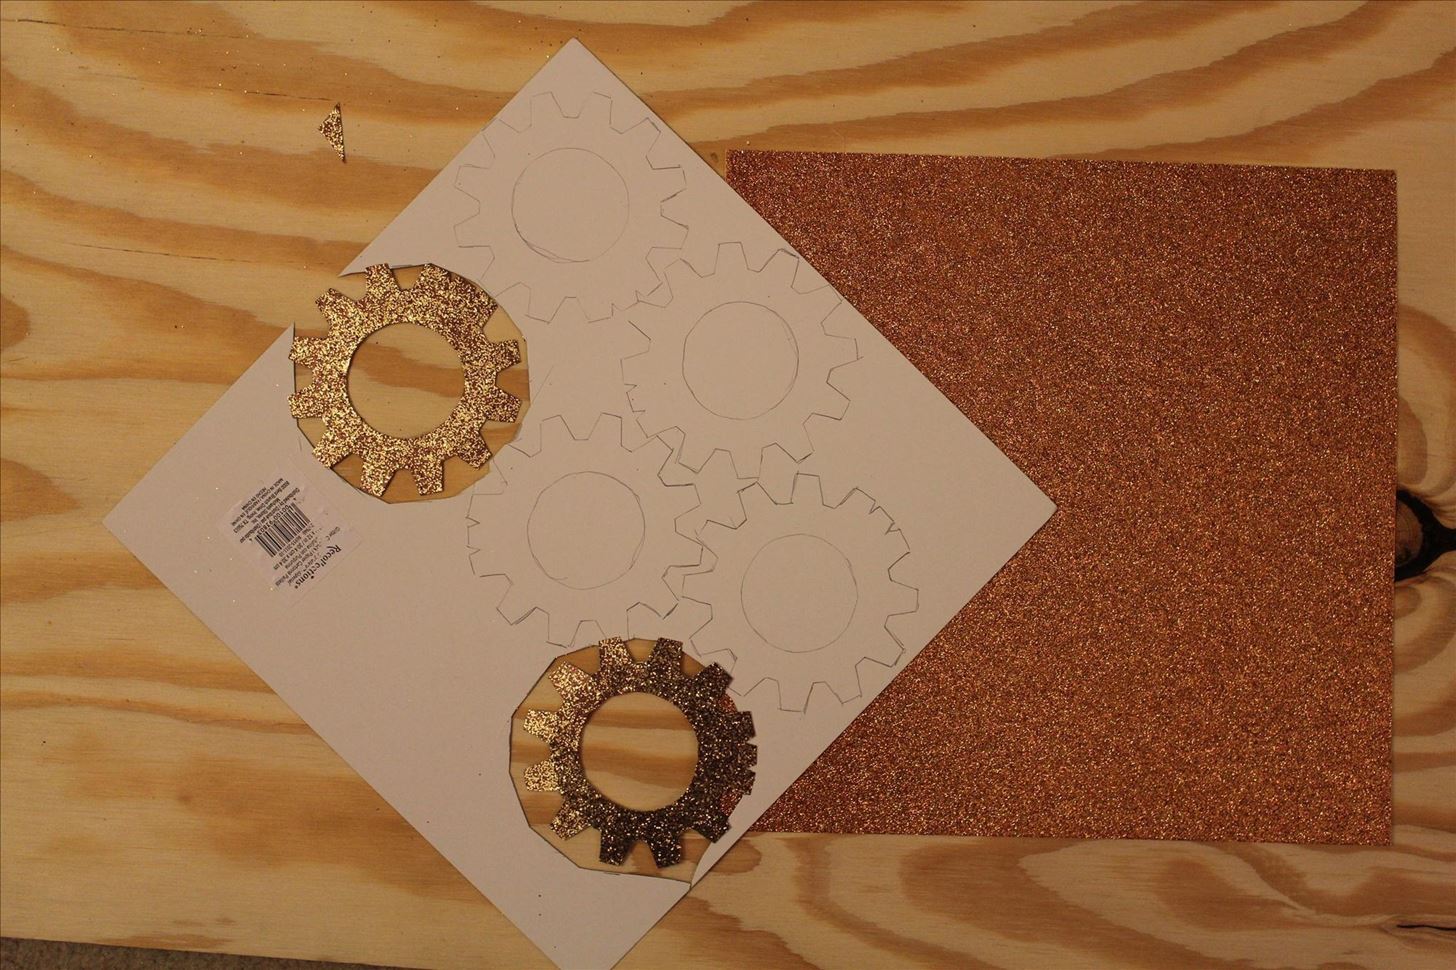
If you're using paper that's too thick to print on, cut one out and use it as a physical pattern to trace onto your other paper. That's what we did:
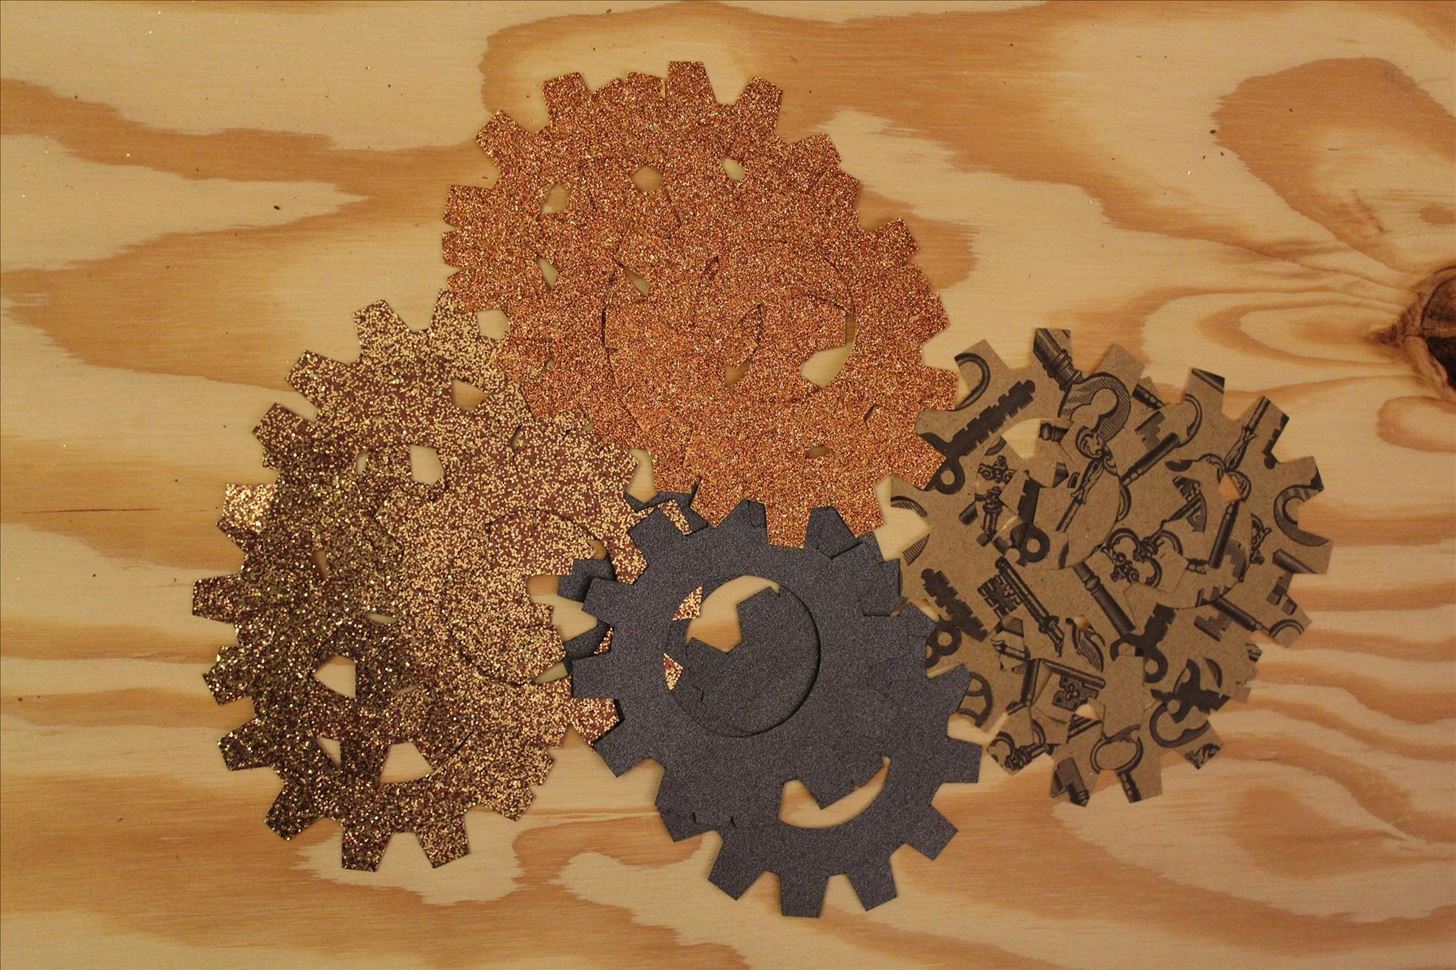
We used four different types of paper, and only four sheets were sufficient for a pretty long length of chain. Here are all of our gears:
Step 3: Attach Them to Each Other
Once the cutting is done, this is the easy part. That said, make sure you attach them properly. That's the trick to making sure they look like they're interlocking.
The extra tab that's between two teeth always goes underneath the tooth you're attaching to it. Also, make sure you choose the right tooth so that your chain curves the way you want it. Otherwise your paper will bend and be off-kilter.
No one wants off-kilter paper.
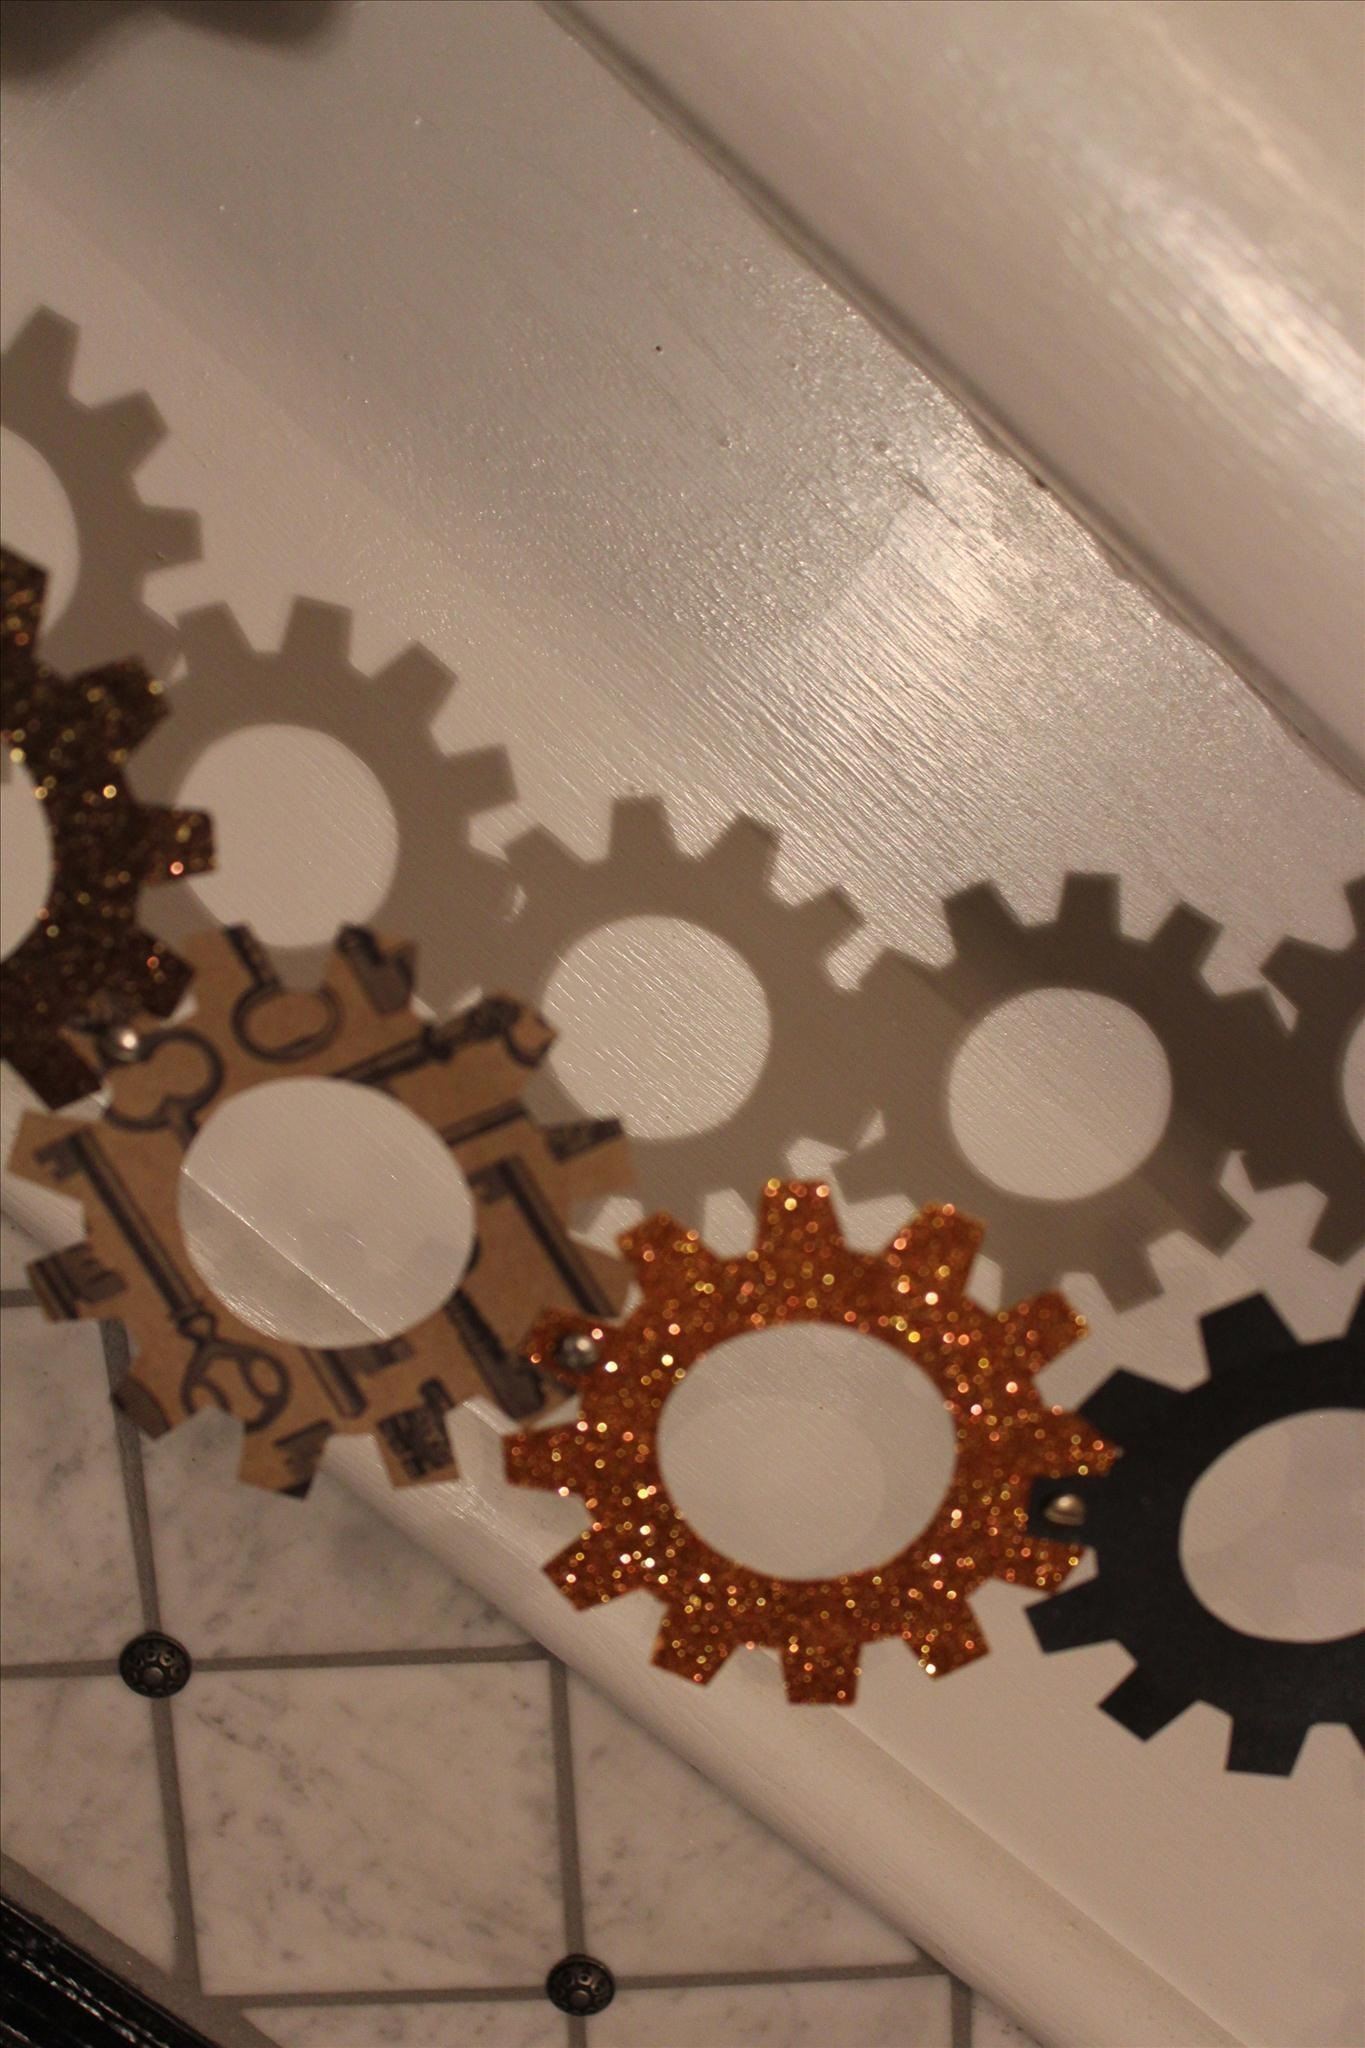
Look closely at this detail shot to see how we attached them.
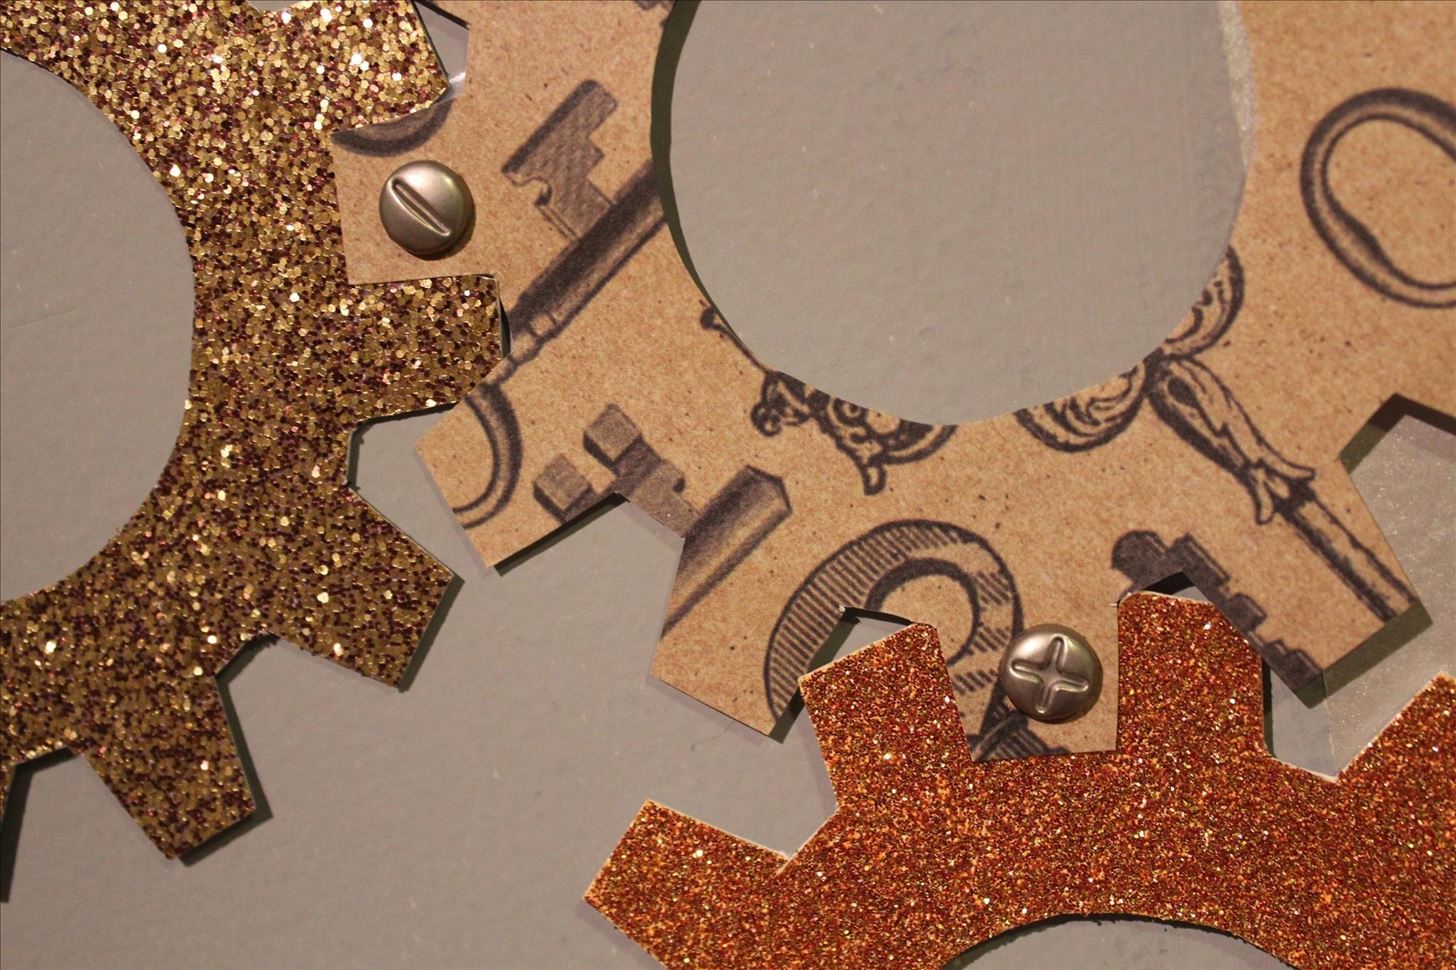
Note that at each point of attachment, it's a plain tooth covering up a tab. Just insert a brad at the space where the two gears overlap, and that will hold them together pretty well.
If you ever have a situation where you don't use the extra tab, such as on the ends, just cut it off! It's really that easy, and it gives the illusion of being a chain of interlocking gears.
Choose Halloween colors, like we did, and it's great for Halloween! But you could just as easily choose different colors and use these as Christmas or Thanksgiving decorations.
I hope you like my pattern, and if you use it to make a gear chain, please share the pictures with me here at Steampunk R&D!
Just updated your iPhone? You'll find new emoji, enhanced security, podcast transcripts, Apple Cash virtual numbers, and other useful features. There are even new additions hidden within Safari. Find out what's new and changed on your iPhone with the iOS 17.4 update.


3 Comments
Really cool. Really simple. The paper you used looks like different kinds of sandpaper.
Thanks, Justin!
Yeah, it's glitter paper from the craft store. It really adds a little extra something to every decorative project, though the glitter does make it a little rough like sandpaper. =)
Very good. These Steampunk paper gears are very well. Will surely apply this at home.
Share Your Thoughts