
What I'm going to do in this tutorial is, as the title implies, teach you how to make nearly anything look like metal. This can especially come in handy in Steampunk, as most of us don't have the ability to machine brass. We do, however, have access to wood, PVC, and spray paint. Not to mention that, as a costumer, I can speak from personal experience when I say that things made of brass are really, really, really heavy!
Since I don't have a prop that I'm working on at the moment, I decided that what I would do is take a scrap piece of wood and demonstrate the technique on it. I chose wood because it's one of the most difficult surfaces to make look like metal, due to the grain of the wood. I chose a flat piece because I don't hate myself. While you can make any shape look like metal, the odder the shape is, the harder it gets. This includes chair legs, as well.

Before I move on to the actual tutorial part of the article, let me take a moment to explain a bit about wood. The grain in wood is essentially where the sap flows through it. As such, it's harder than the surrounding area. What this means is that when you're sanding wood, you have to take extra care to sand down the grainy bits, or else your wood will be bumpy. This doesn't happen as much when you're using a sander with a big sanding area, but it happens all the time when you're sanding with a Dremel. This is important, because the bumpier it is, the harder it is to make it look like metal.
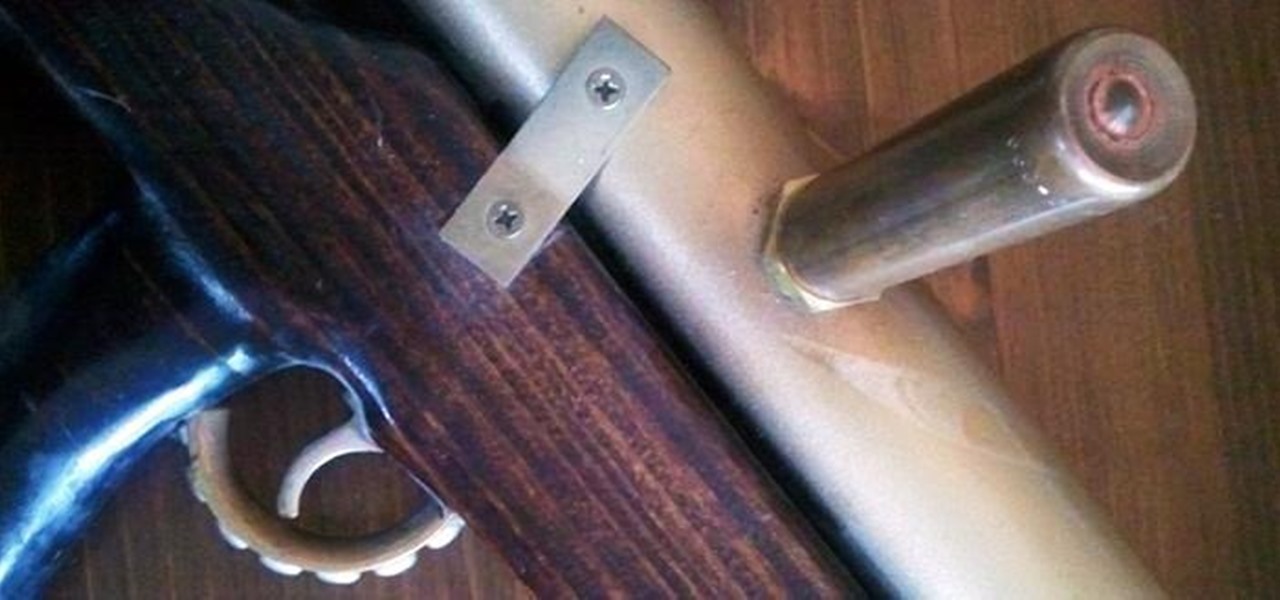
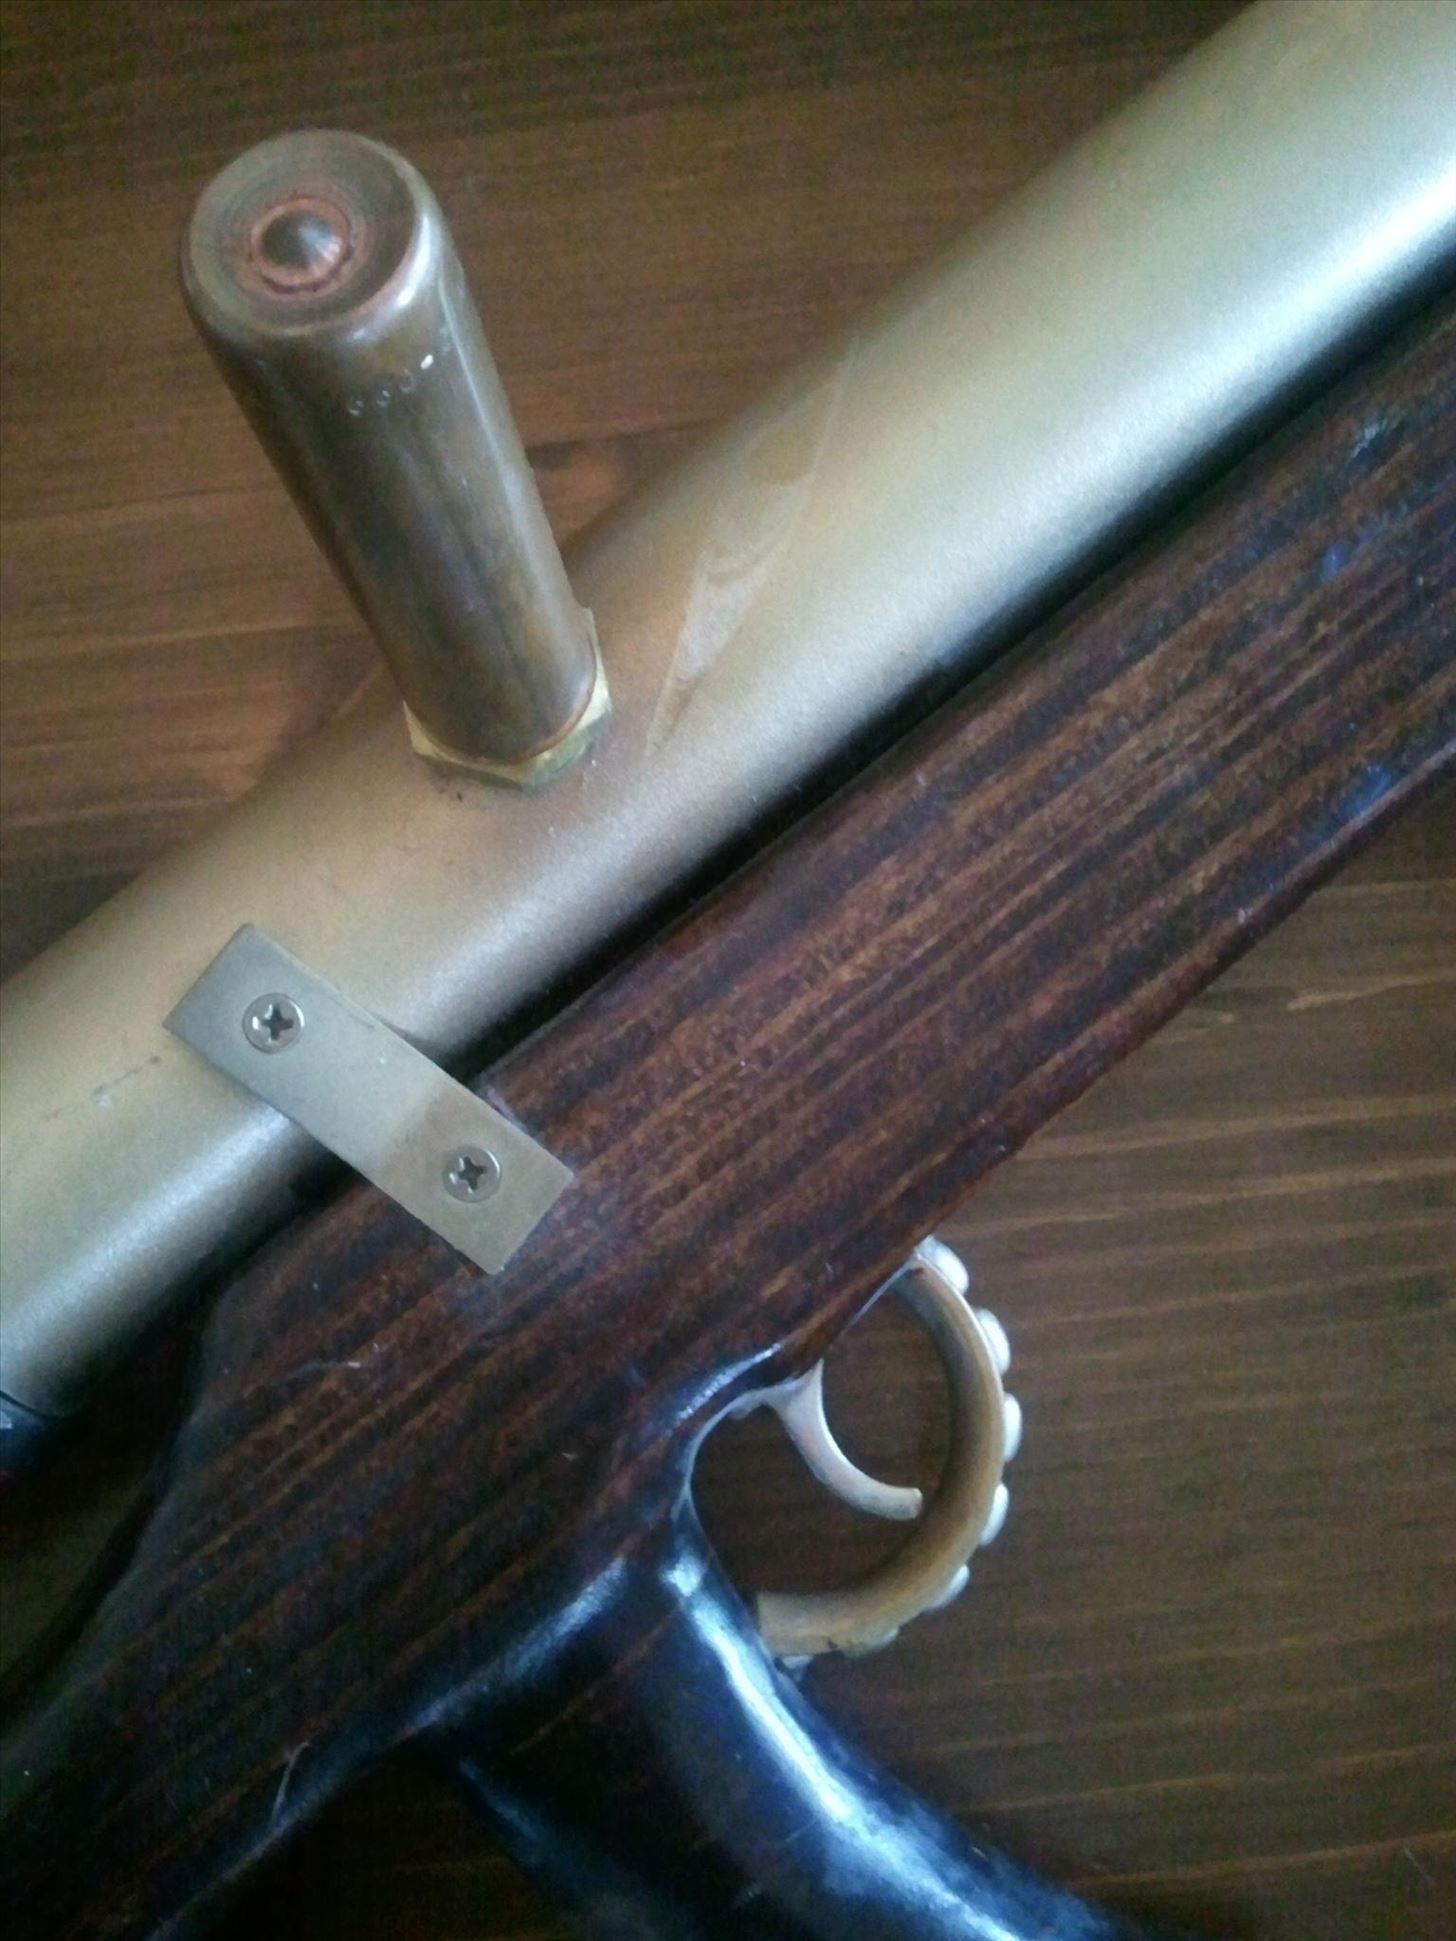
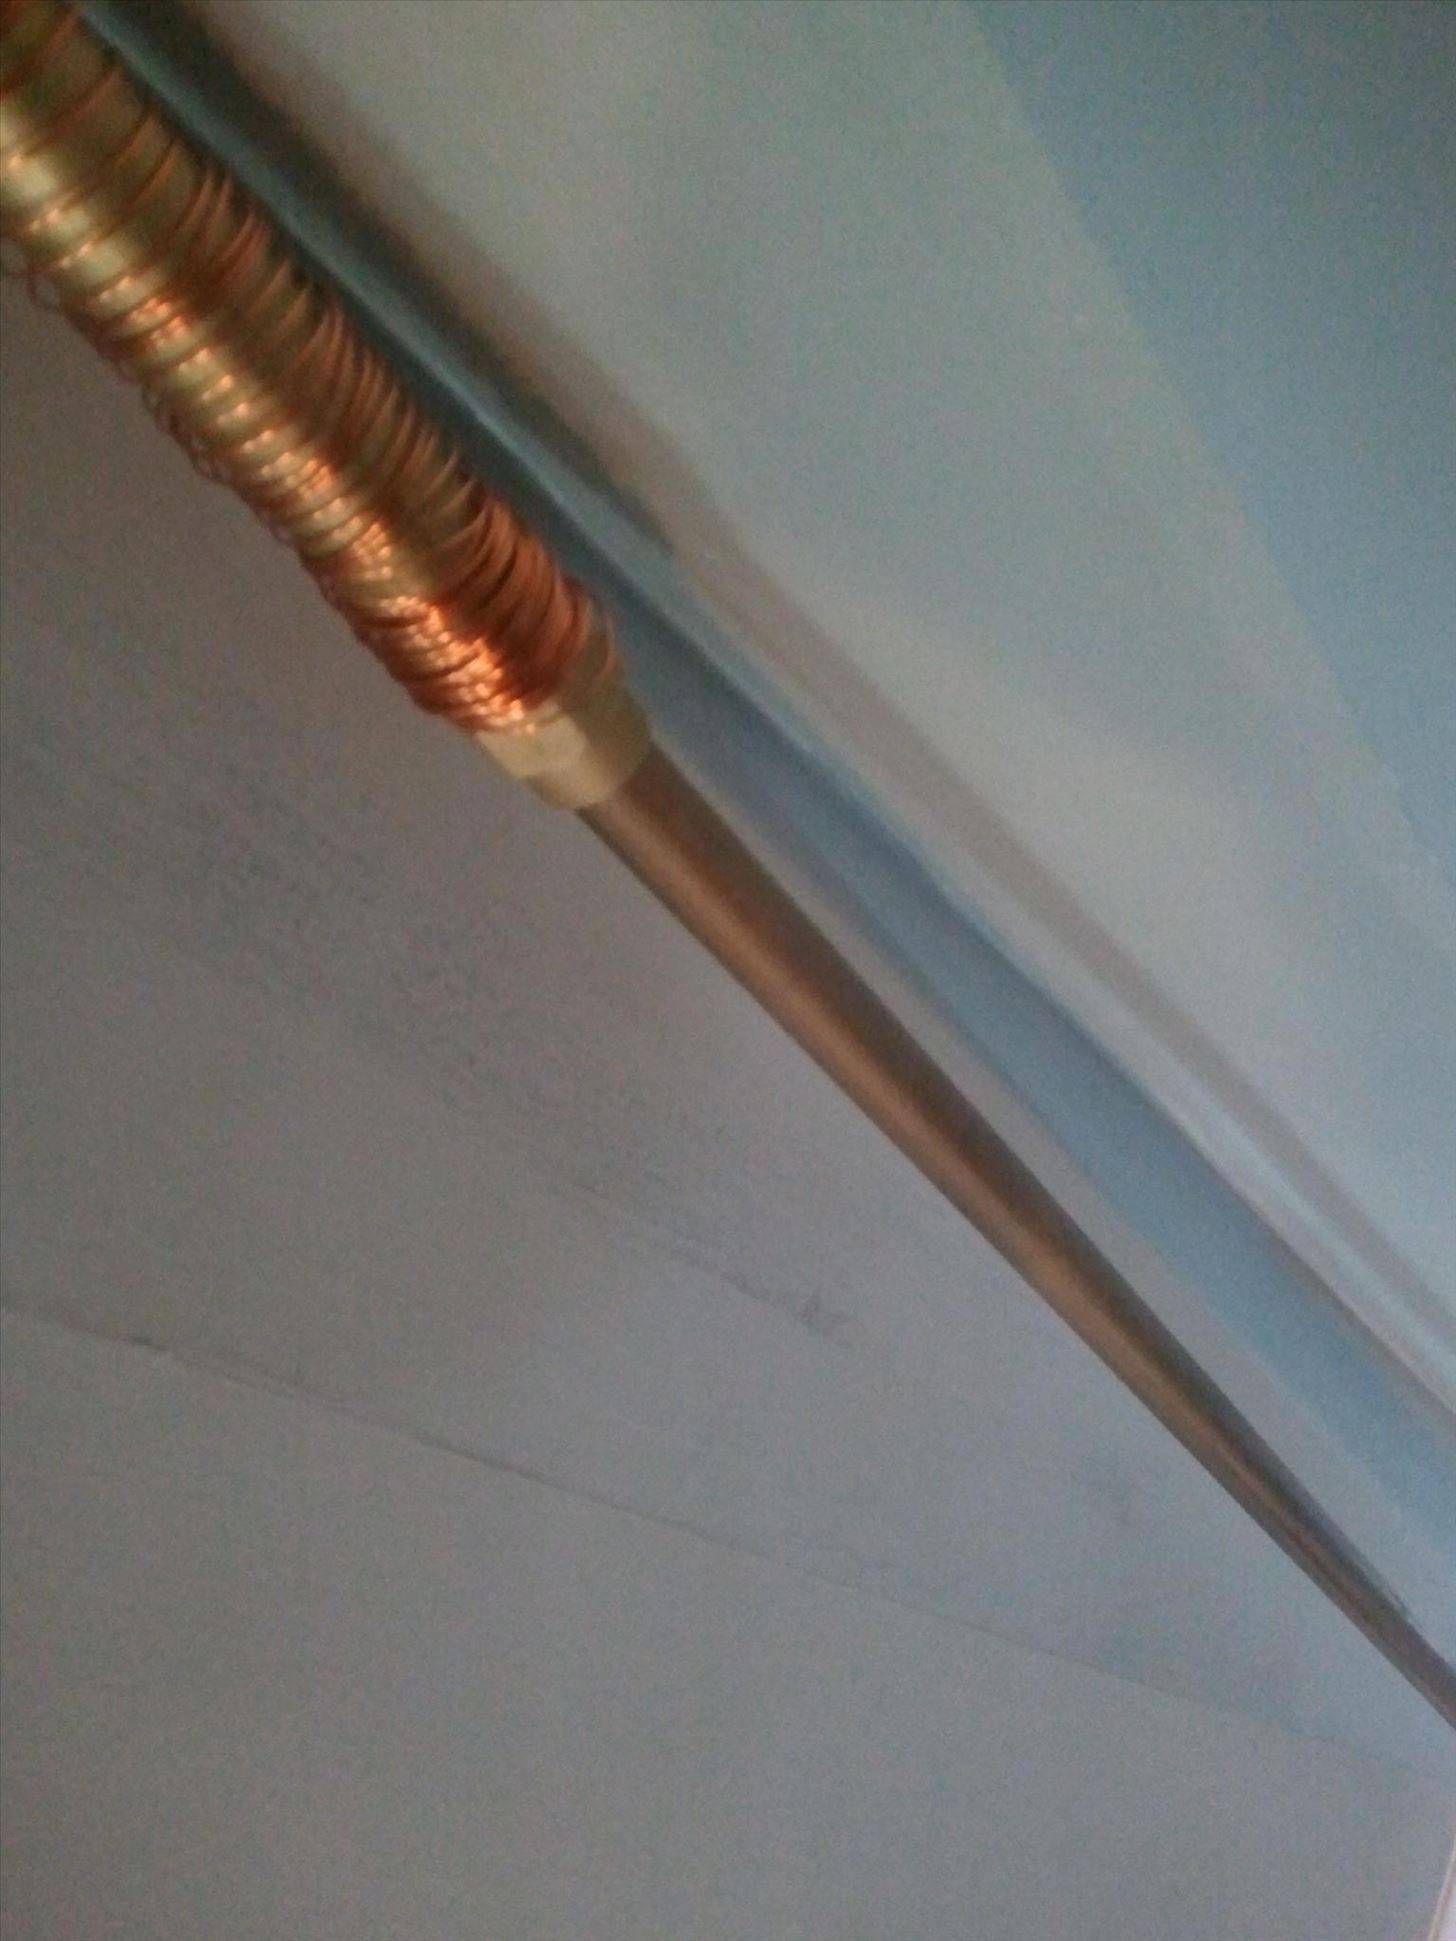
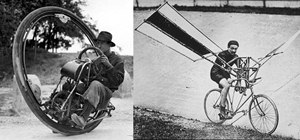
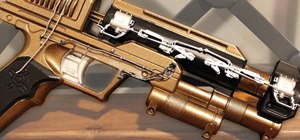
Let me also take a moment to show you what this technique can look like, when properly applied. Bear in mind that I'm not the most talented craftsman in the world; in fact, up until just a few years ago, I was convinced that I couldn't do any art at all. So if I can do this, you can, too! In the below picture of a Steampunk sub-machine gun that I made a few years ago, the entire barrel of the gun is PVC. Note how similar it looks to the rectangular, screwed-in bits which are actually brass.
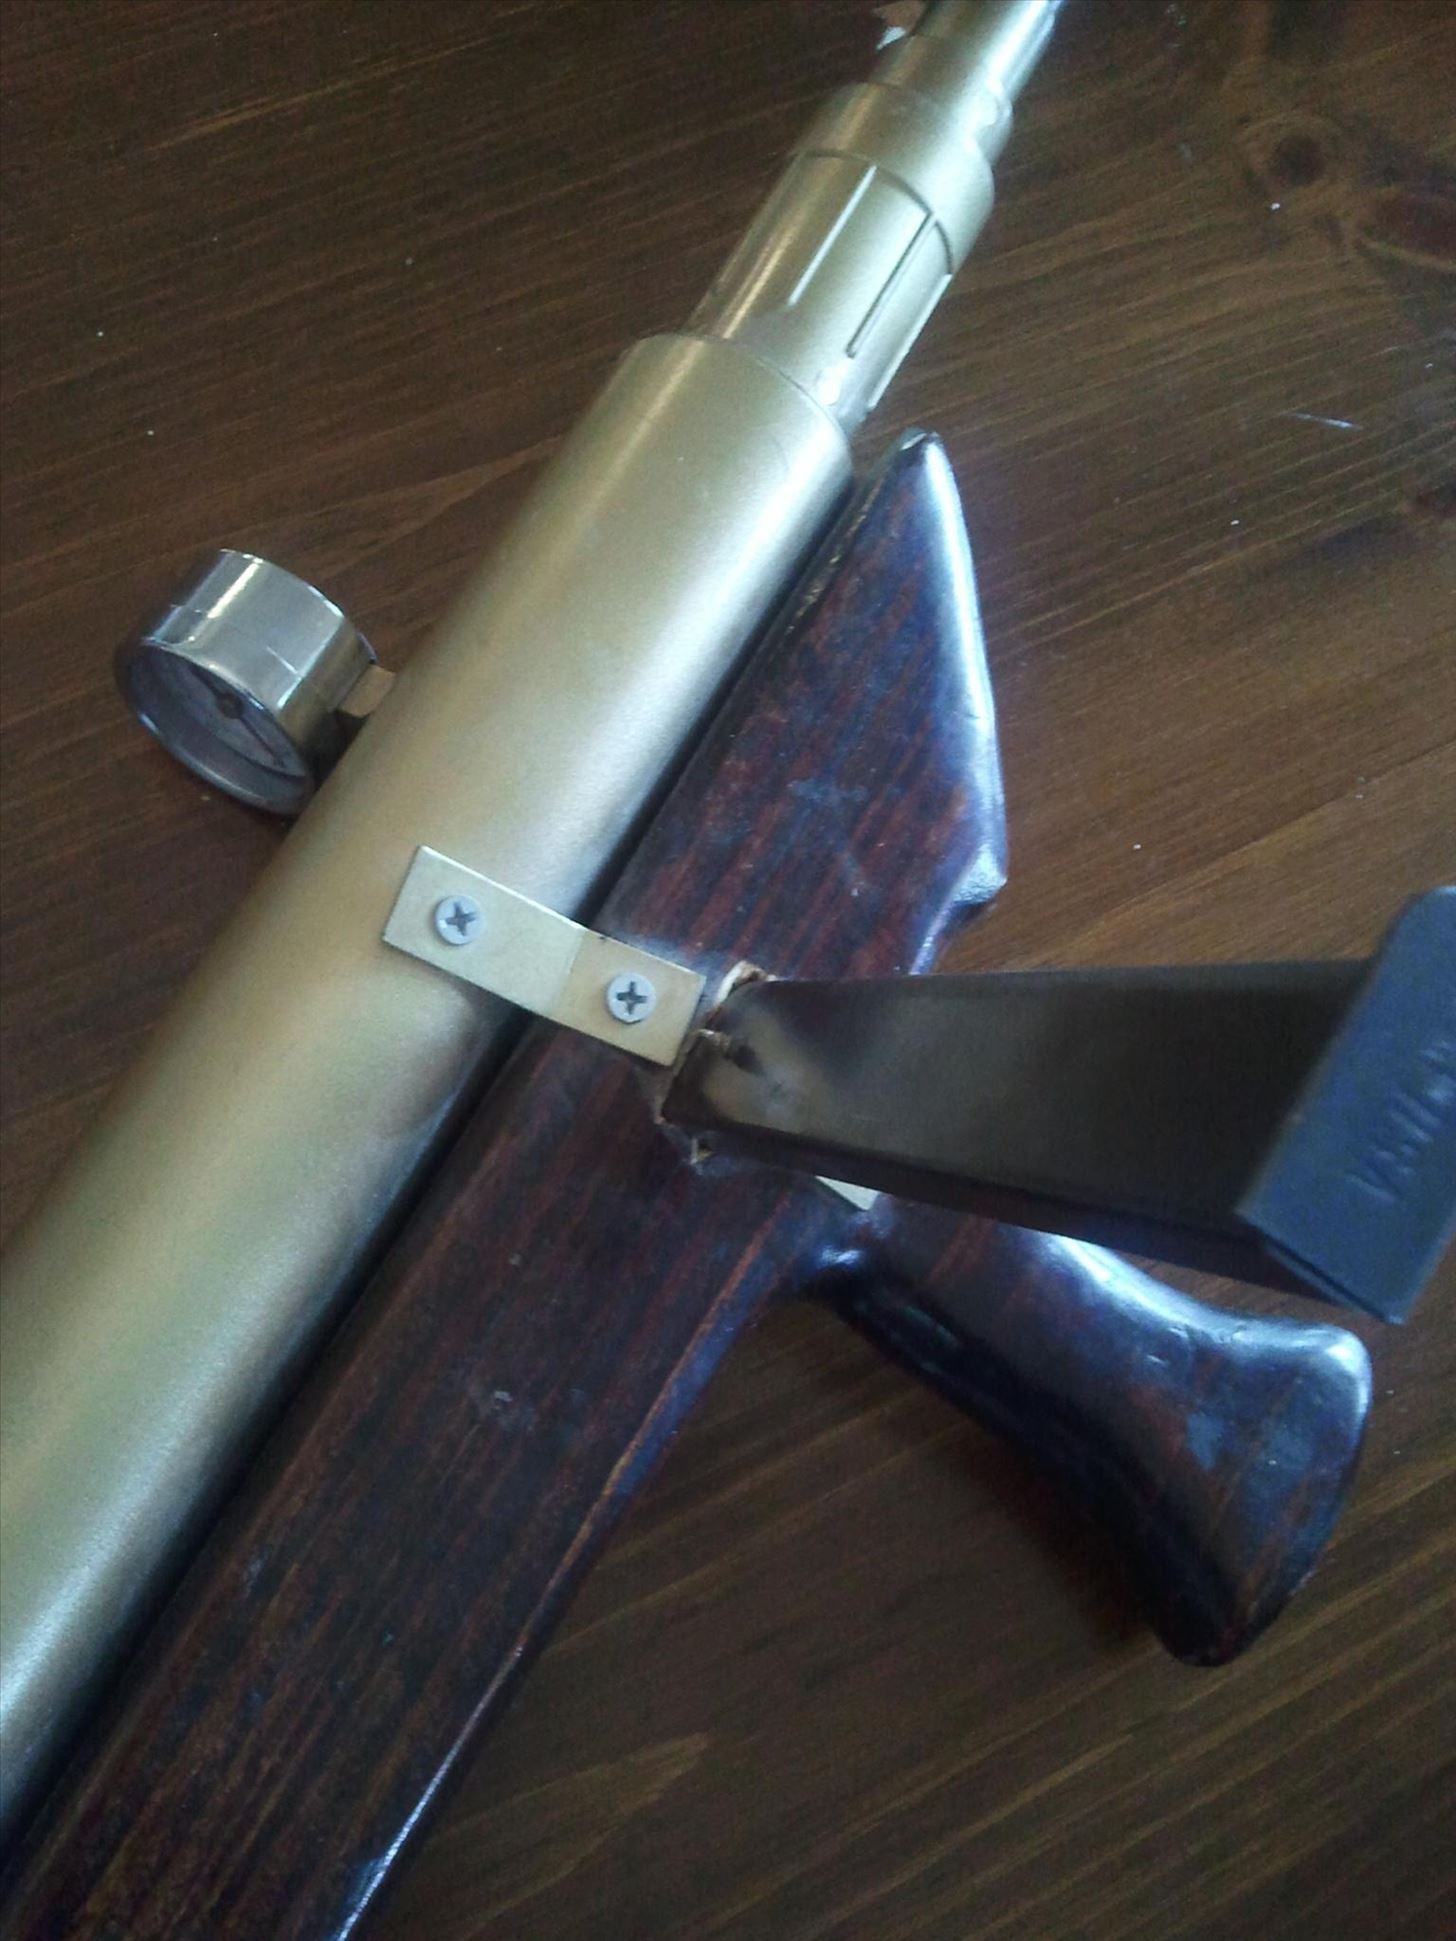
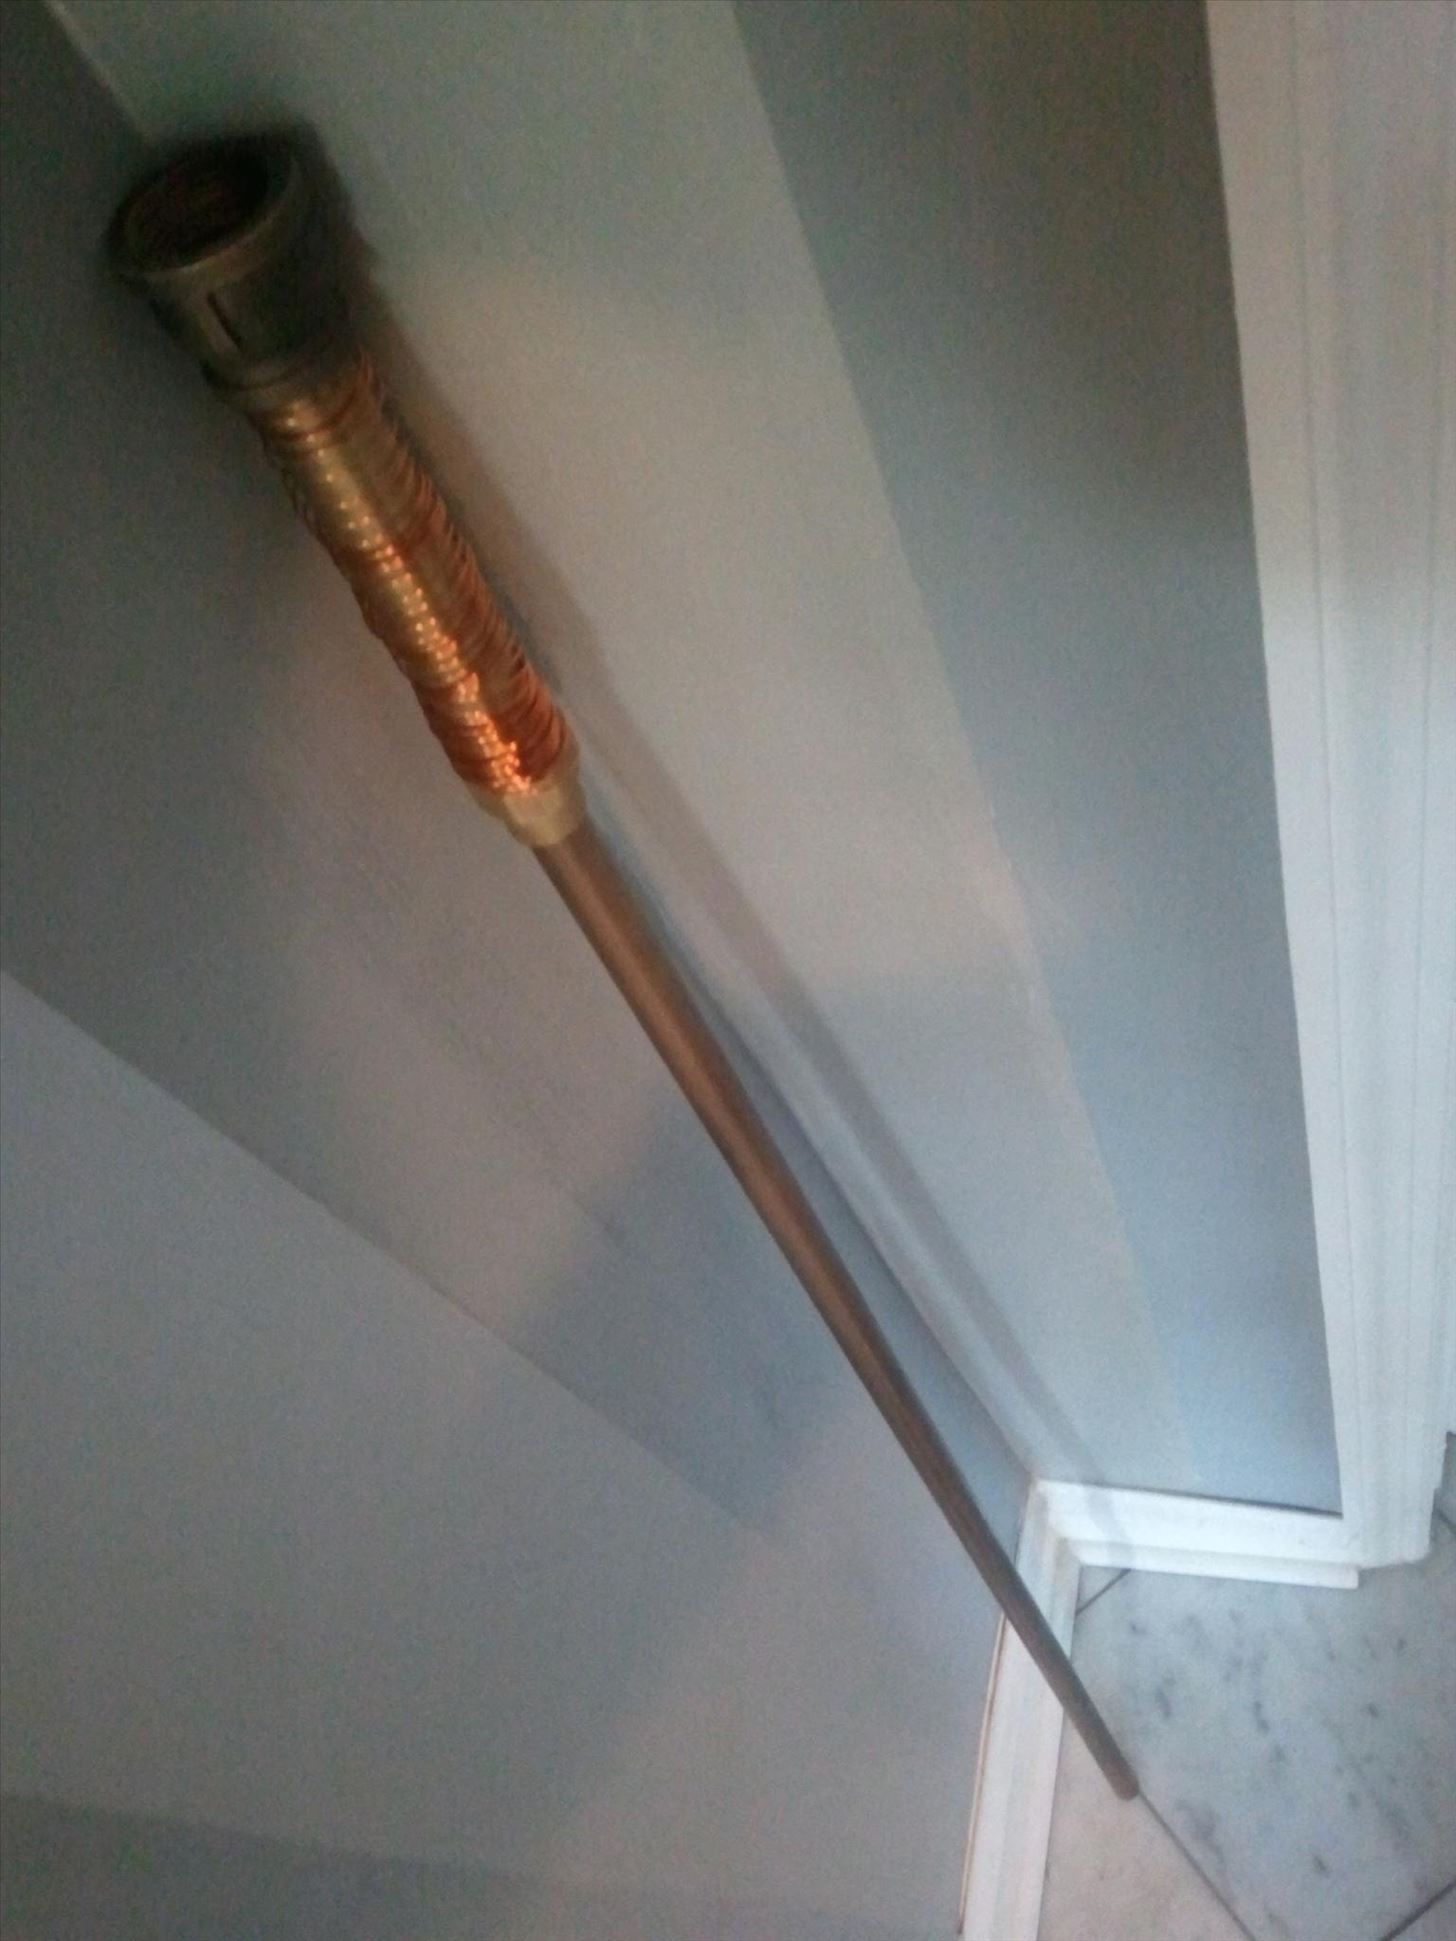
Then below is a Steampunk bang stick (or power head, if you prefer) that's used to kill big, underwater animals. No, it isn't functional, but the rod is made of wood, not metal. Both of these props have seen a lot of abuse, but they still look pretty good!
Alright, now on to the demonstration!
Step 1: Get Yourself Something to Paint
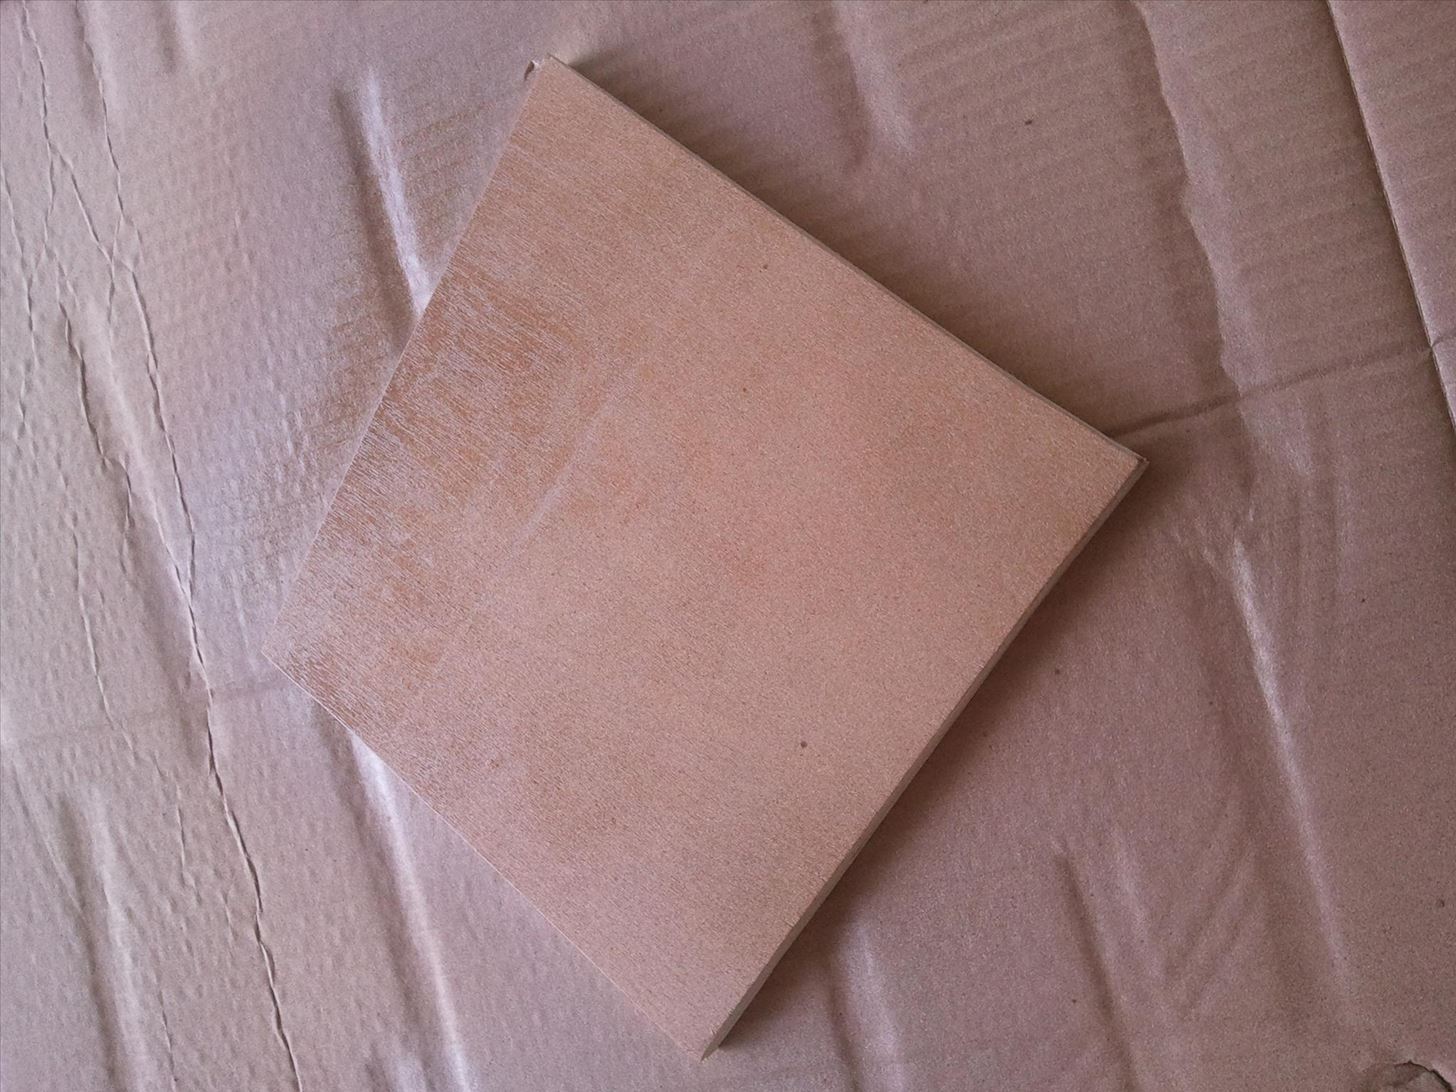
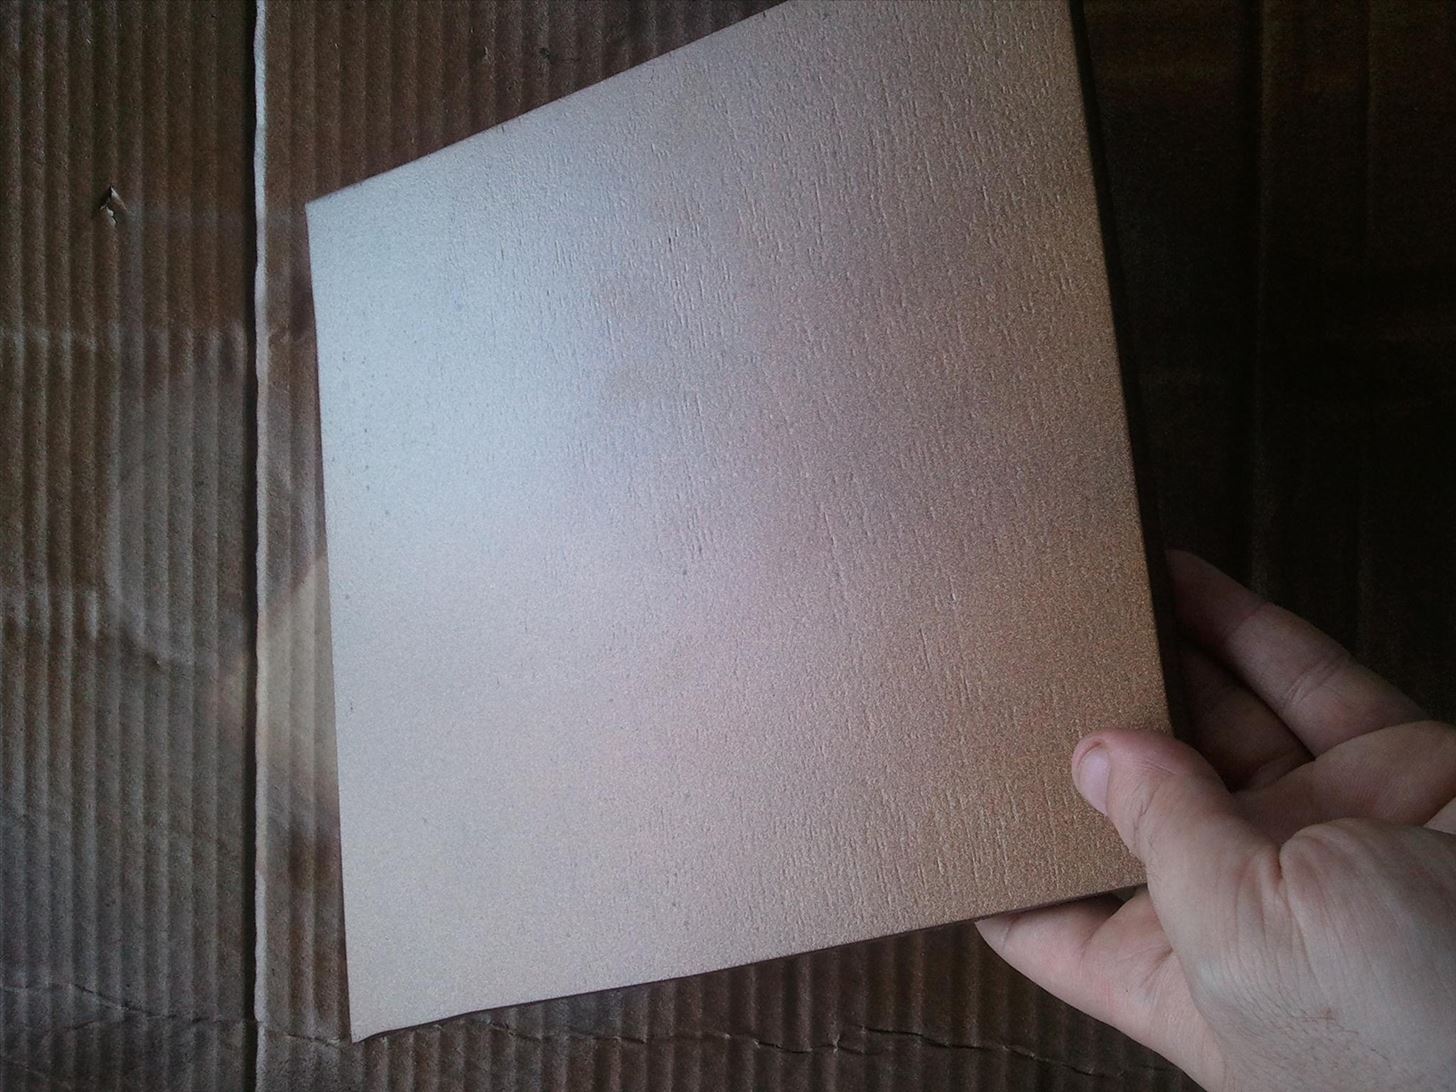
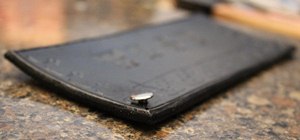
Here's the piece of wood I started with. Note that it's already quite flat and smooth. Despite being very smooth to the touch, there's still a long way to go before it's passably metallic.
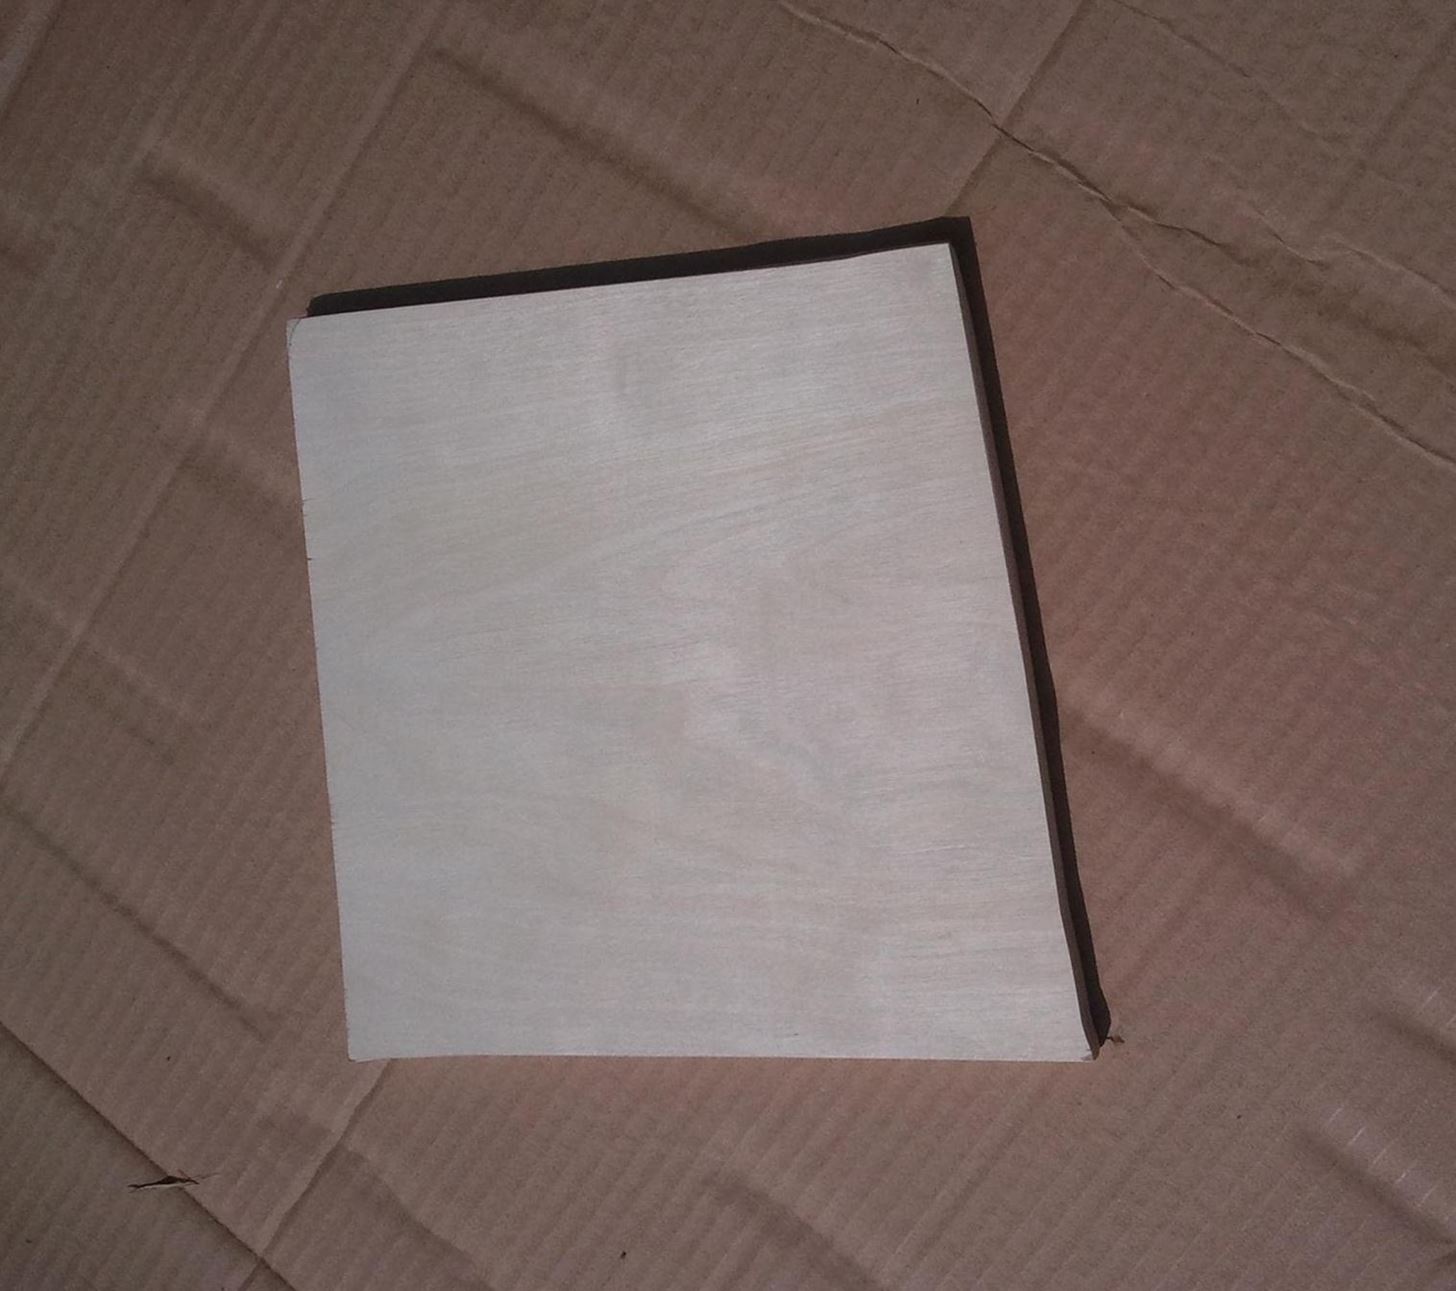
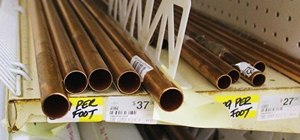
I used wood to show that it could be done, but it's waaay easier to use something without a grain, like PVC pipe. However, even if you're using PVC pipe, sand it before you paint it. I'm serious. Don't even start spraying it unless it feels totally smooth.
Step 2: Get Some Spray Paint
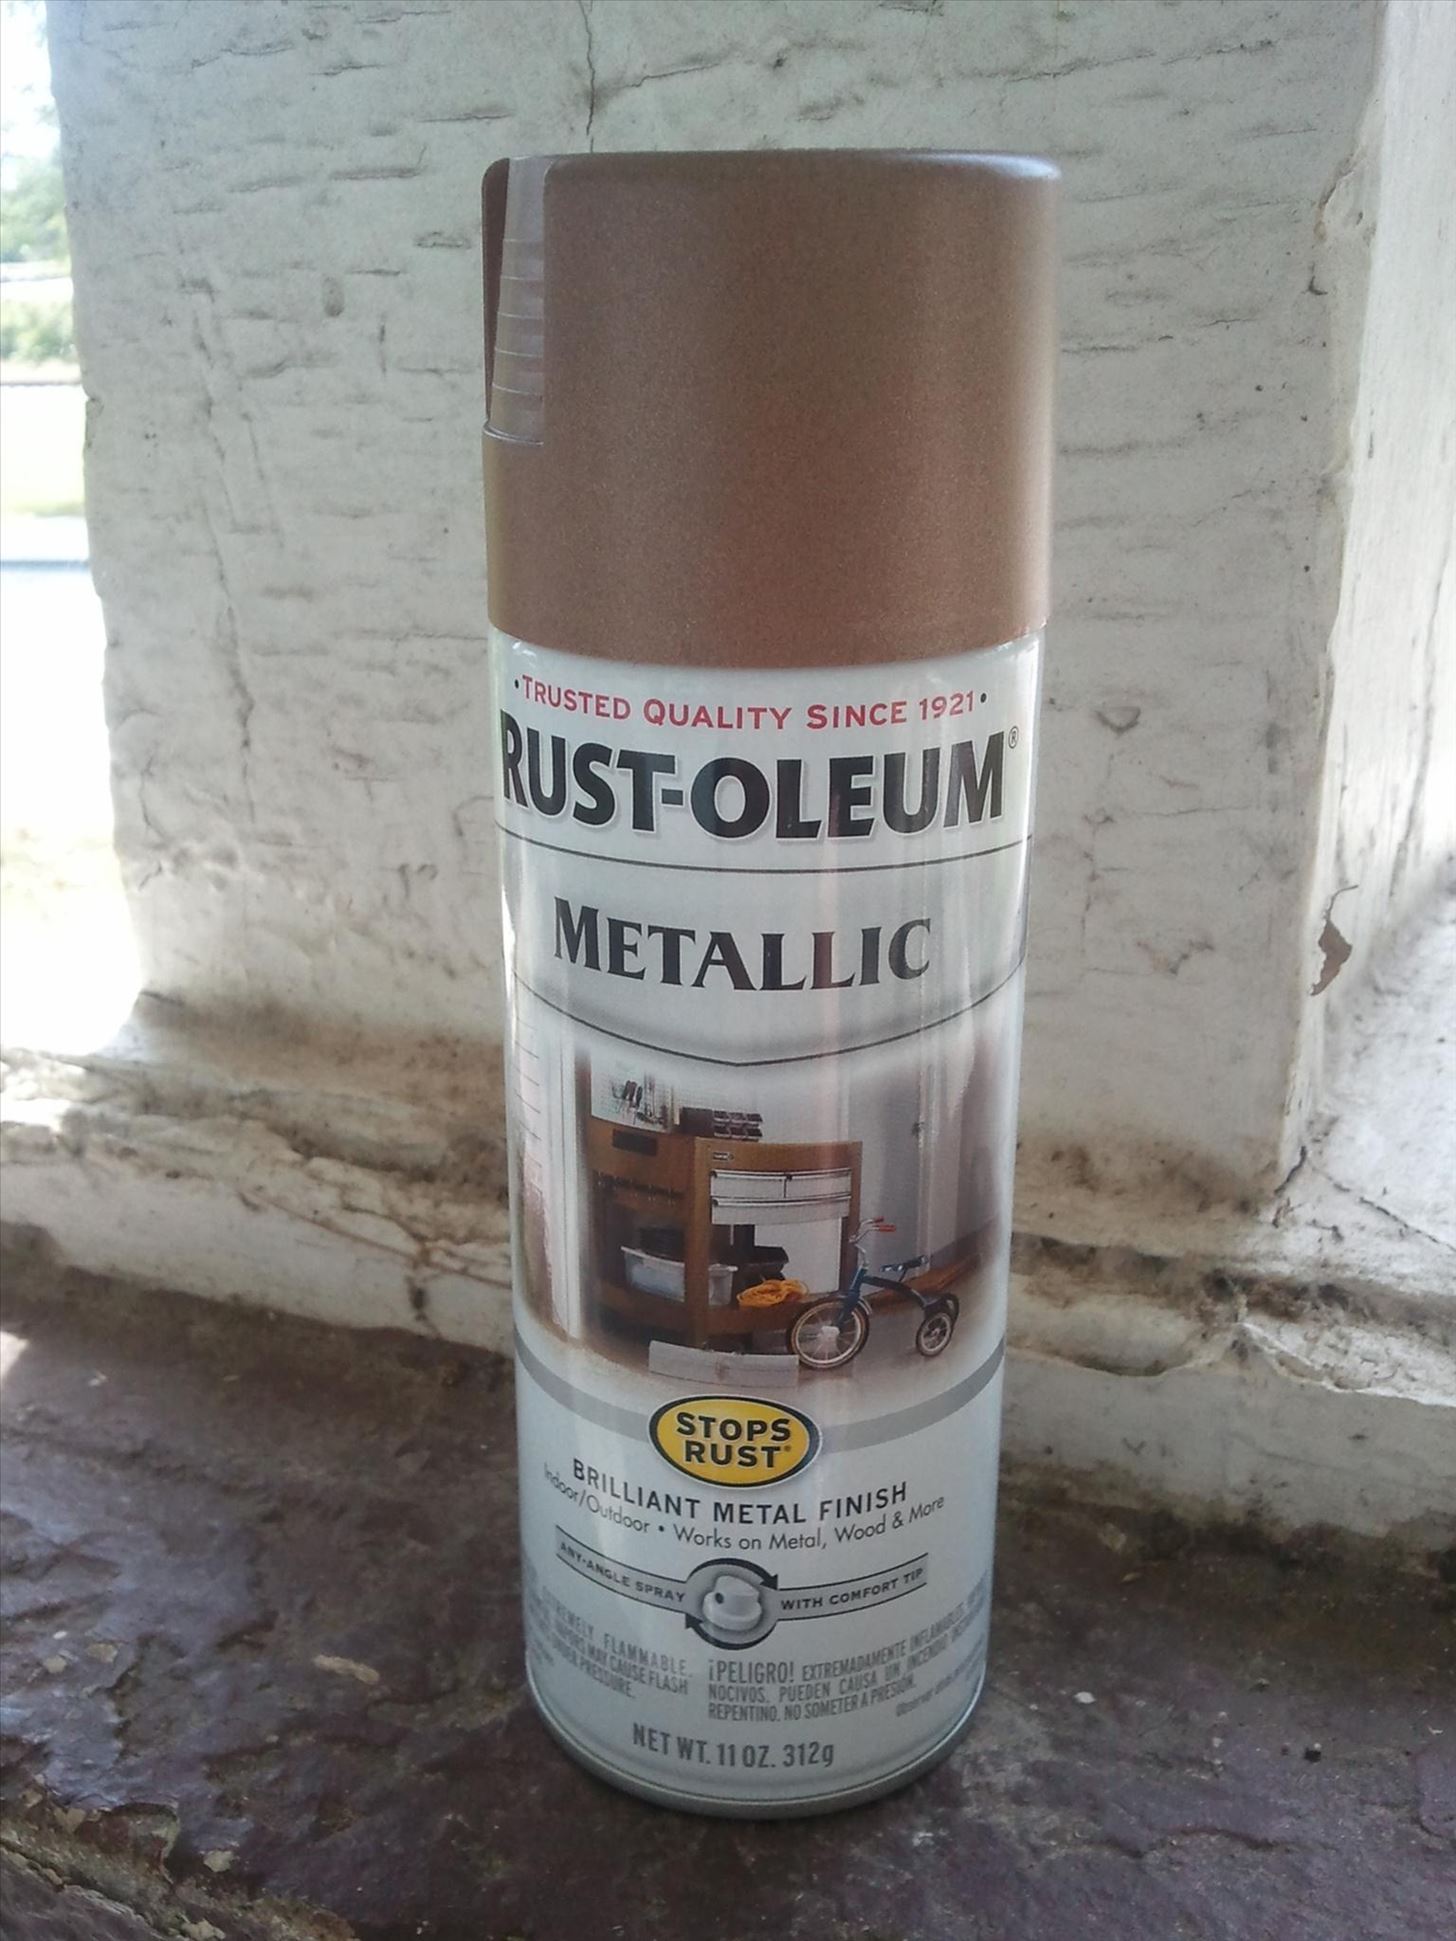
I recommend Rust-Oleum spray paints. They go on nicely, and are easily sand-able. You can use cheaper paints if you'd like, but your results may vary.
In this case, I've used the color "Vintage Copper". I also recommend Antique Brass for Steampunk things, but really, any of their metallic paints will come out looking nice.
Step 3: Get Something to Sand With
This is really the trick to making something look metallic: sanding. Seems counterintuitive, I know, but it works. Trust me. You can use sandpaper if you'd like, but I prefer these sanding blocks:
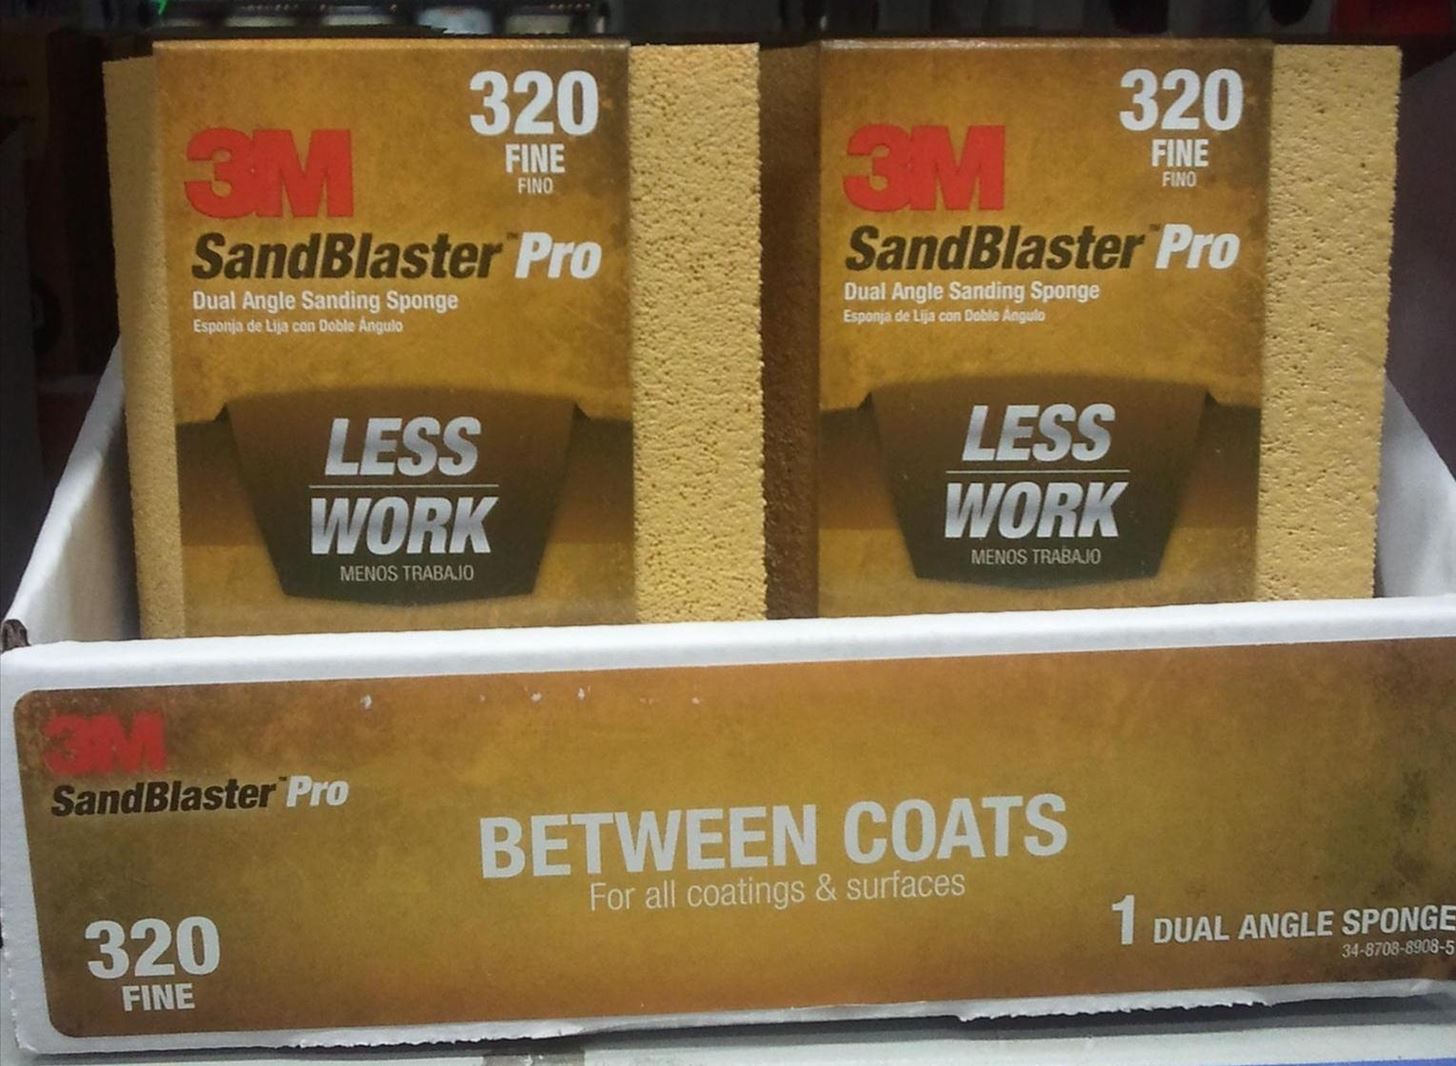
Note two things in the above picture.
- On the box, it says 'between coats'. That's because it's intended to be used between coats of paint, to smooth it out.
- The number at the top-right is 320. This number is the "grit designation". The higher the number, the more fine the grit. Lower numbers are good for major stripping, while higher numbers are good for light sanding, and polishing. For this task, you'll ideally want between a 240 and a 320. I prefer more fine grit, but your mileage may vary.
Step 4: Spray Your Object
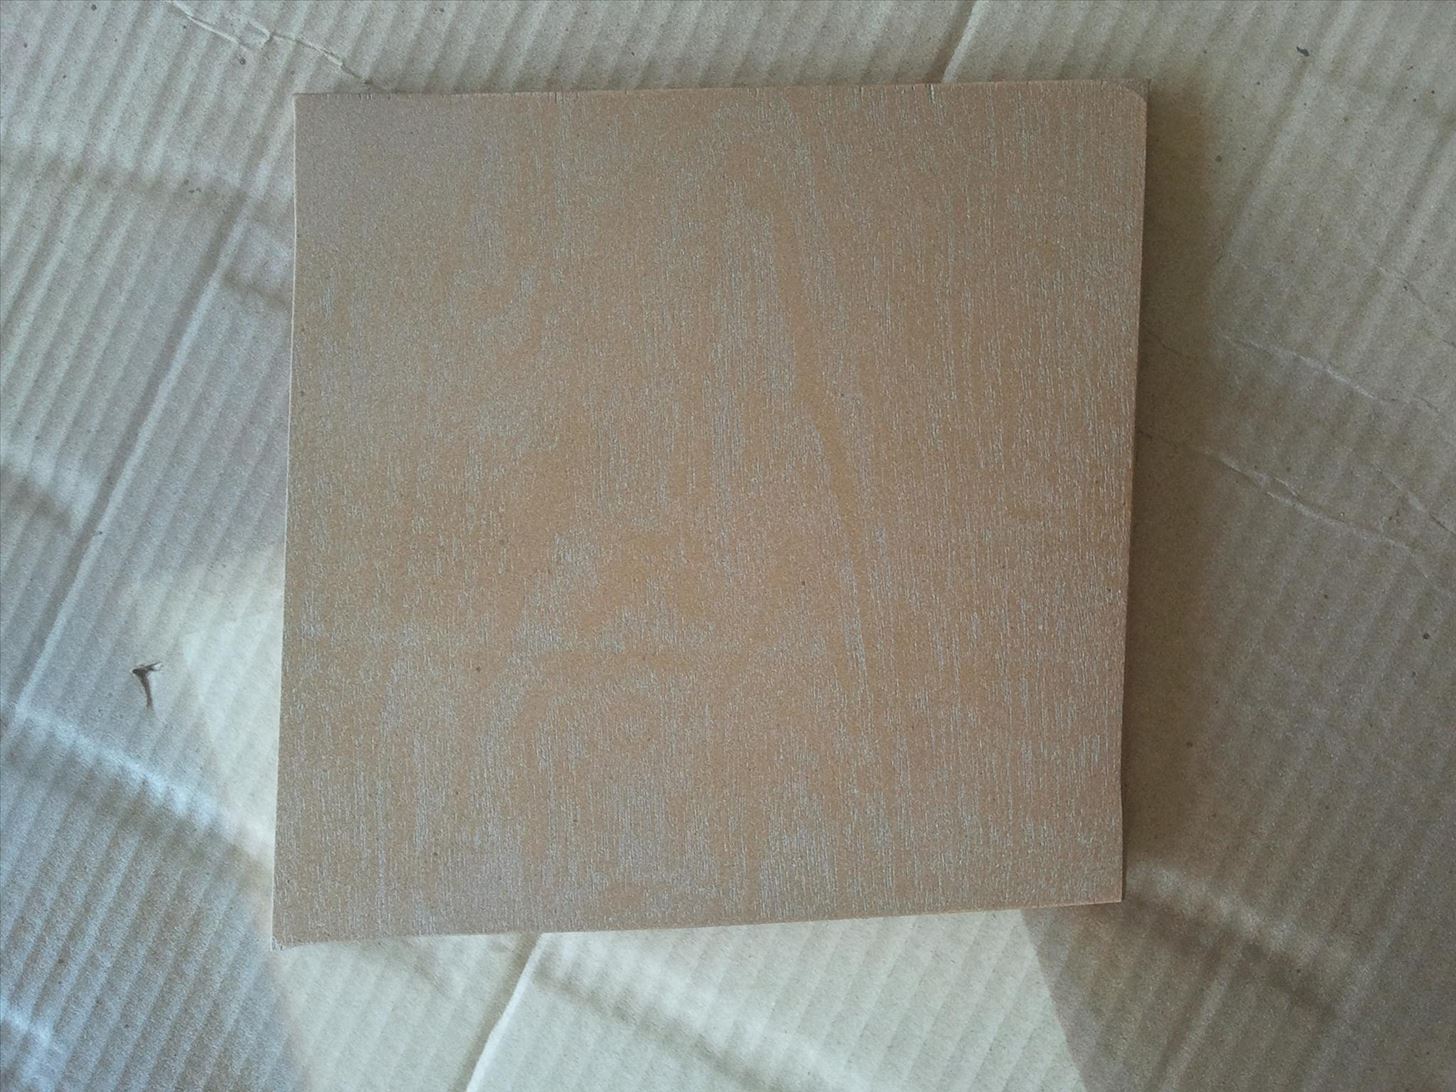
Spray a moderate coat on your object of choice. What you want is a full coat, but not so full that it could bead or drip. At this stage, it's likely that your wood grain will still show through, if you're using wood. Here's what mine looked like after the first coat:
Note how practically all of the wood grain still shows through.
Also, on a side note, spraying on cardboard is a great idea. It's thick so that you can pick it up and carry it with an object on it, unlike newspaper or any other paper products. Foamboard is also great.
Step 5: Wait for It to Dry
This gets its own step, because it's so important. Wait for your spray paint to fully dry. I know you're excited about your project, but you have to wait. If you attack it too soon, you'll just cause more problems than you solve.
A typical coat of spray paint can take anywhere from half an hour to an hour and a half to dry, depending on the humidity in your area.
Step 6: Sand It
With your 240 or 320 sandpaper, start sanding your object. If it's flat, I recommend round, circular strokes. If it's rounded, you can do whatever your heart desires. For rounded objects that are small enough to get your hand around, you can use sandpaper instead of sanding blocks, and just wrap it all the way around.
The object at this stage is one of two things. You're either:
- Trying to remove every last imperfection in either the spraying, or the material itself.
OR
- Even out the difference between the wood and the wood grain.
When it comes to wood, the theory you're applying here is that there are little dips in the wood, which you're filling in with spray paint. Then by sanding it, you're evening the top layer with the bottom layer, thus eradicating any inequalities.
Step 7: Repeat Steps 4, 5, and 6 Ad Nauseam
I'm not even kidding. You'll probably have to keep doing this until you're sick of it, if you want a really good, smooth surface. The devil is in the details, so don't be afraid to be really OCD about getting it perfect.
To give you an idea, during this project, I sprayed and sanded about 9 times. Here's some pictures of what the wood looked like at various stages.
Spray 2:
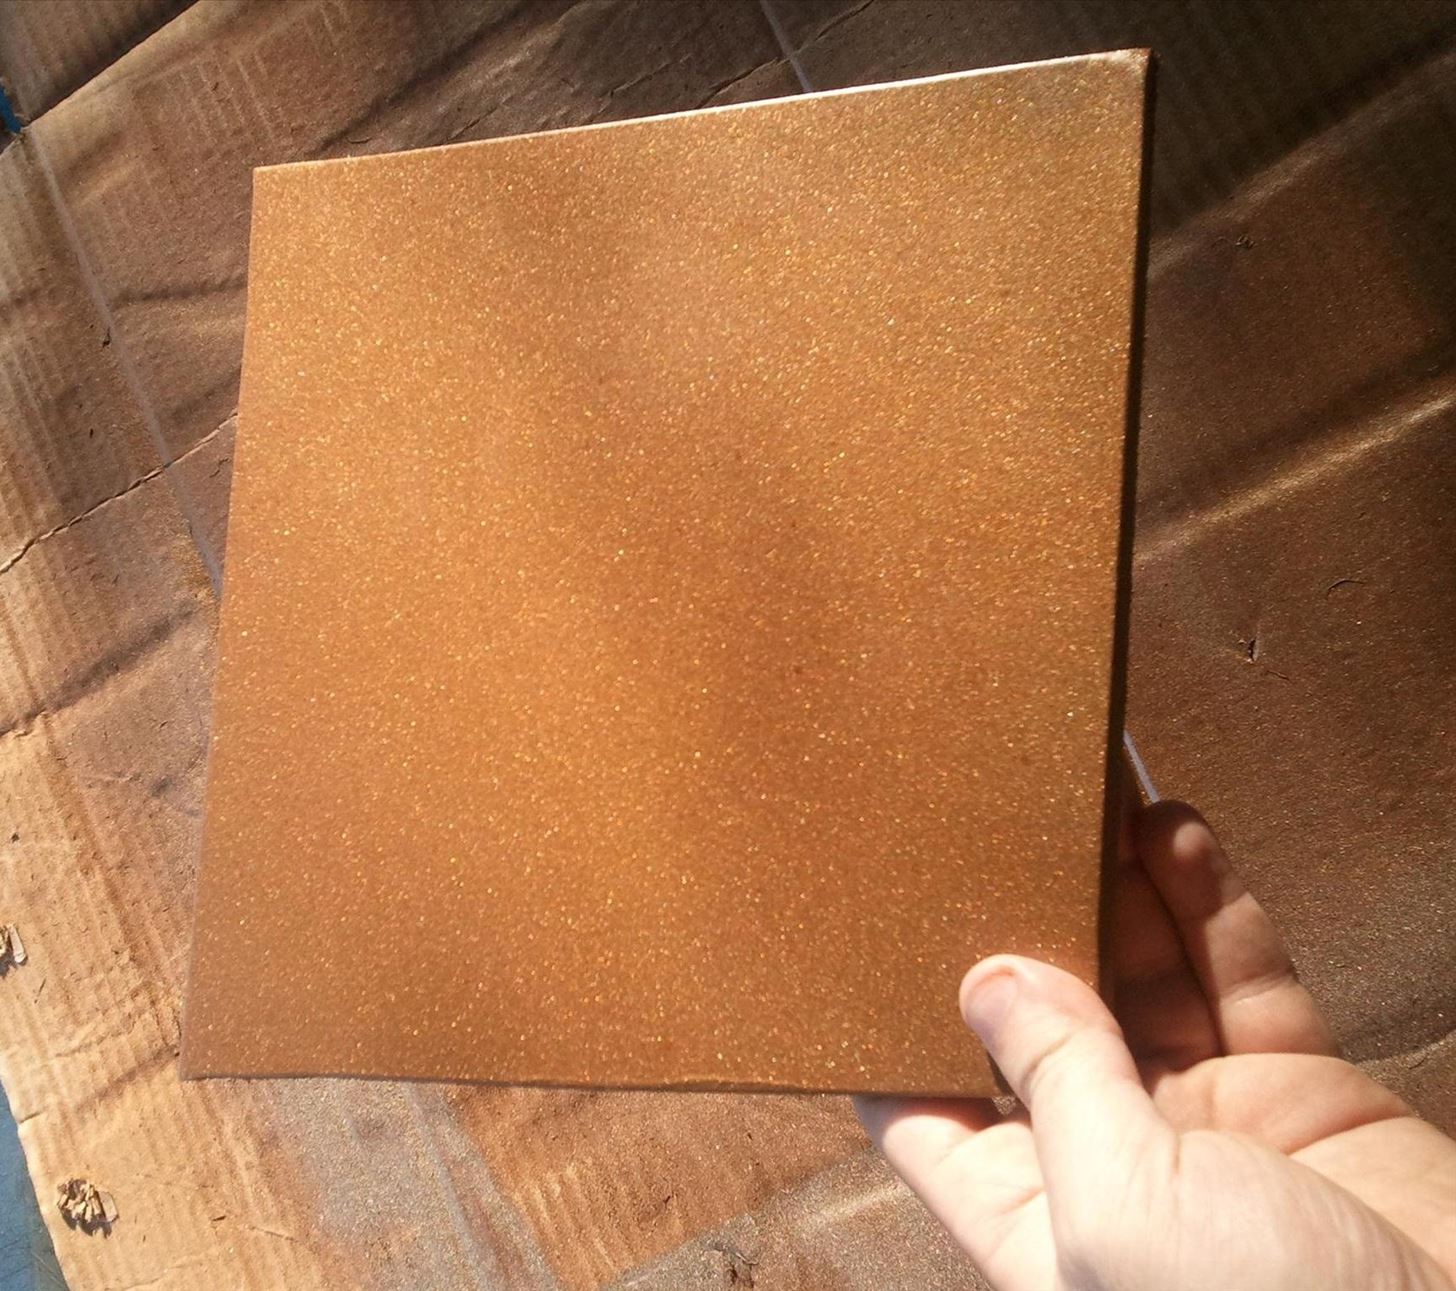
Spray 5 looks pretty clean, right? Well, it's not. It only looks that way from this angle:
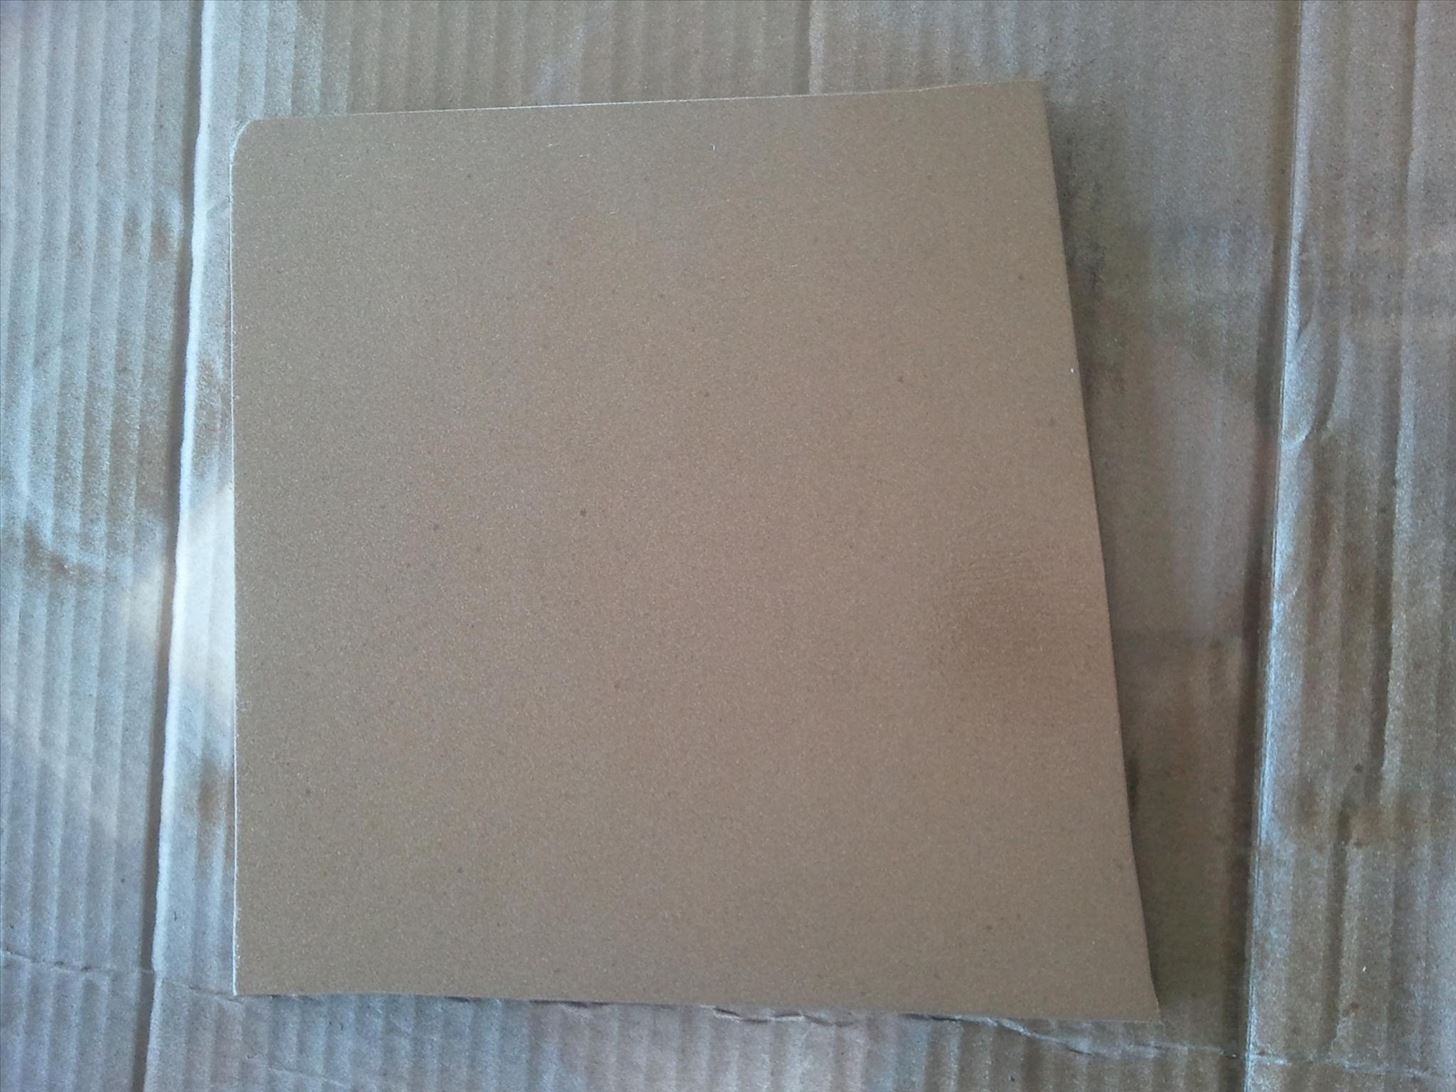
This is also spray 5, but I've tilted it so that you can see that the wood grain is still visible when light reflects off of it.
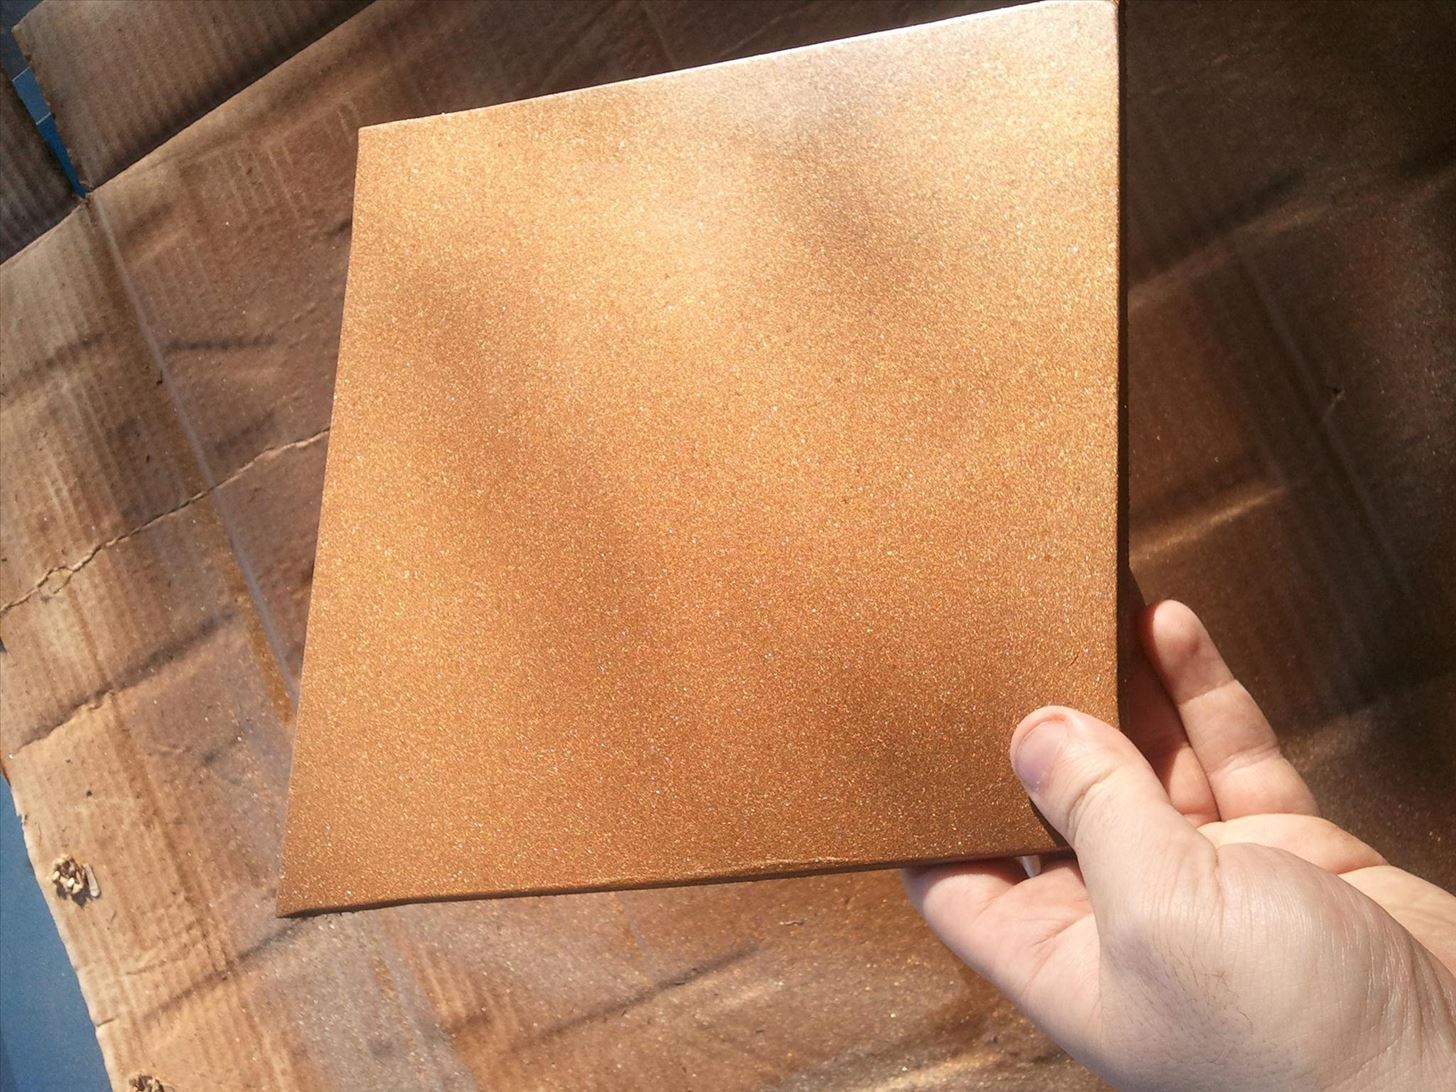
Below is spray 9, and I've finally succeeded in getting the wood grain out! Yesss!
Step 8: Buff It with a Soft Cloth
Once you have your final spray, do not sand it again. You sand between layers, not after them. After your final spray, what you want to do is buff the object to bring out the sheen of metal in it. You can use a tee shirt if you want, but a real rag or washcloth works best.
Here's my final product, next to the rag that I used.
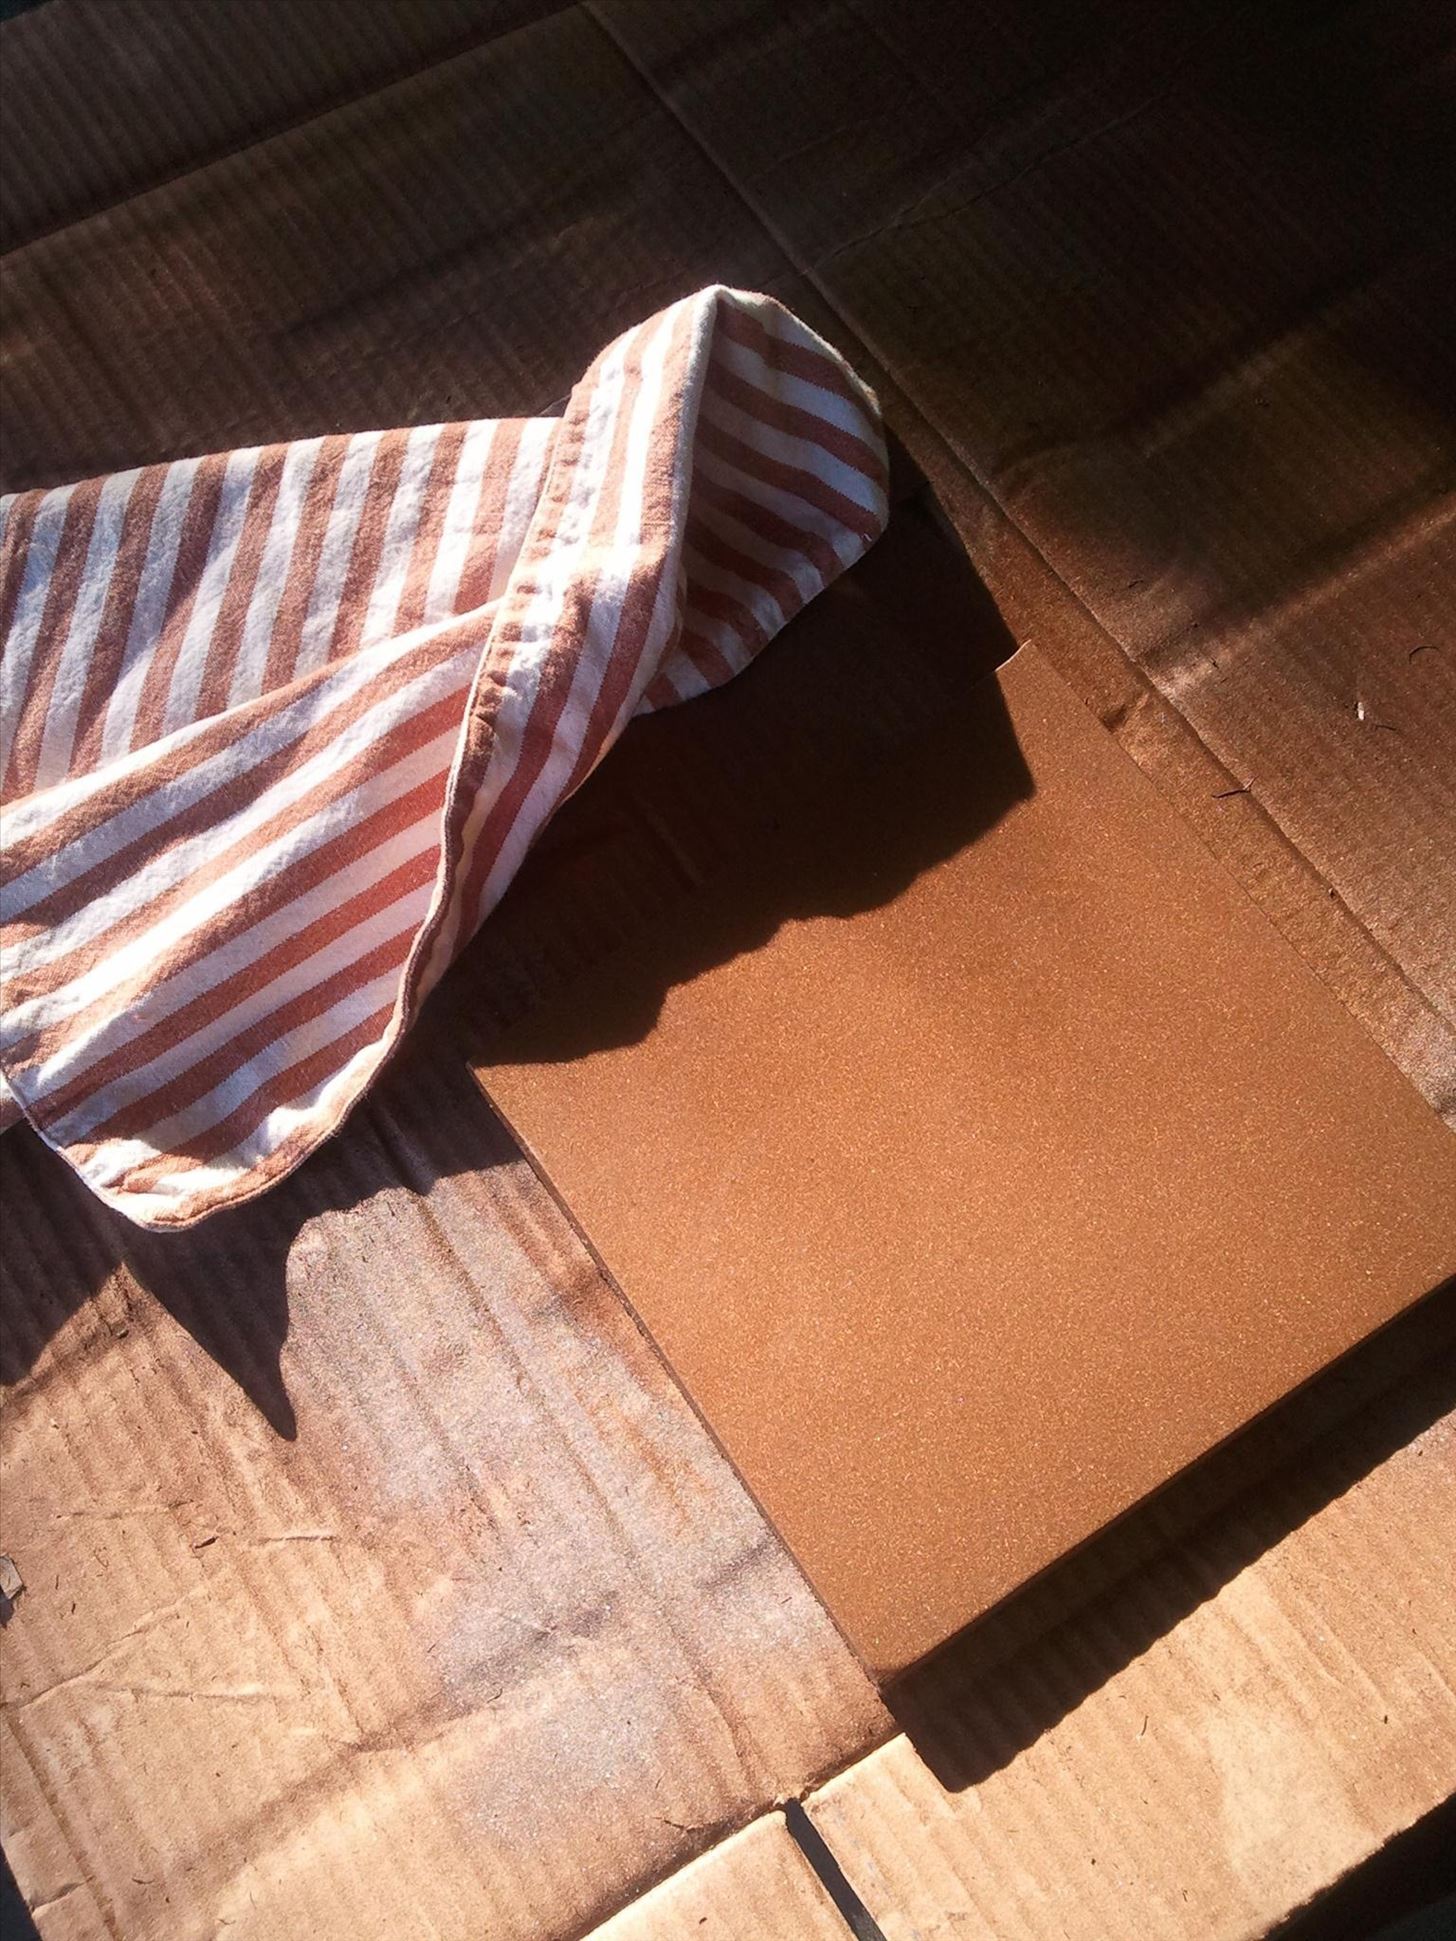
So after about 9 hours worth of spraying and sanding (which I could only do during the day, because I don't have an indoor spray booth), I am now the proud owner of a metallic-looking wood square.
Hoorah!
Just updated your iPhone? You'll find new emoji, enhanced security, podcast transcripts, Apple Cash virtual numbers, and other useful features. There are even new additions hidden within Safari. Find out what's new and changed on your iPhone with the iOS 17.4 update.


14 Comments
Great, I just thought you just spray paint and it was done!
Nope! Spraying without sanding or buffing will result in a dull, uneven, lackluster coat. This is what makes the difference between something being metal-colored, and actually looking like real metal! =)
What About for Plastic do you sand that too? Because I was thinking about getting that pulse rifle from aliens but it's the airsoft version and it's made of hard plastic or whatever it is and I want it to look metal to make it look real .what do I do
Good article Austin. One of the things I do is base spray either flat black, silver or car primer gray. Top colors "read" differently depending on the base color and flat primers help metallics stick and provide a good base if you are wiping or blotting metallics. I also completely agree with the buff coat. I sometime use neutral shoe polish as a buff coat to help achieve that metallic luster.
Great point, Brian! Base coats really depend on what you're spraying, but you're right, they can be very helpful!
Hmm, neutral shoe polish, eh? I've never heard of that technique! I'll have to give it a try and see how it works! I will, however, have to do another tutorial specifically on how to use something called Rub n' Buff, which is really, really great stuff. It takes only a few minutes to apply, and is literally indistinguishable from metal. The only downside is that it can very easily rub off, or get scraped off.
yeah- I use matt spray clear for rub-n-buff or the shoe polish trick depending on the material.
You know, I tried that once, and it totally backfired on me. The clear coat I used dried out the rub n' buff, and it started flaking off. It was awful.
So I suspect there may be a specific type that's better than others. Do you know what specific product you used?
The surface had lots of little dots on it. Is there a way to get rid of those? Because most metals have subtle lines in them, kind of like a grain in wood. I was thinking if you only sanded in one direction? Its just that it looks shiny, but not really super metallic imo.
Those dots are flecks in the paint, not in the wood. I've noticed that they appear in the Antique Copper color paint, but not in the Antique Brass color. I'm not entirely sure why that is, but there you have it!
So try using the antique brass, or silver for a more even-toned metal look!
Have you tried using a grain filler? It's not cheap, but a little goes a long way. http://www.rockler.com/how-to/using-wood-grain-filler/
I am planning an ambitious project to transform my walkup attic into the interior of Nemo's Nautilus. My vision is to have curved "steel girders" to cover the exposed wood framing, and a "steel" hull with port holes that I can illuminate to look like ocean water. Final detail is a floor of "steel plates" plates over which there will be a victorian area rug and period furniture. There will also be simulated gas lamps. I'm going for a blend of Steampunk and high Victorian.
Since this is steel, not brass, what guidance can you give me on creating this effect? I am thinking of using luan since it is so light weight.
This is by far the most straightforward and helpful guide I have seen on the internet, for transforming wood into faux metal. Thank you SO much!
One thing you night want to try is going to your local auto dparts store and getting something called "high build primer" this is what auto body people use to cover in minor scratches on cars. It should fill in your wood grain in two or three coats (sanding in between each one) then paint it as normal. Primer tends to be cheaper than spray paint and definitely cheaper than specialty spray paints. Its a good way to keep costs down on your build. Hope this helps :-)
This article was very helpful.
May I ask if this site is still "alive"? I see no posts on any of the subjects that I have checked (and I've checked several) that are less than 2 months old. Is anybody out there?
Share Your Thoughts