
As you know, it's impossible to be a Steampunk without a pair of goggles. In fact, there are entire communities dedicated to judging other Steampunks based solely on their goggles. A Steampunk without goggles is like Samson without his hair, or a duck without a beak—totally powerless. As I'm sure you also know, the right pair of goggles can instantly render any outfit Steampunk, no matter what it looks like.
Some people say that Steampunk is expensive, and that you can't do it unless you're willing to spend a lot of money. I've already told you how to thrift everything you need, but it's unlikely that you'll find a pair of goggles at the thrift store. So I'm going to teach you how to make a pair of goggles to complete your Steampunk outfit in only ten minutes. You don't want to be made fun of by Steampunk snobs, do you? Then you'd better make yourself a pair of goggles!
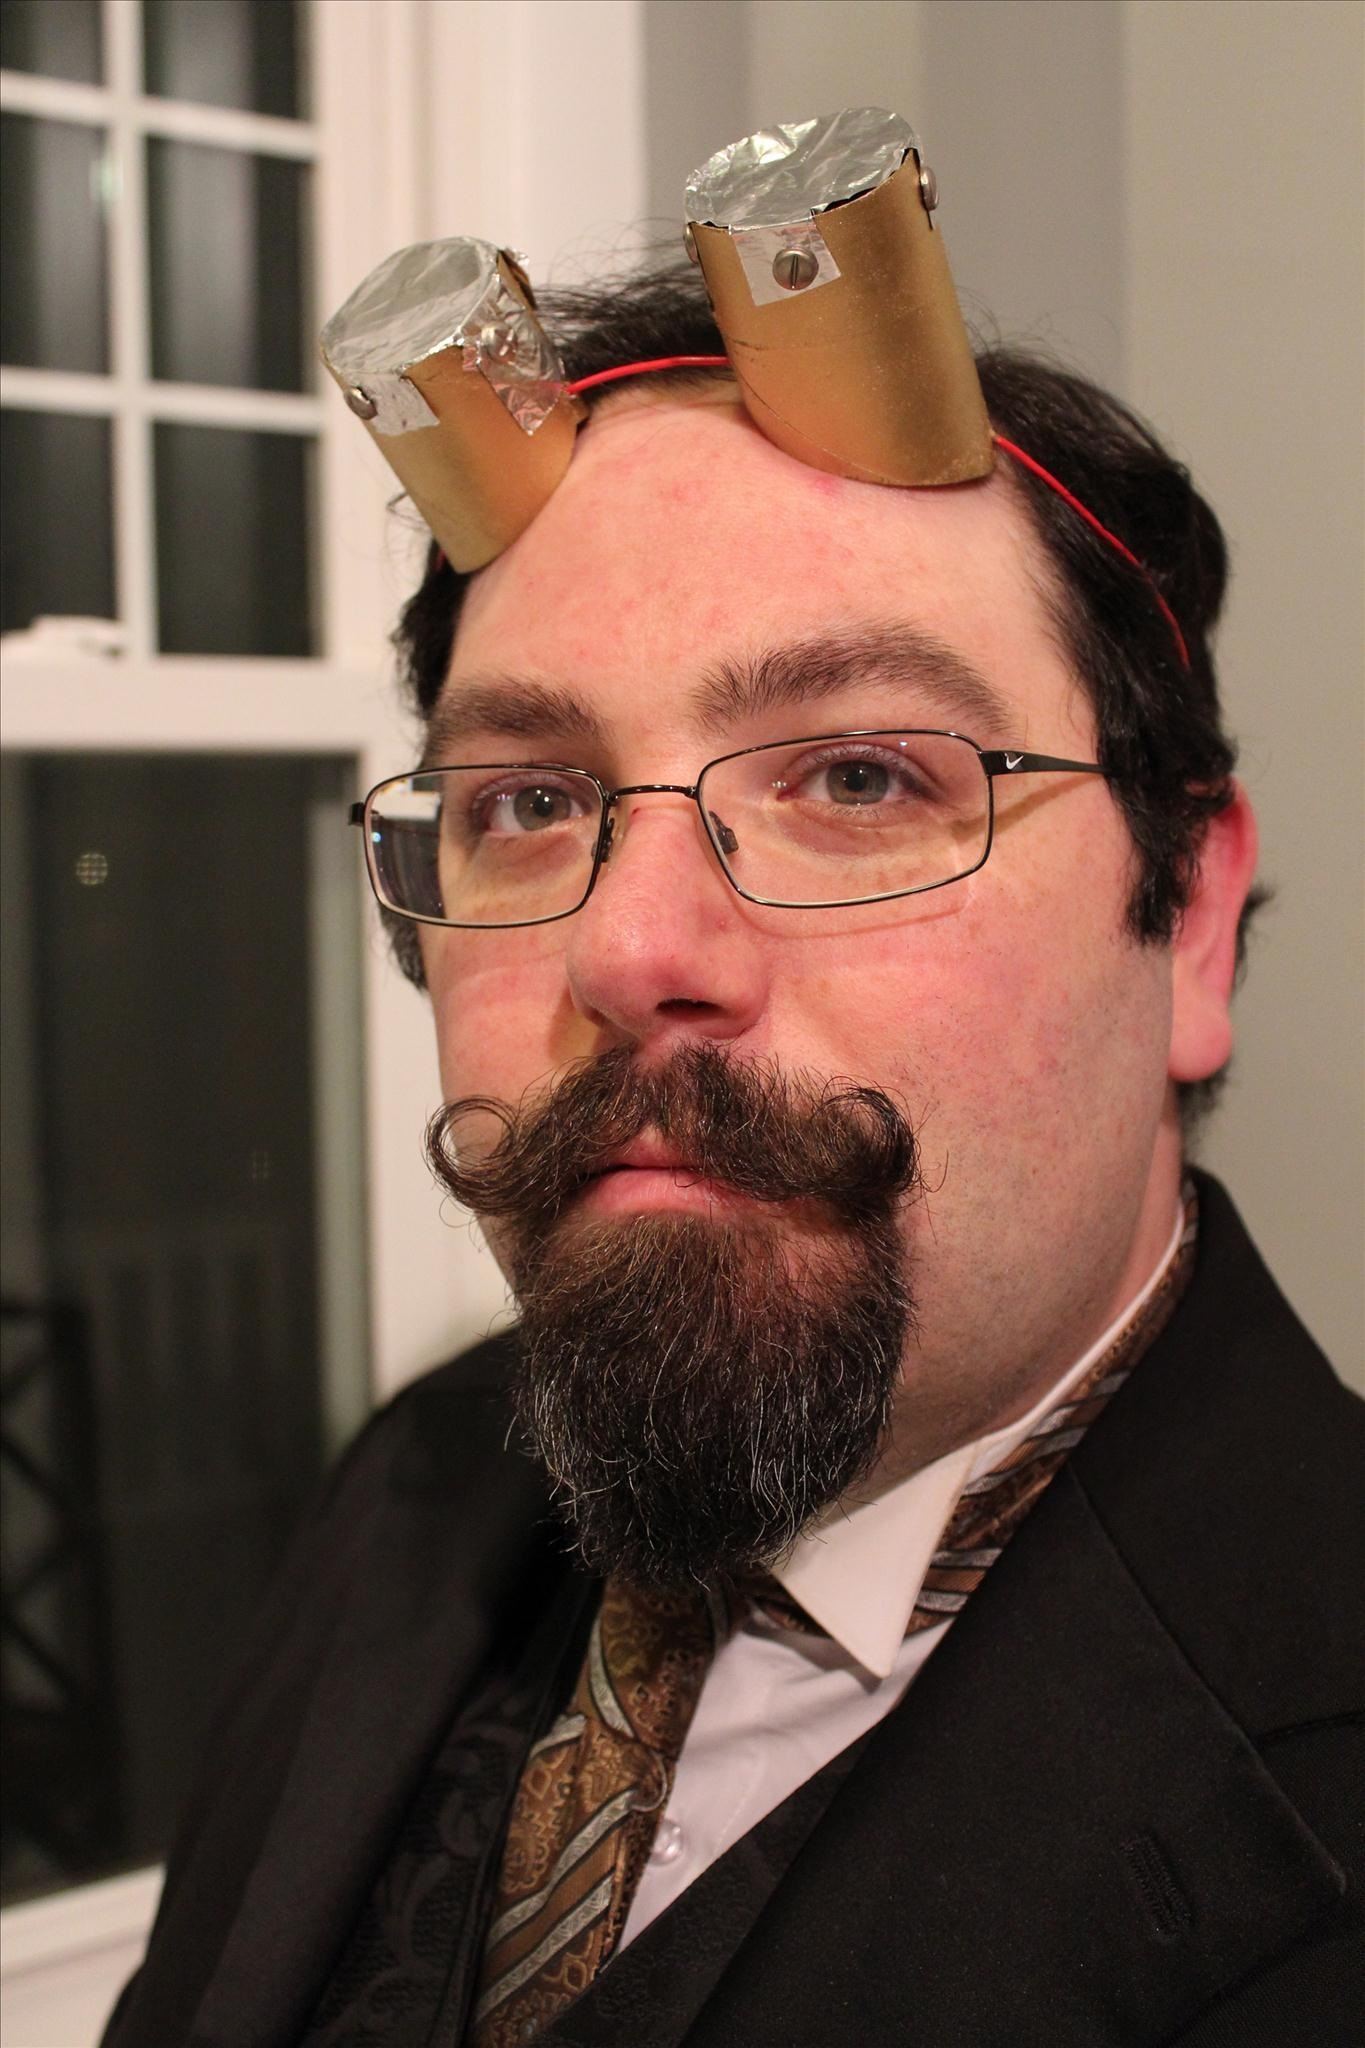
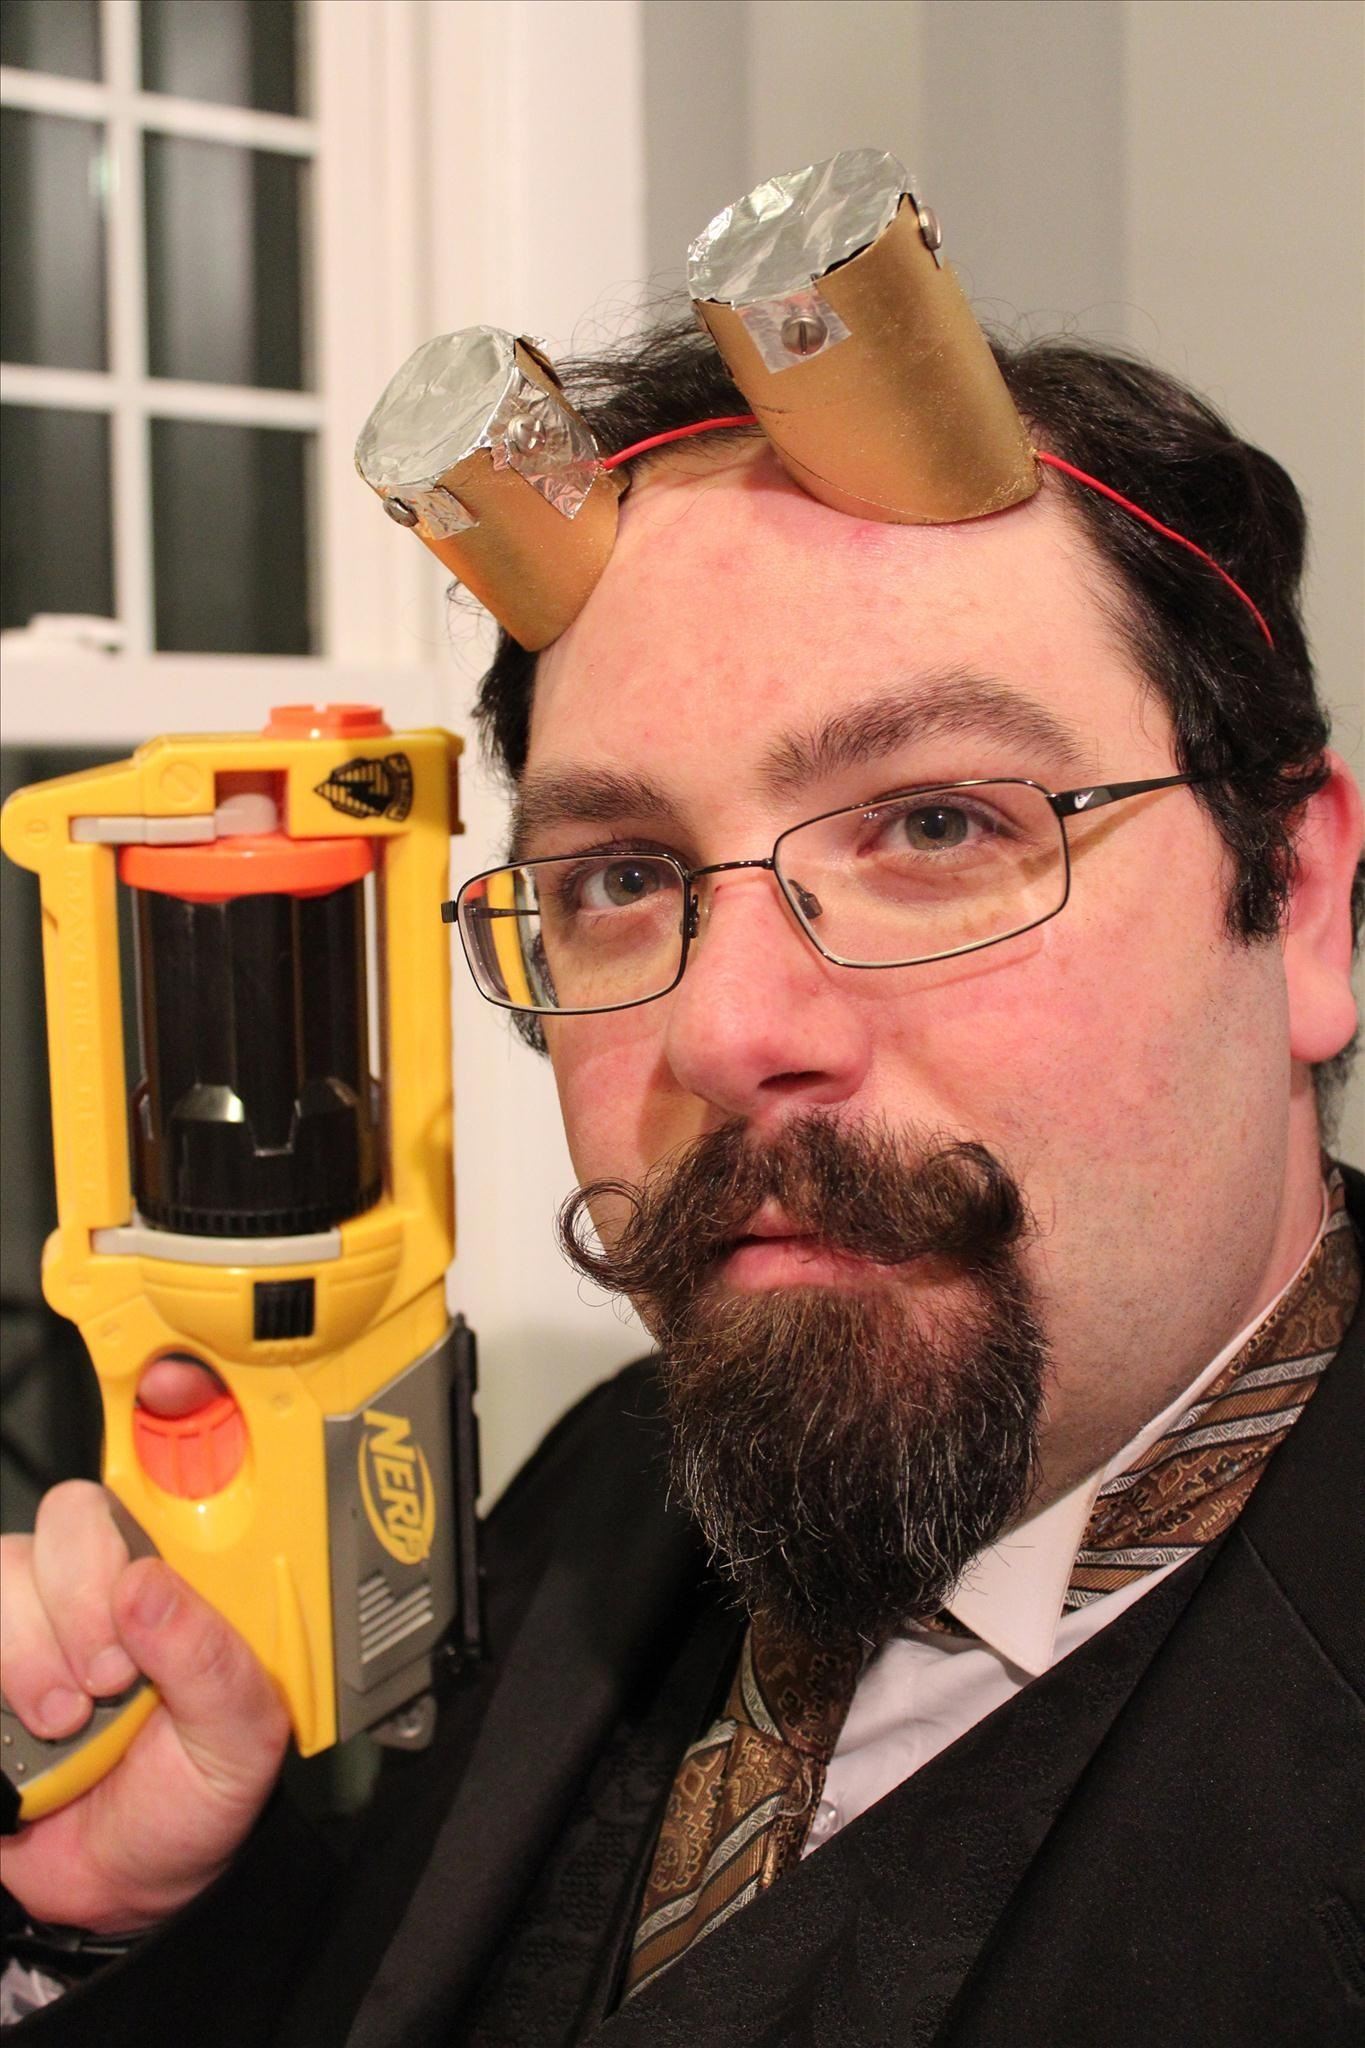
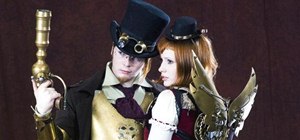
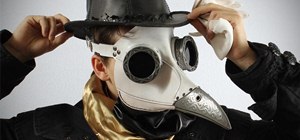
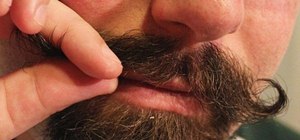
What you want to look like is this guy. I don't know who he is, but he's very handsome except for his hipster mustache.
Step 1: Get a Round Cardboard Thingie
What you see below is a Round Cardboard Thingie, which is their technical name.
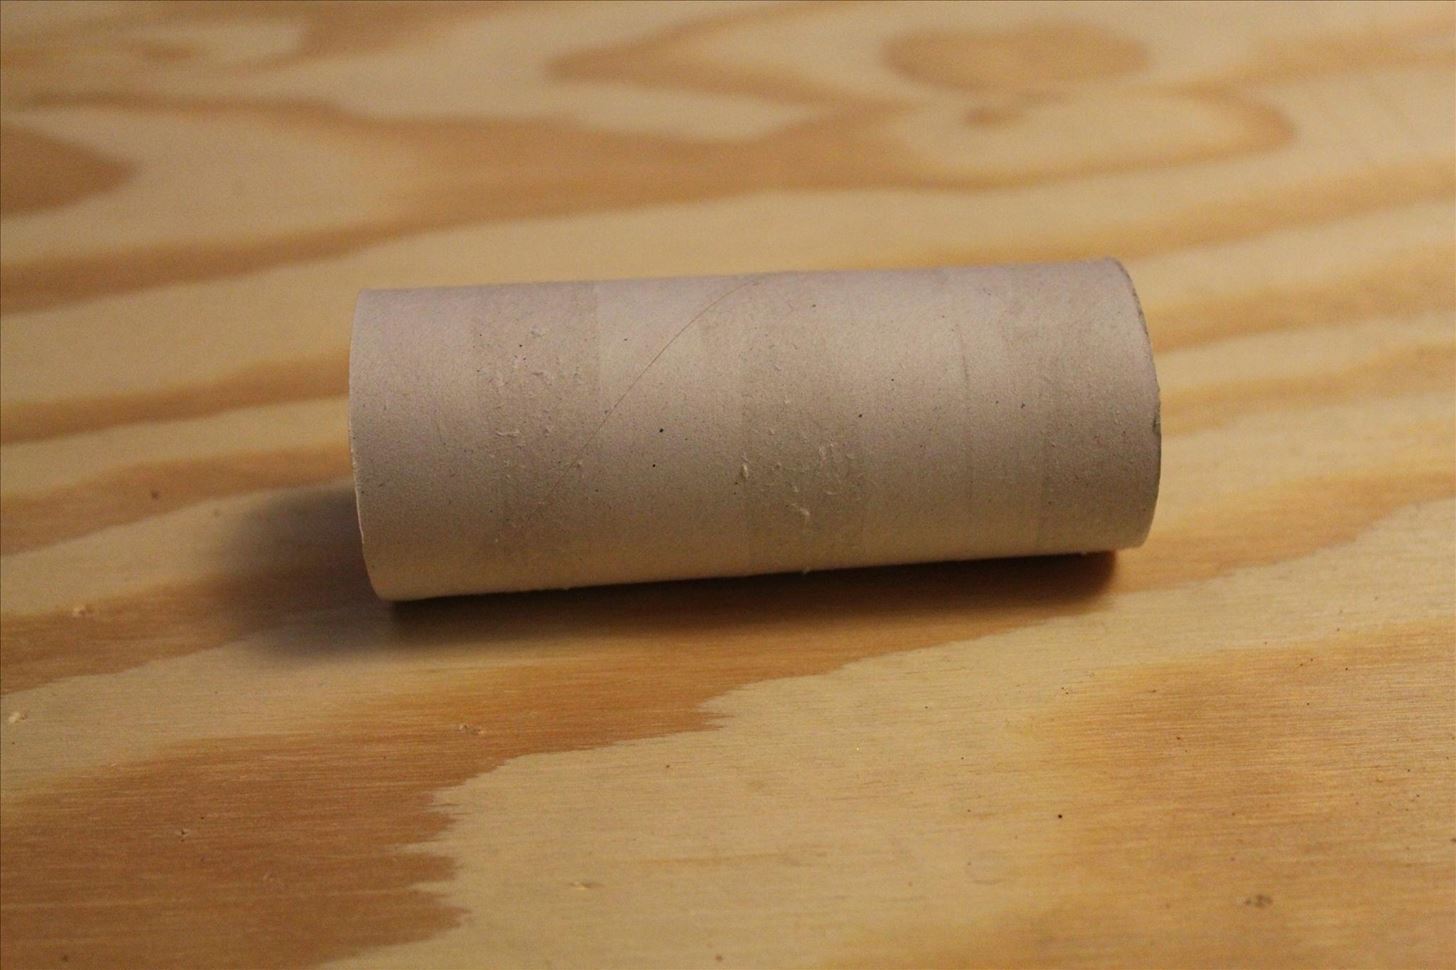
Get one of those.
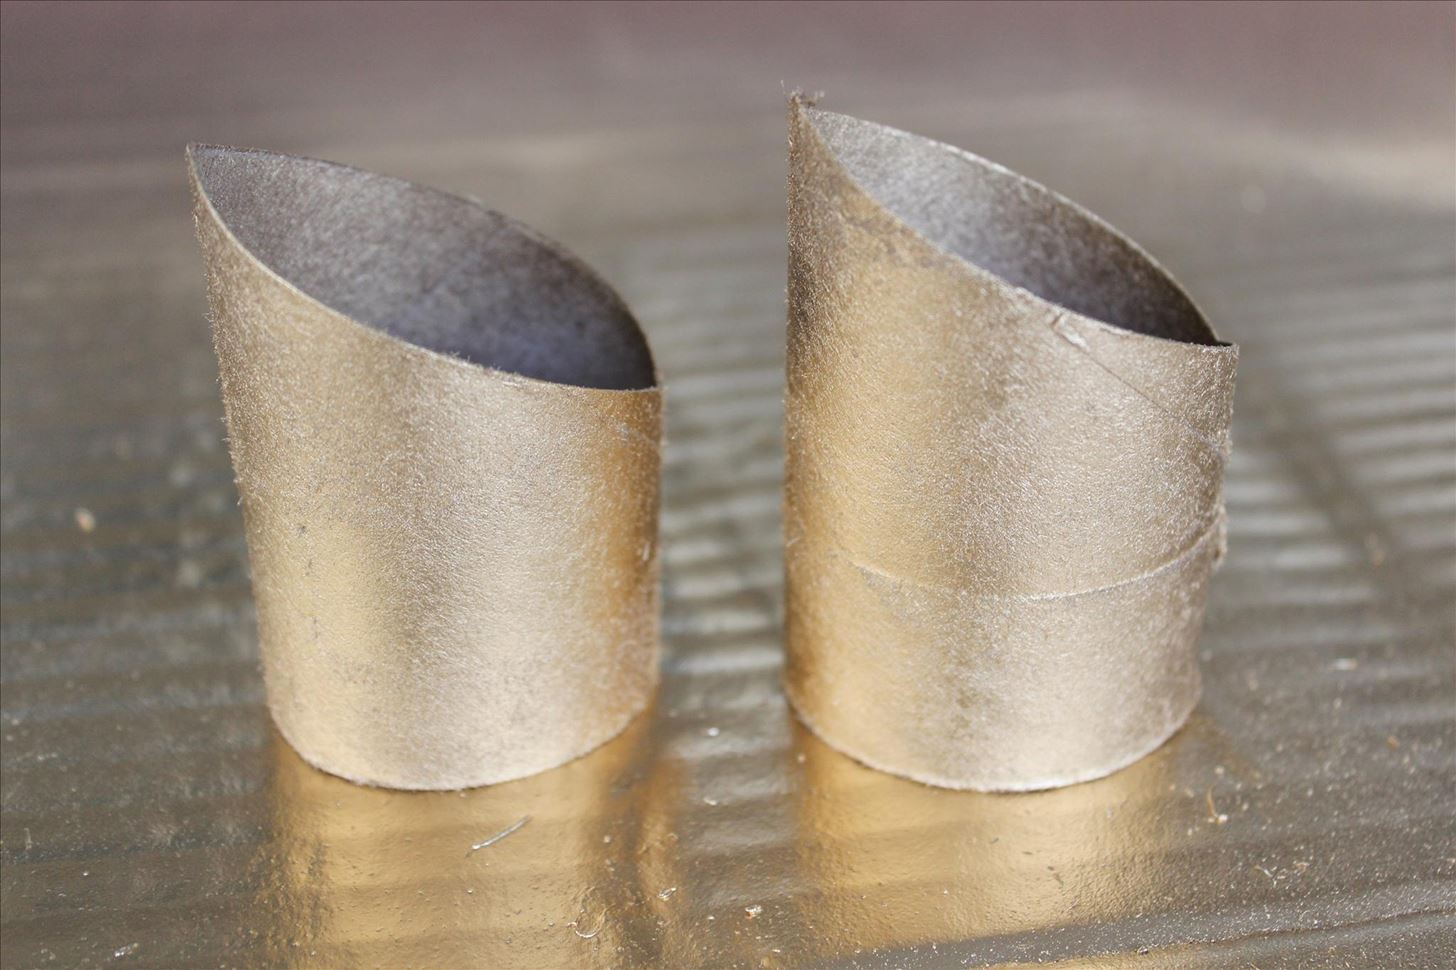
Step 2: Cut It in Half
Cut your Round Cardboard Thingie in half. You may want to use a Hinged Cutting Implement, which is also their technical name.
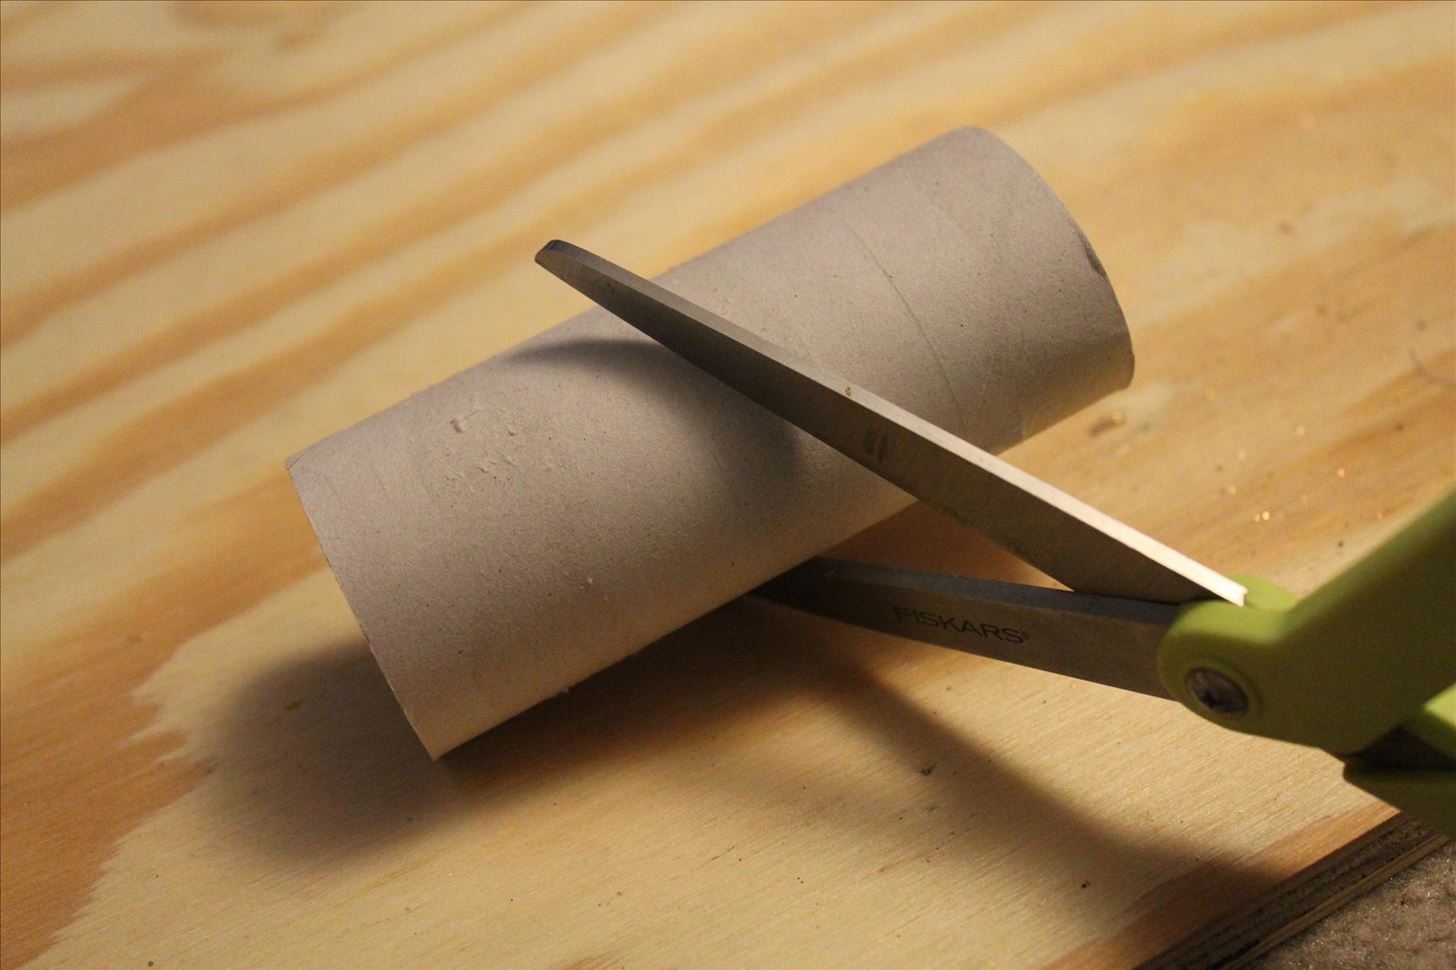
Cut it at an angle of about 45 degrees. That way both sides will match, like this:
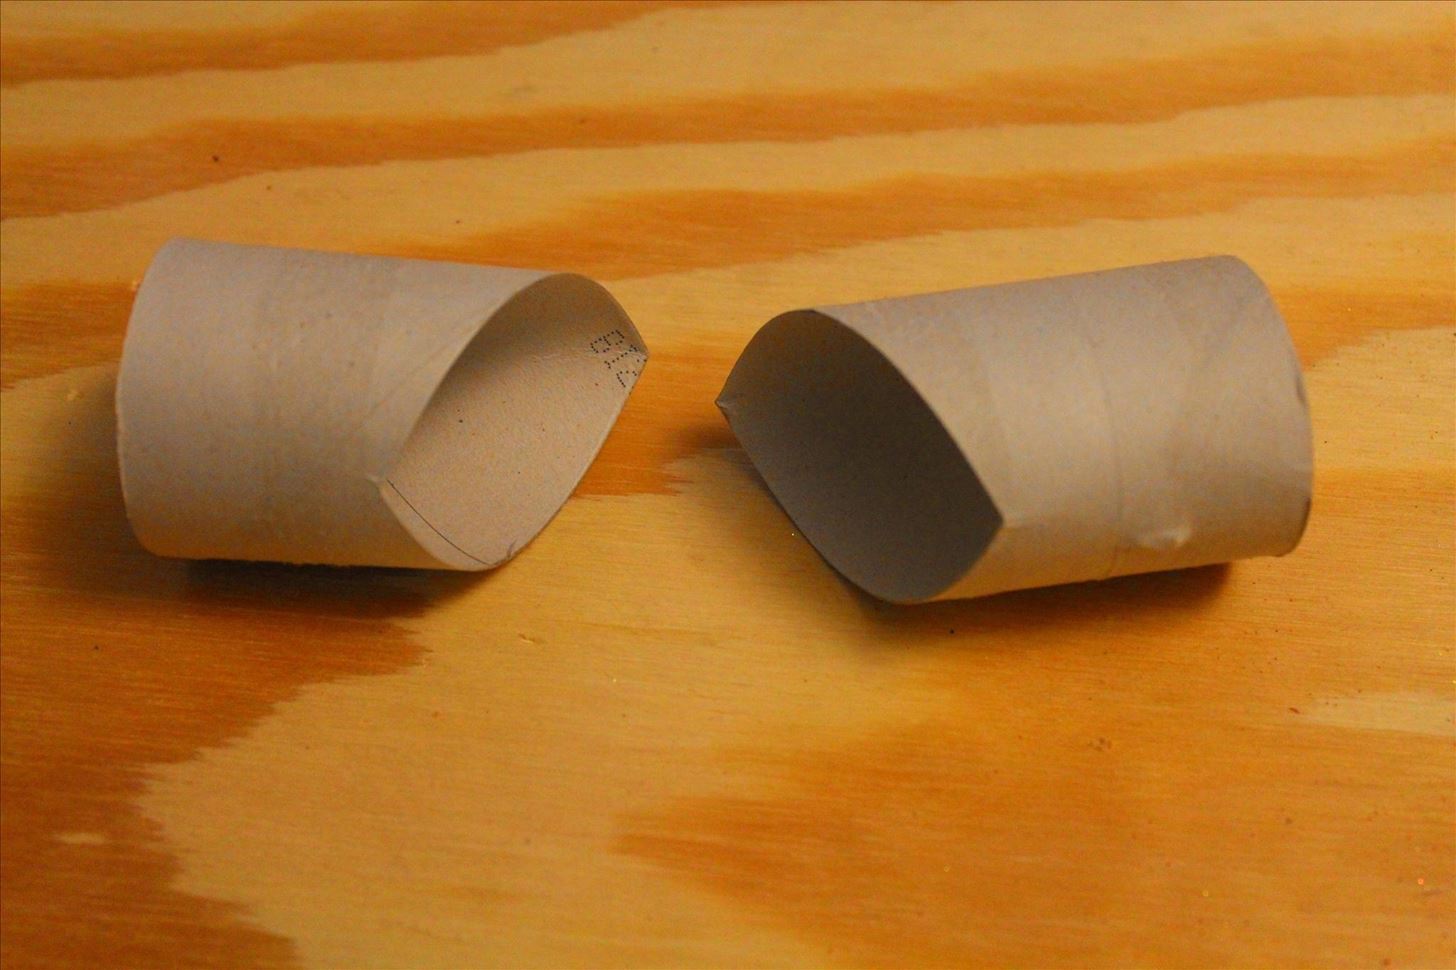
Isn't that like magic? It's amazing.
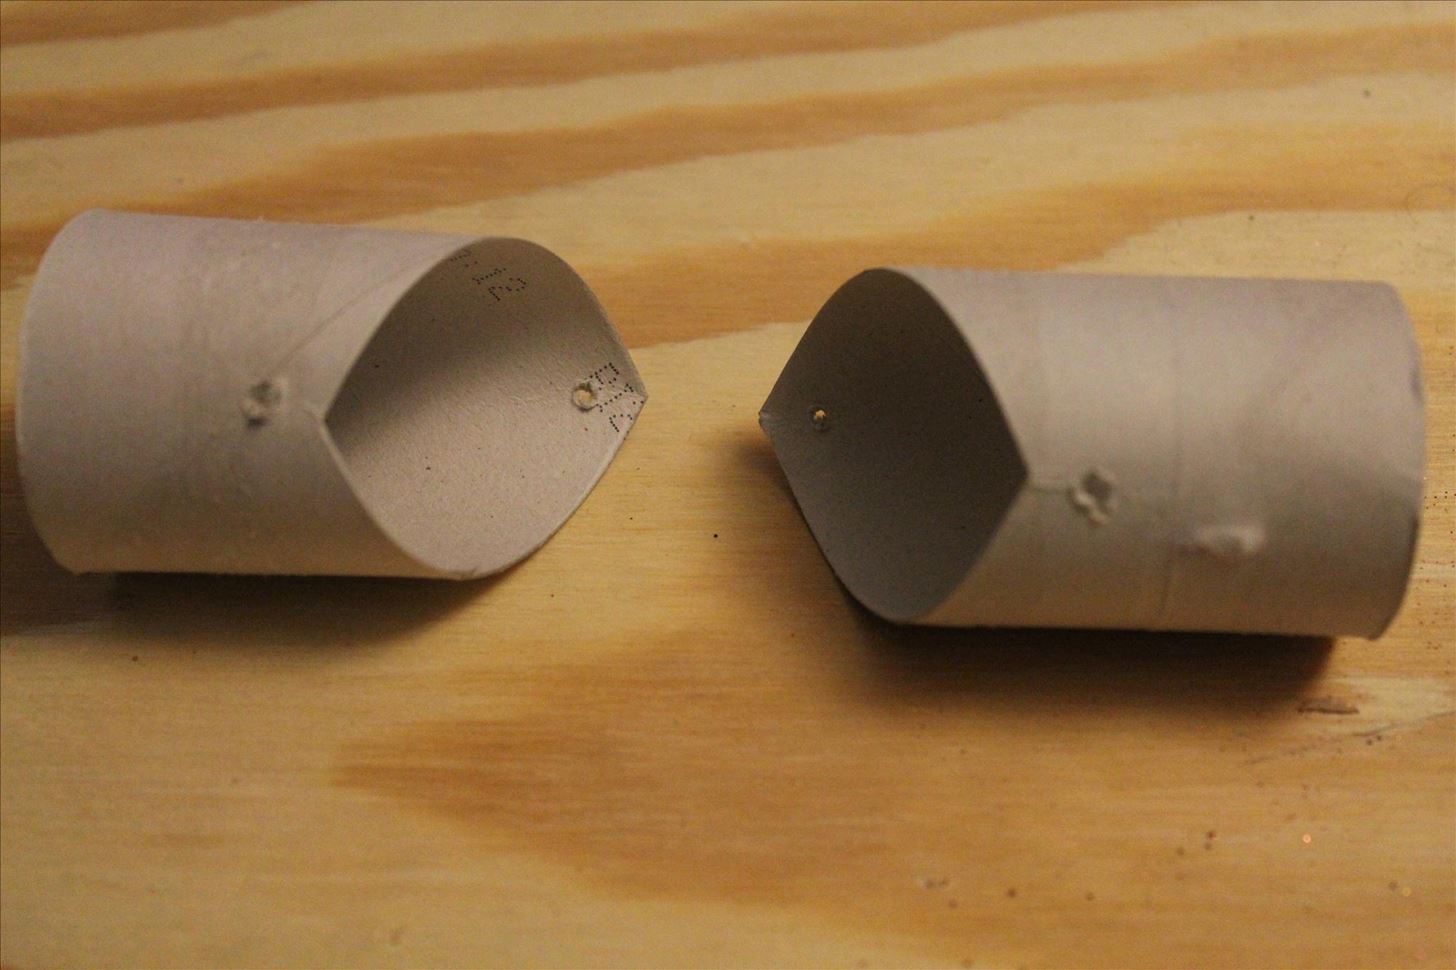
Step 3: Poke Holes in Your Round Cardboard Thingie
Poke a hole about a fourth of an inch in at both the apex and the nadir of each piece.
If you don't mind if your goggles are ugly, skip directly to step 9. That's the less-than-10-minutes route. If you want them to look good and are willing to spend a little more time on them, continue onward, brave soldier!
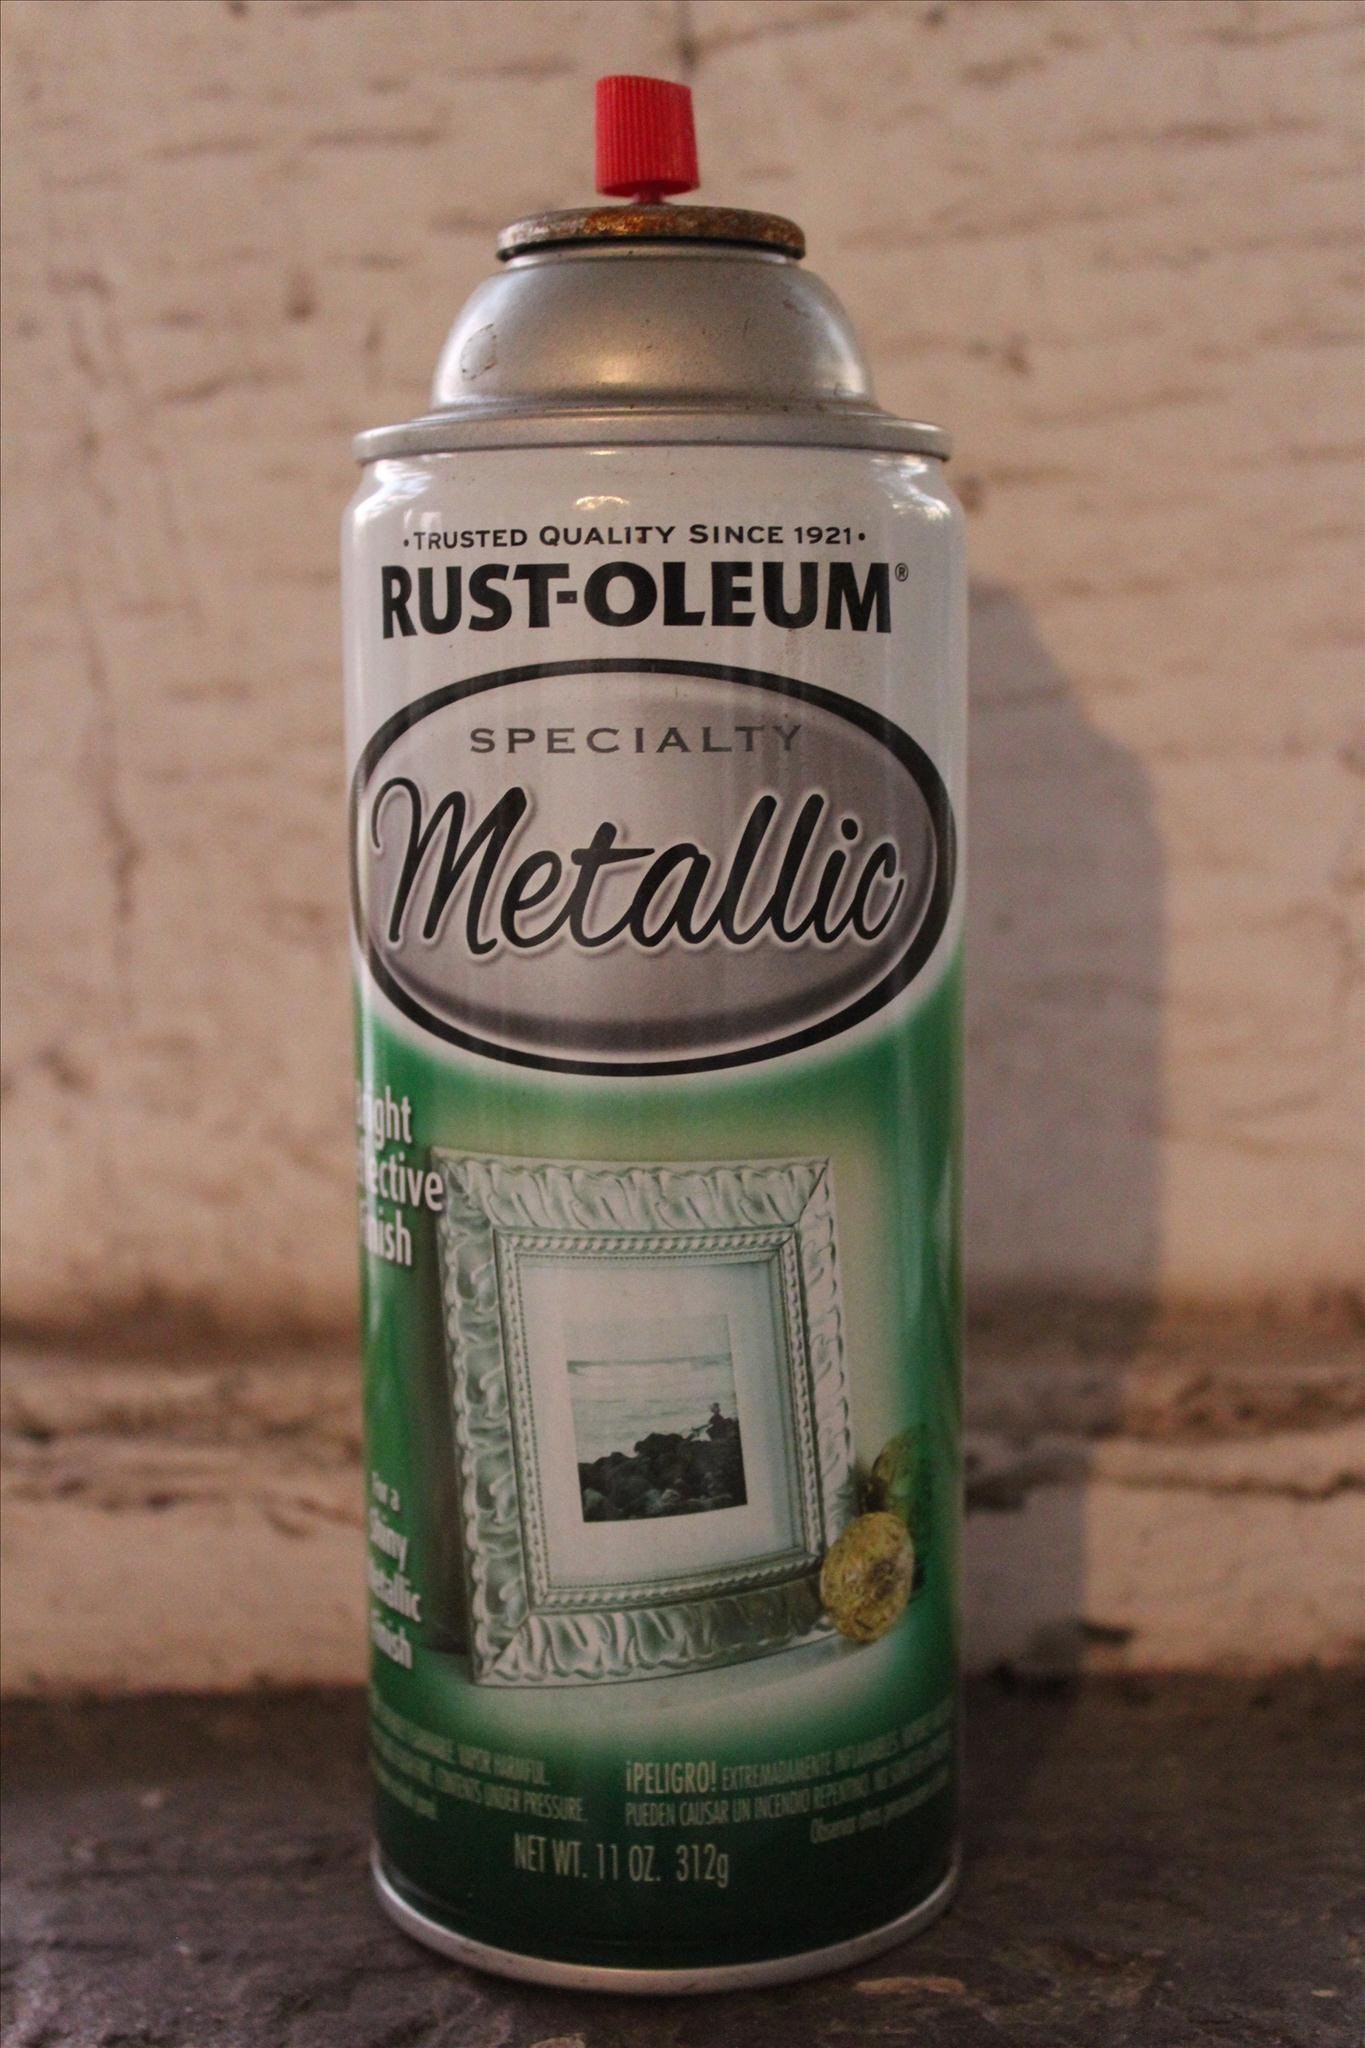
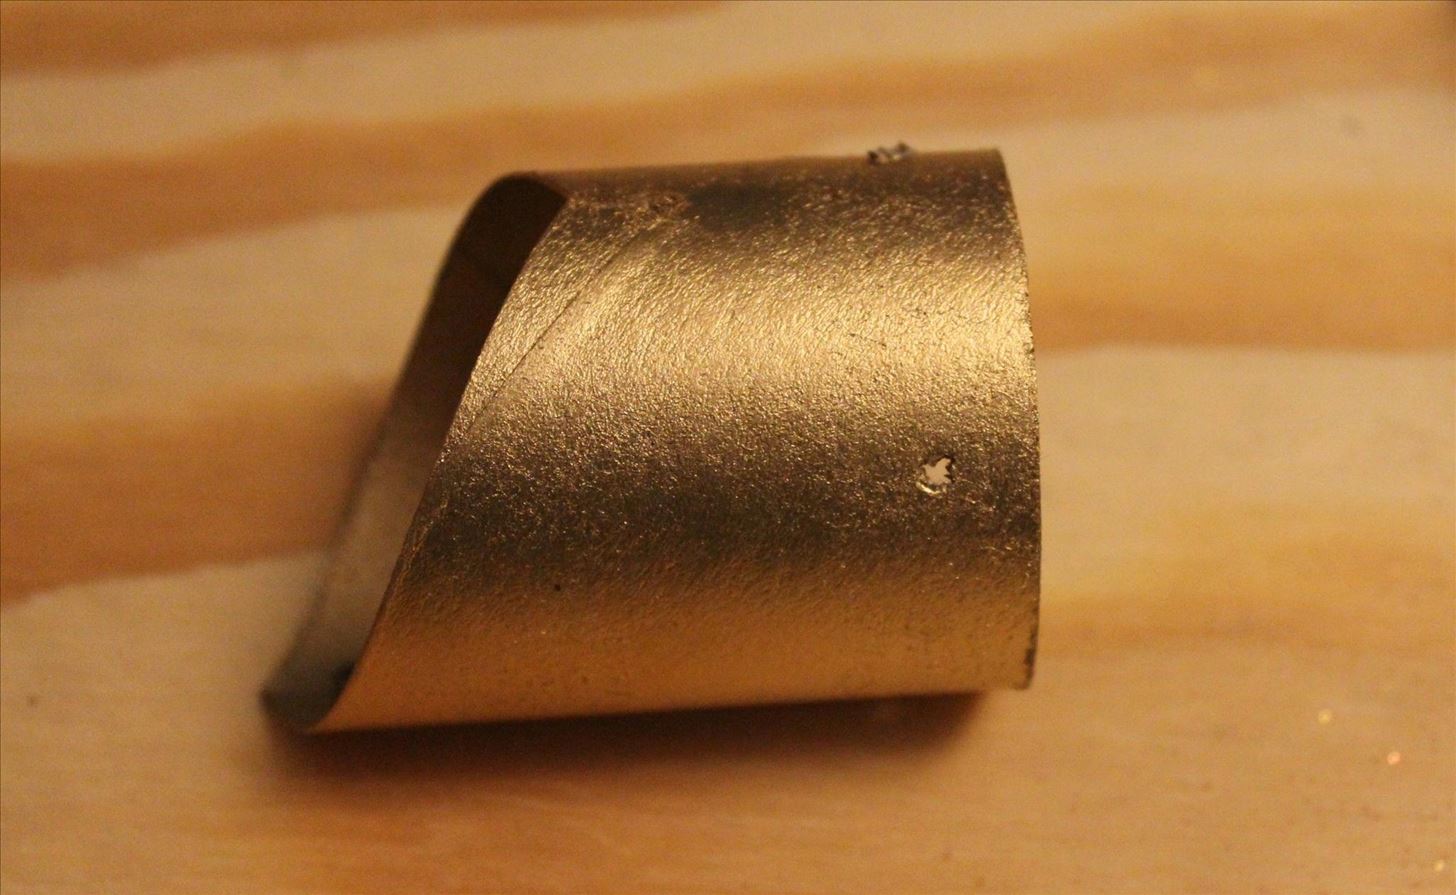
Step 4: Paint Your Goggles
This step is self-explanatory. Just paint them. If you're really cool, you can make use of my earlier tutorial about making anything look like metal. Yes, this even applies to Round Cardboard Thingies. I didn't go through the whole process because I'm lazy, but I still did three coats with sanding in-between.
In order to apply the paint, I used the following Atomizing Paint Dispenser:
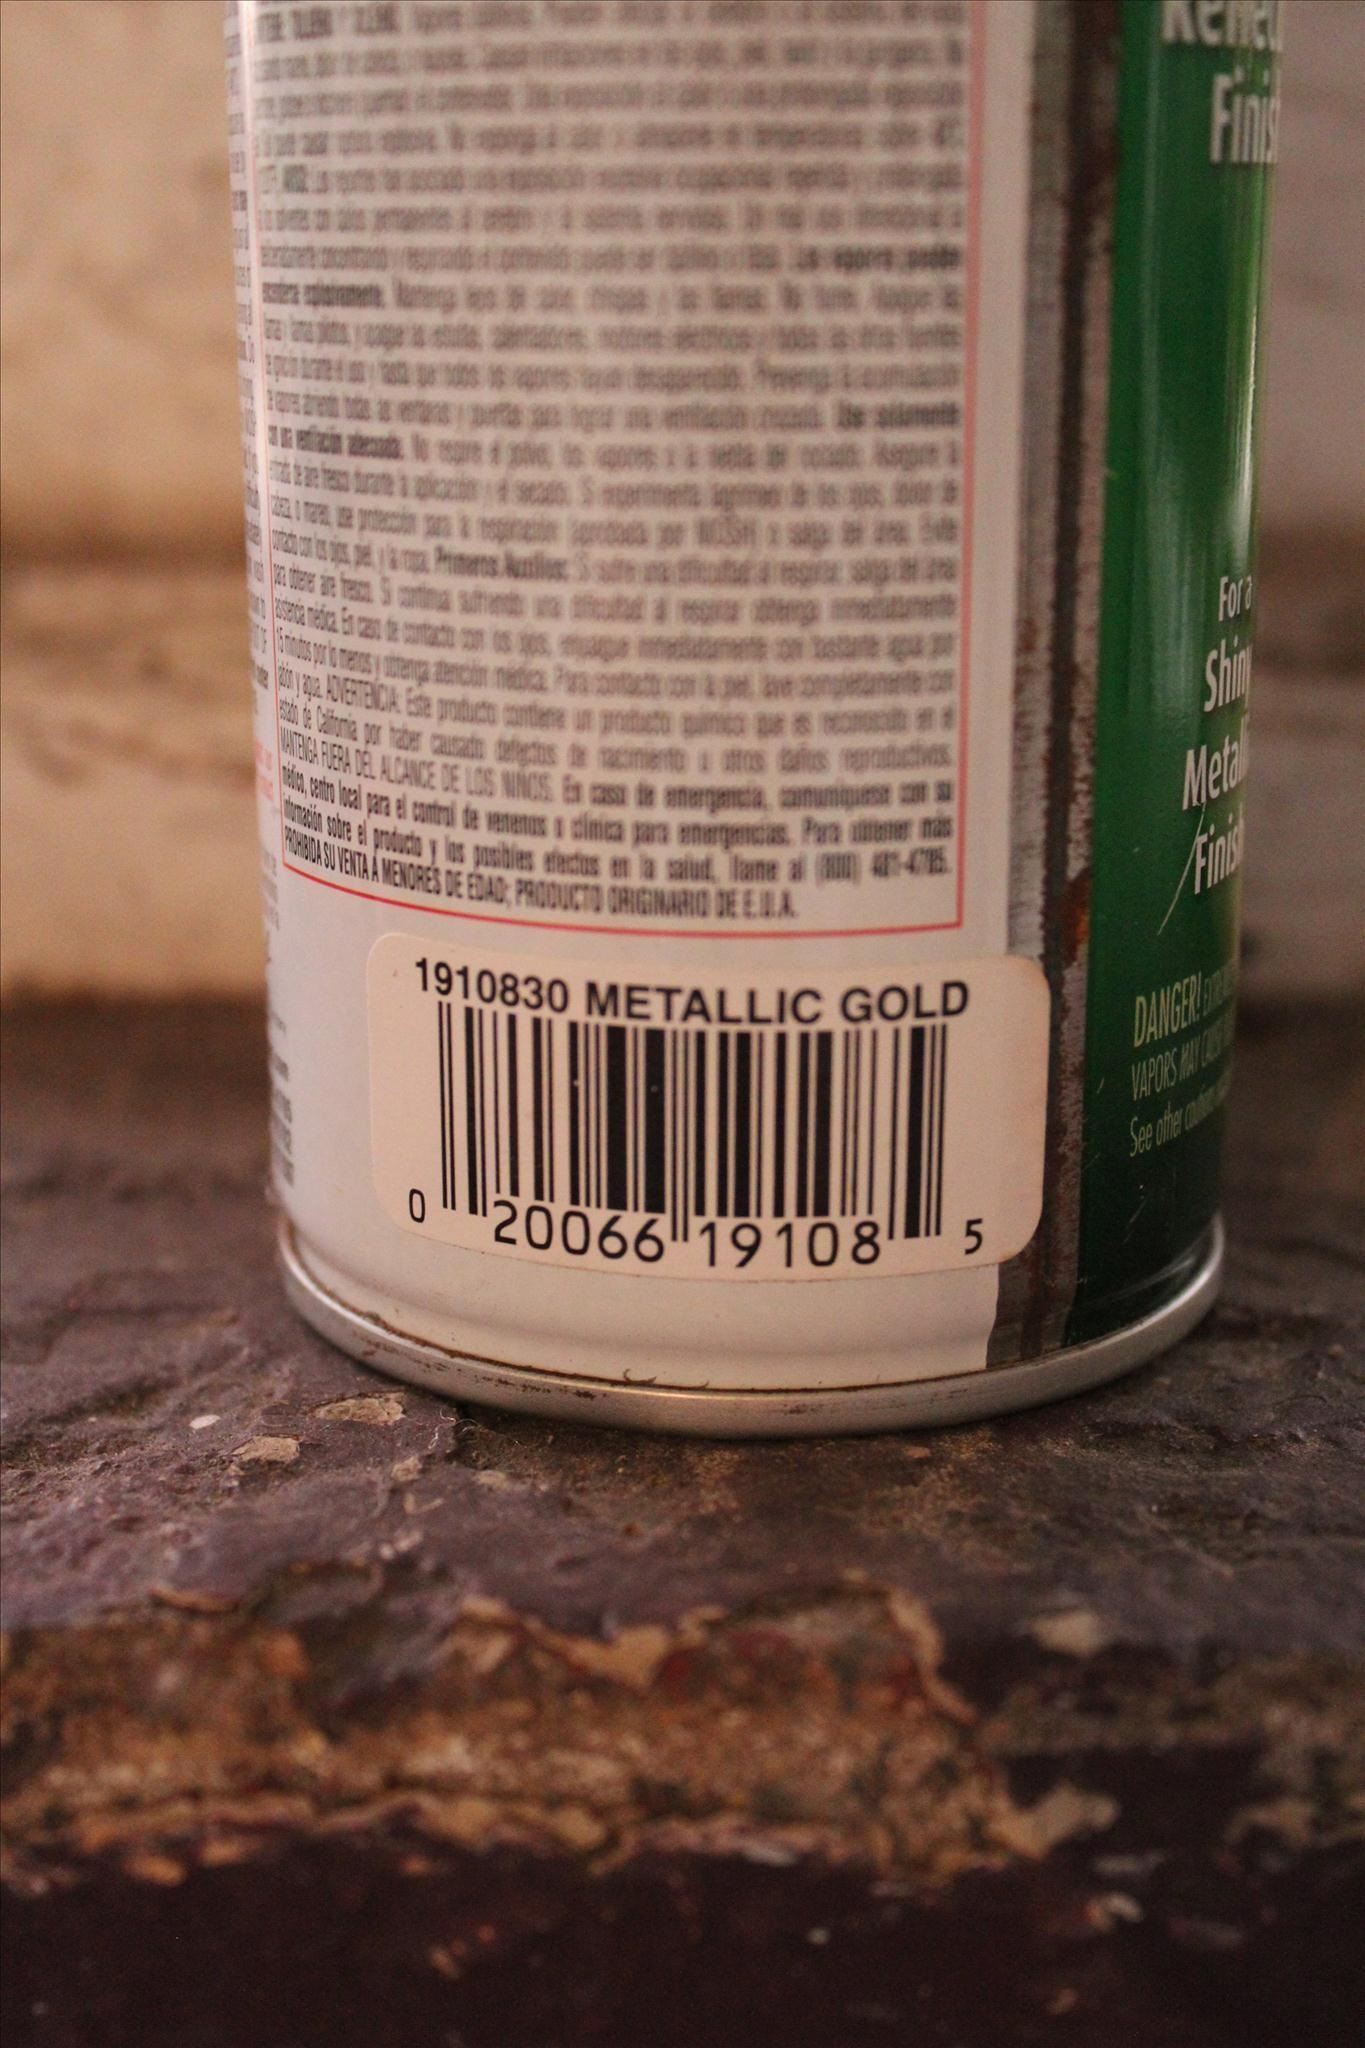
Once I applied the atomized paint, it looked pretty rough, so as I said, I alternated between sanding and painting a few times. This was the first coat:
You'll see the final product below.
Step 5: Poke More Holes in It
Once you're satisfied with the application of atomized paint on your Round Cardboard Thingie, it's time to poke a few more holes in it. This time you need four holes on each side, near the flat lip. Not the fat lip. That's something different.
Note also the nice paint coat. It could look better, but I didn't feel like spending the time on it.
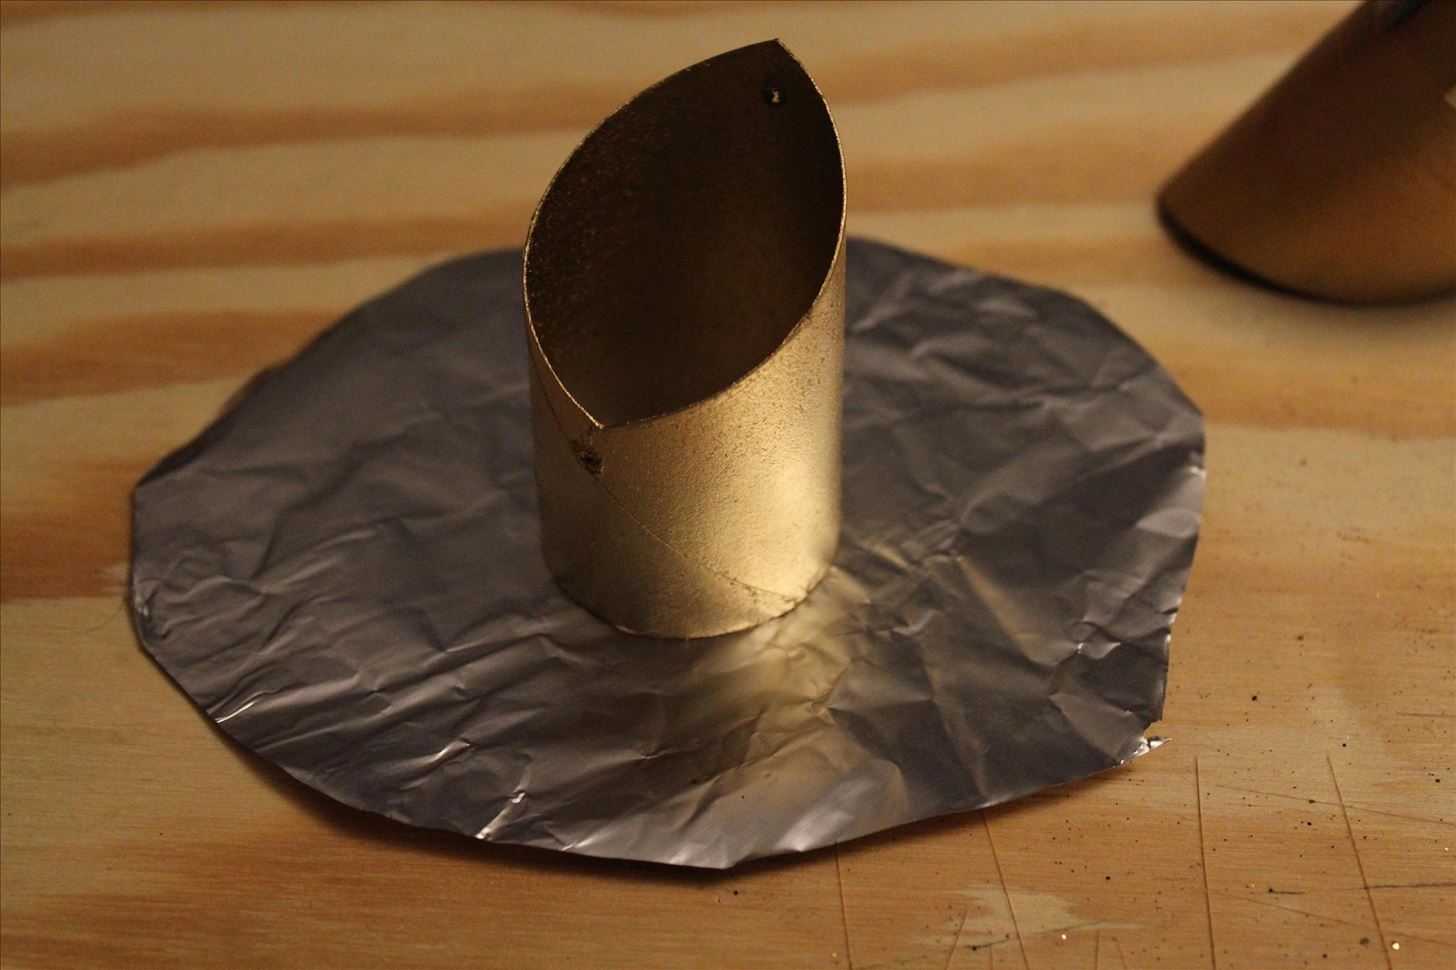
Step 6: Acquire Finely-Hammered Aluminum
You can use any number of different things that might be lying around your house, but I chose to use some Finely-Hammered Aluminum.
Cut a large circle. It doesn't matter if the circle is actually round or not, as you can see below.

In fact, the less round, the better. I hate circles. They're oppressive.
Now put your Round Cardboard Thingie onto your not-quite-circular piece of Finely-Hammered Aluminum.
Step 7: Cut Your Tin to Shape
Using a Thin, Sharp Implement, cut straight lines outward from the center where each of your holes is. This should leave you with four "straps", for lack of a better word, as well as a bunch of extra aluminum.
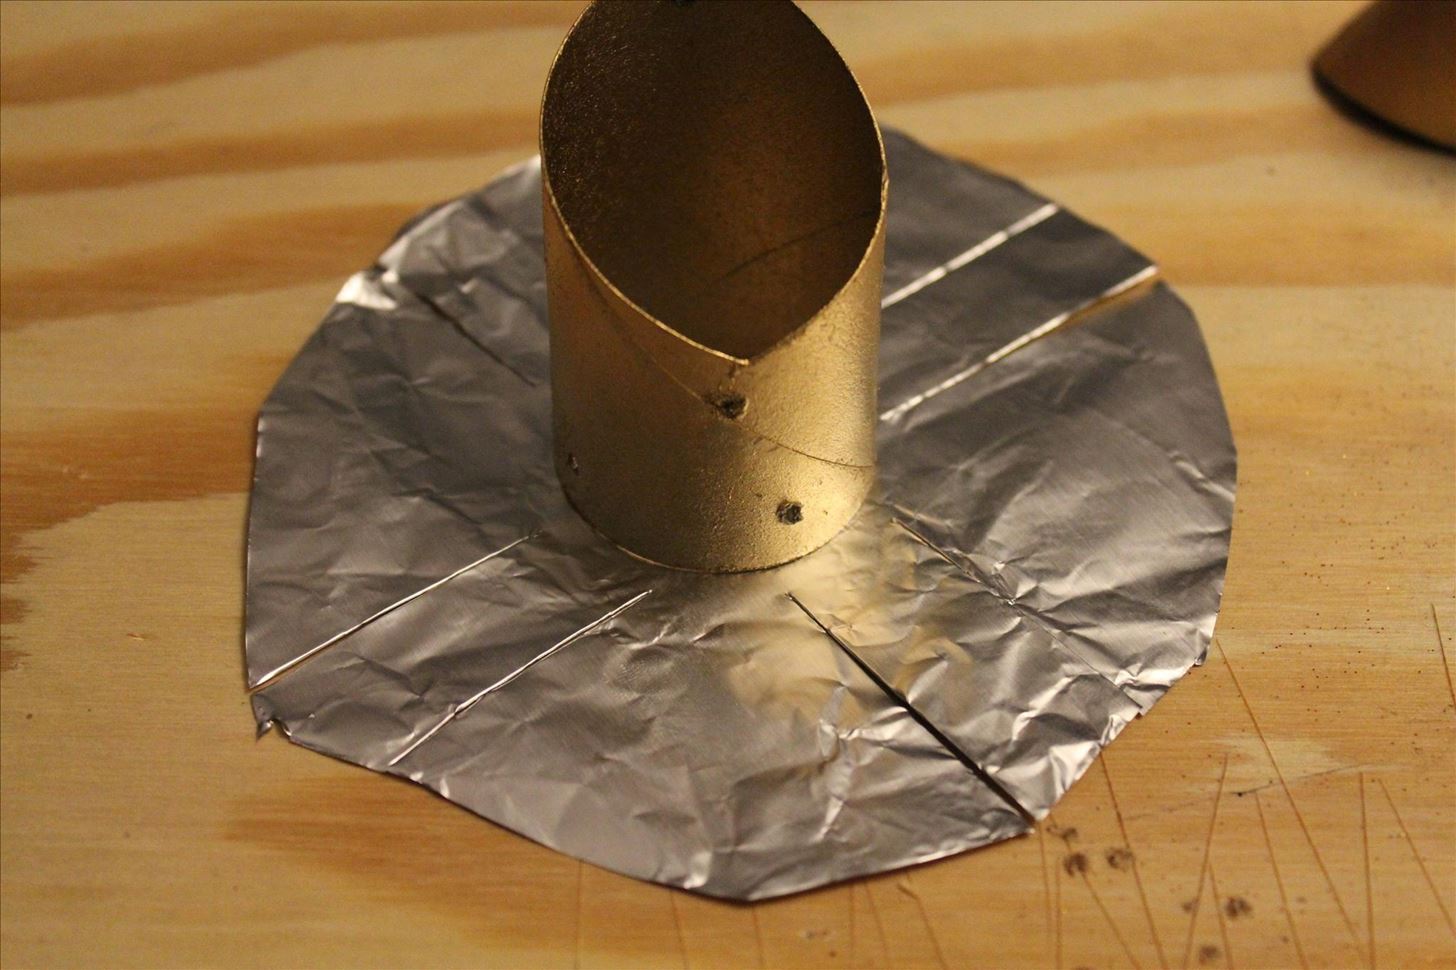
Trim the extra bit until just the straps are left.
You can see that my holes are off-center, because I don't like things that are too symmetrical. It throws off my entire groove, though you may find it appropriate to make yours more symmetrical for some ungodly, nonsensical reason.
Anyway, cut the straps down until you have only half an inch or so.
Like I said, not very symmetrical. It turned out exactly as I intended. Exactly.
Step 8: Attach Your Aluminum!
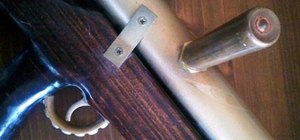
Now you're going to pull your Finely-Hammered Aluminum over the frames of your Round Cardboard Thingies, and attach them by sticking something into the holes you cut.
Pretty much anything you have lying around the house will work. I'm an awesome Steampunk, so I had brads that look like screws lying around. You may not be quite that awesome, but regular tacks will work, too. Just bend the pointy bit over from the inside, so that it'll stay. You could even use paperclips, but if you've come this far, try to use something a little more stylish.
I'll repeat: those are not real screws. They're brads that look like screws, just in case you were concerned. Though real screws would actually work, if you applied a little glue to them.
Step 9: Scrounge Up a Headband
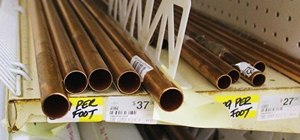
You need to be able to attach your Round Cardboard Thingies, which now look remarkably like goggles, to your head. You can use practically anything string-like for this task. Either real string, which I recommend, or as you will note, I had some insulated copper wire lying around, so I used that. Copper is Steampunk, right? So using copper wire is like, super Steampunk.
Step 10: Put Them on Your Head
I can't believe I have to tell you how to do this part. You just put them on your head. It's easy. Even a five-year-old like this guy could do it:

He's very mature for a five-year-old, which is because he's actually five in dog years.
Step 11: Accessorize It
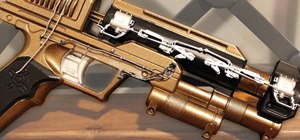
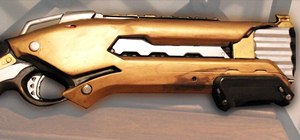
The only thing more Steampunk than goggles are Nerf Mavericks. The goggles alone will make you Steampunk, but pair it with a Maverick and no one will mess with you because you'll be too awesome.
I guarantee it, and you can take that to the bank.
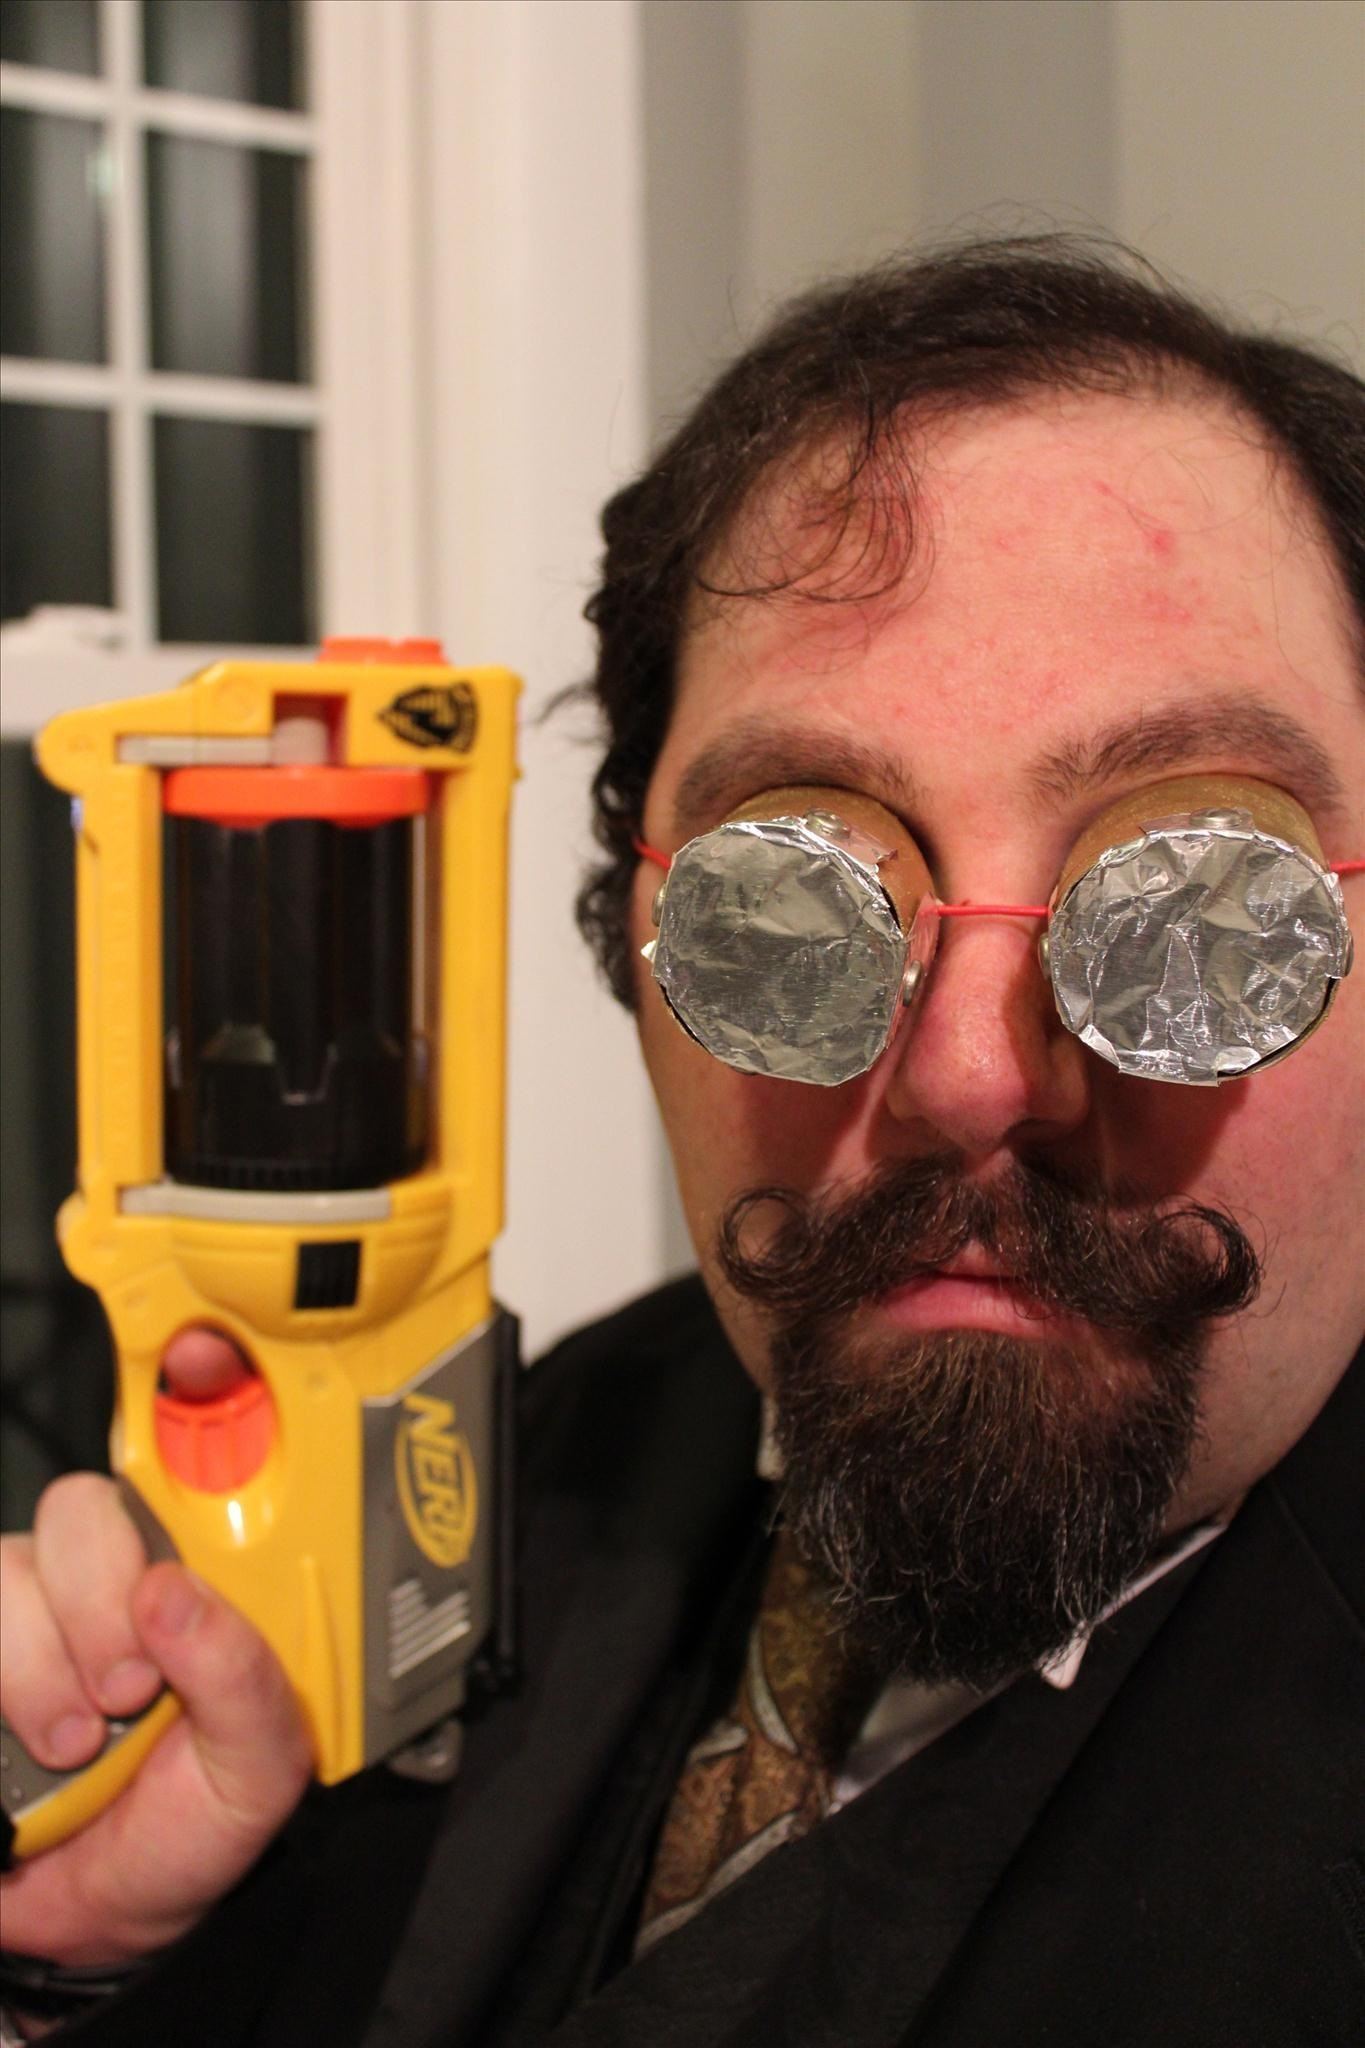
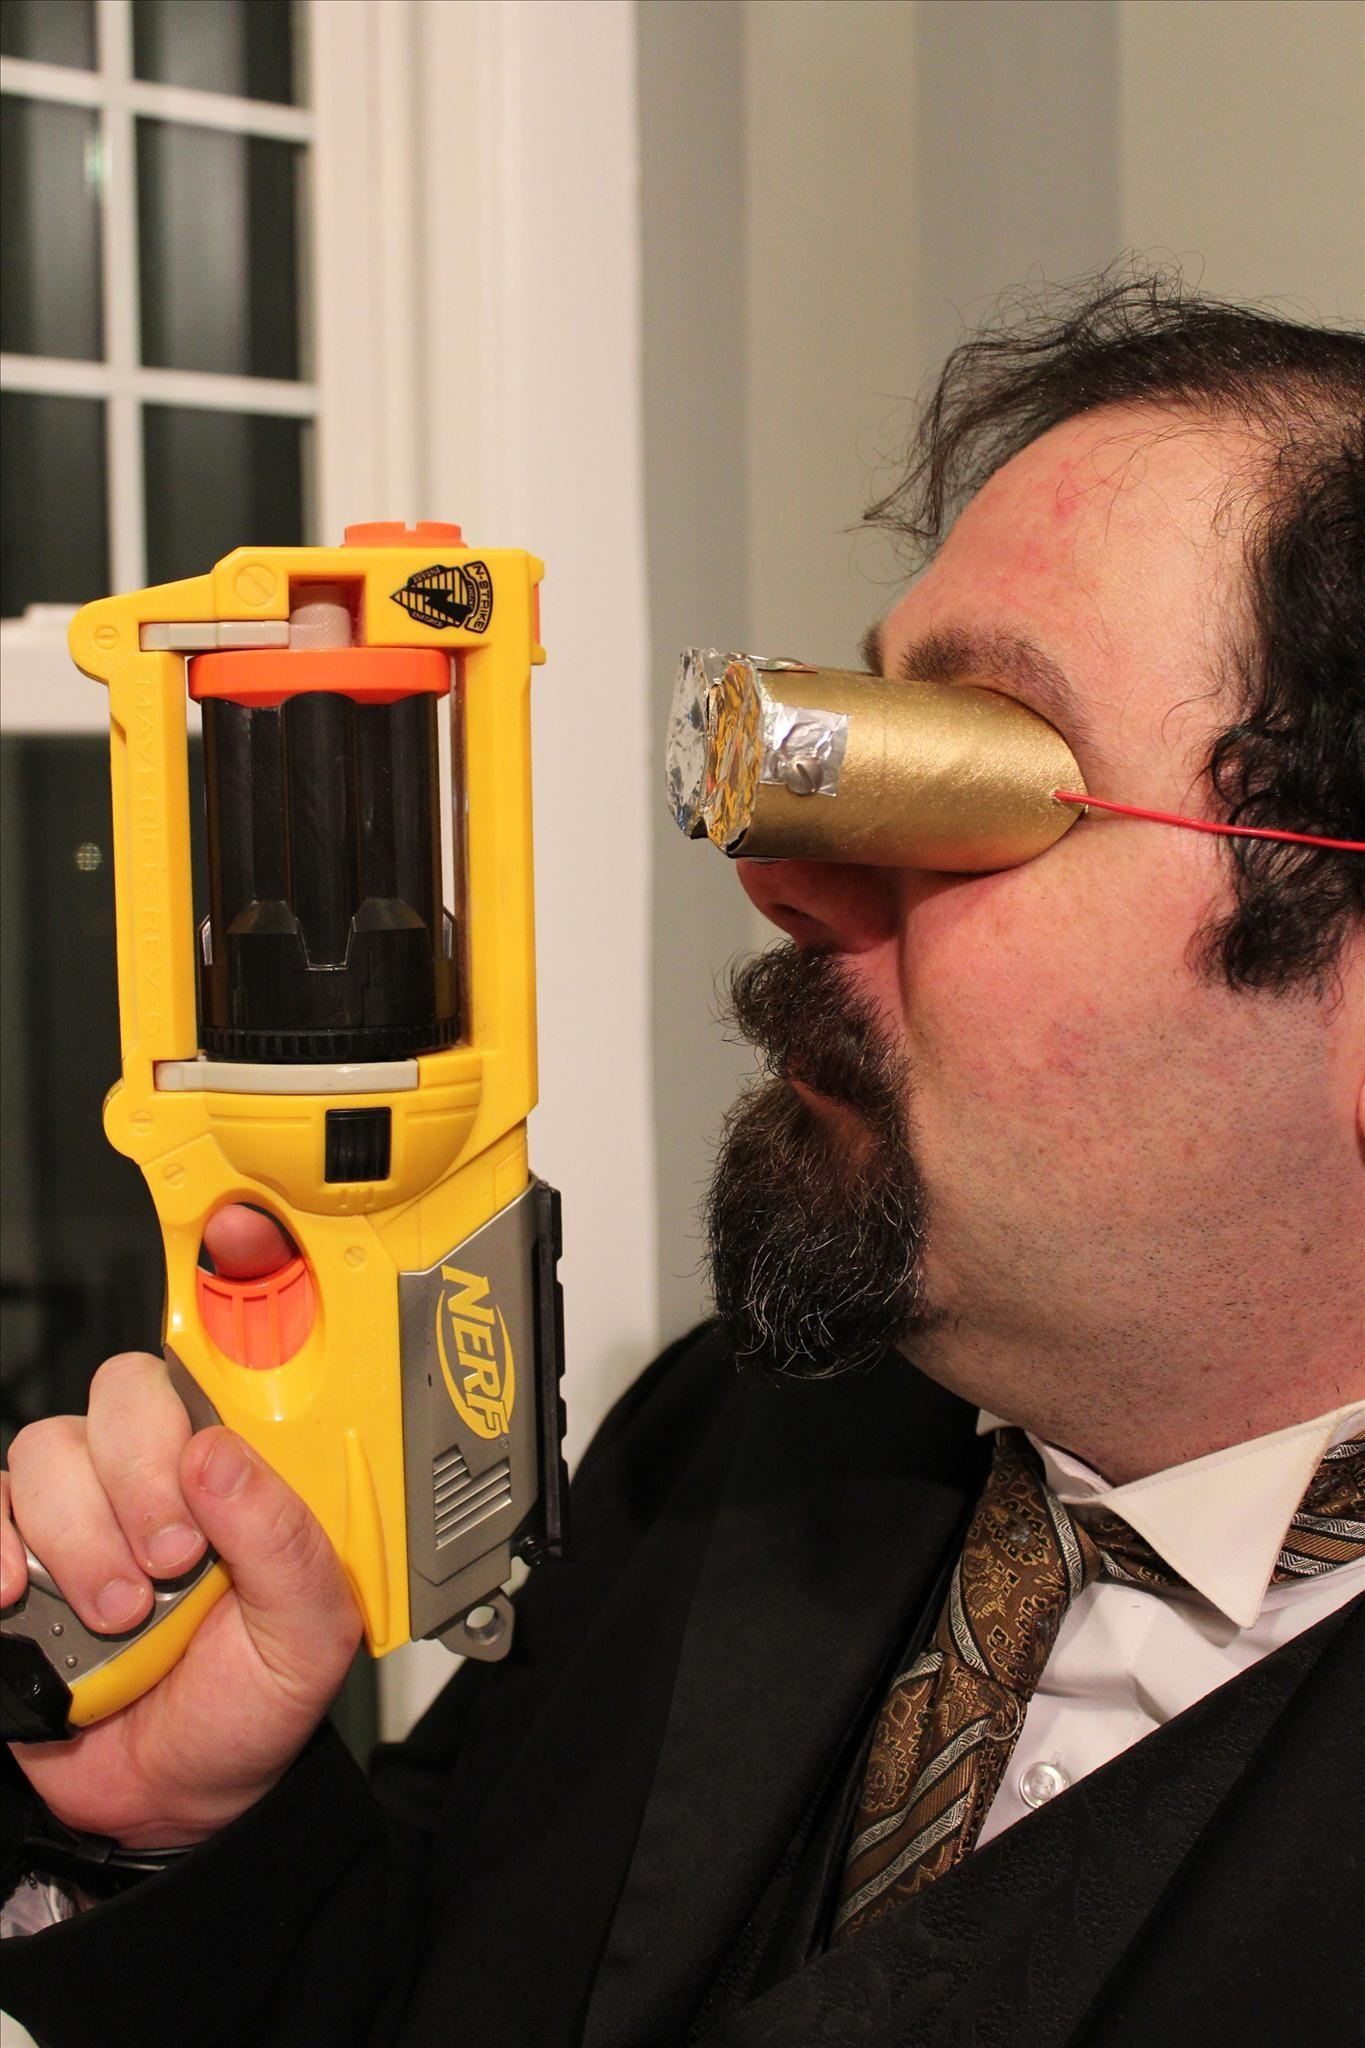
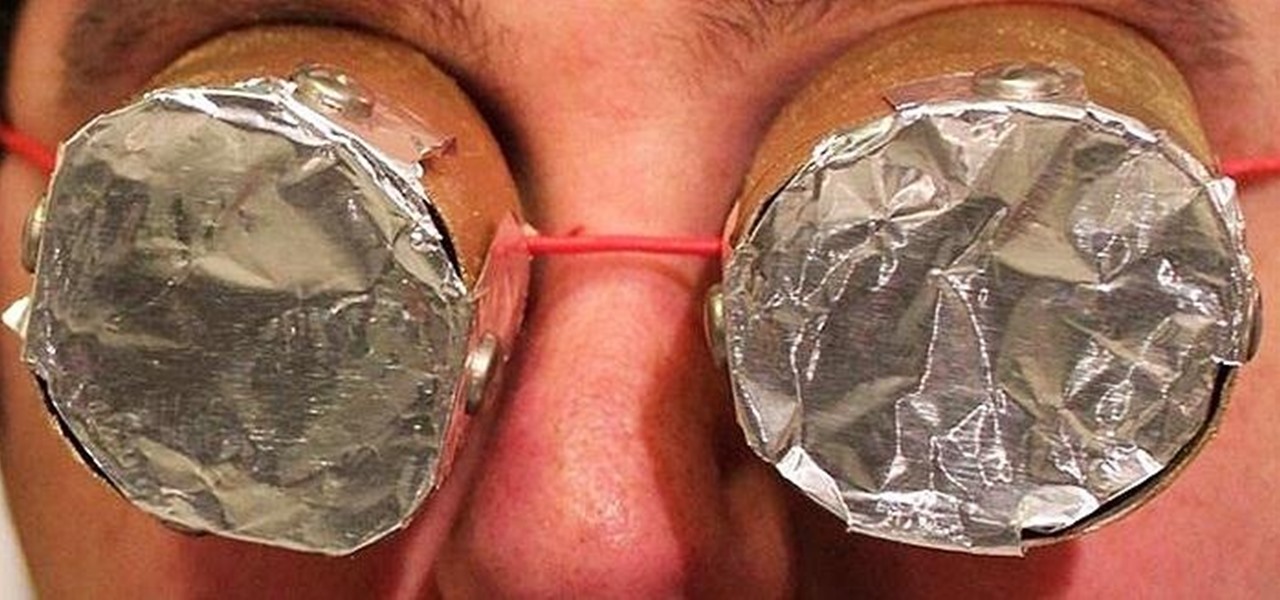
What's that? You can't see through aluminum? That sounds like your problem, not mine. Real Steampunks don't wear goggles over their eyes, anyway.
If you wear your goggles over your eyes, the International Steampunk Council will deduct Steampunk points from you faster than Snape takes points from Gryffindor. If you lose too many points, you'll be forbidden from ever being a Steampunk again. I think the guy in the above pictures is probably only a hairsbreadth away from being ejected from Steampunk. This is serious, I mean it. The High Grand Arbiters from the ISC don't mess around.
Now that you have your own goggles, respect the power that comes with them or else you'll wake up one day as a beakless duck, and no one wants that.
Disclaimer: While the above tutorial will, in fact, make you the pair of goggles shown, the rest of the text is extremely facetious. The International Steampunk Council doesn't exist. Honest.
Just updated your iPhone? You'll find new emoji, enhanced security, podcast transcripts, Apple Cash virtual numbers, and other useful features. There are even new additions hidden within Safari. Find out what's new and changed on your iPhone with the iOS 17.4 update.


6 Comments
These would have been so much better if they had matched your gun. ;)
You knooooow, I actually thought about that. But I didn't have Nerf-colored paint sitting around.
I did, however, briefly consider just spray-painting the gun gold. Not taking it apart and doing it nicely, but just spraying the whole thing down so that it matched.
In the end, I didn't do it, obviously. More due to the fact that I ran out of paint than anything else.
...should'a left the TP on the roll...now THOSE would be good goggles for you! You steampunks are weird! (now a bunch of people will yell at me for not understanding steampunk-see what you've made me do now!!!)
I should clearly have just cut a full roll of toilet paper down the middle, and worn those as goggles. =)
Found this post by searching for proper goggles for my costume. Gave me the perfekt idea. So here you can see what I made from this. (And read, if you can translate my German ^^)
I'm going to be using a pair of swimming goggles! Just need to steampunk them then I'll be all set!! They're similar to these, but they're completely clear and there's only one black band on it.
Share Your Thoughts