
In the first part of this two-part guide, I covered cutting, grooving, beveling, making holes, and stamping/tooling. I hope you enjoyed that part, because we're pushing the accelerator to the floor and moving ahead at full speed!
Covered in this section will be:
- Burnishing
- Dying
- Sealing
- Riveting
- Stitching
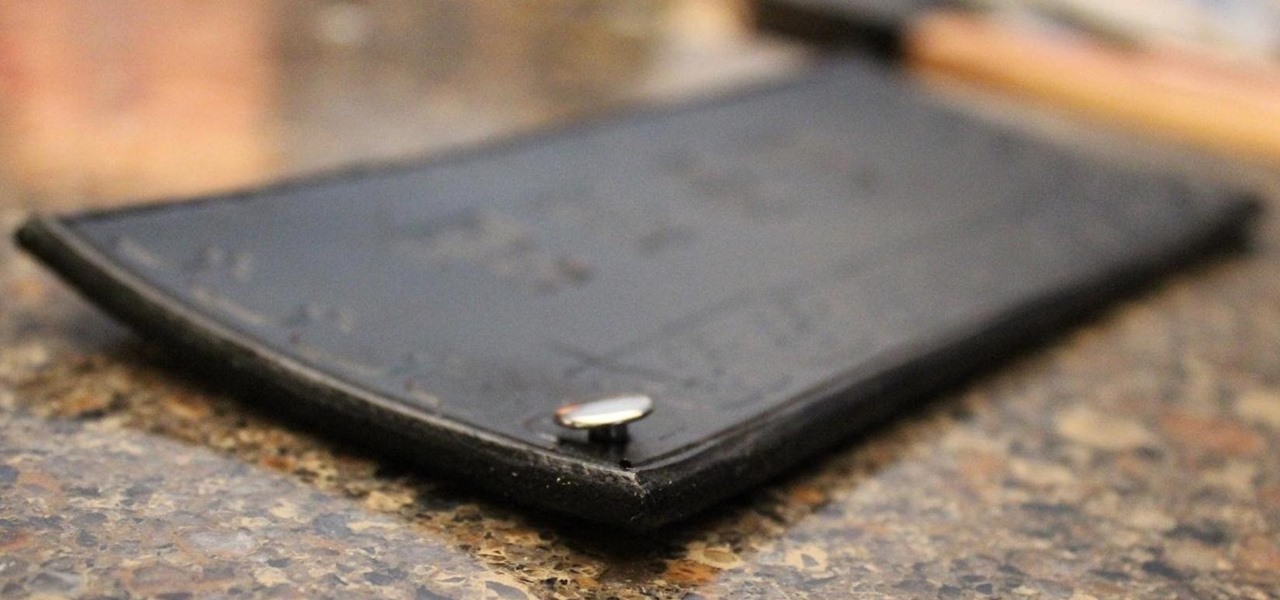
Burnishing
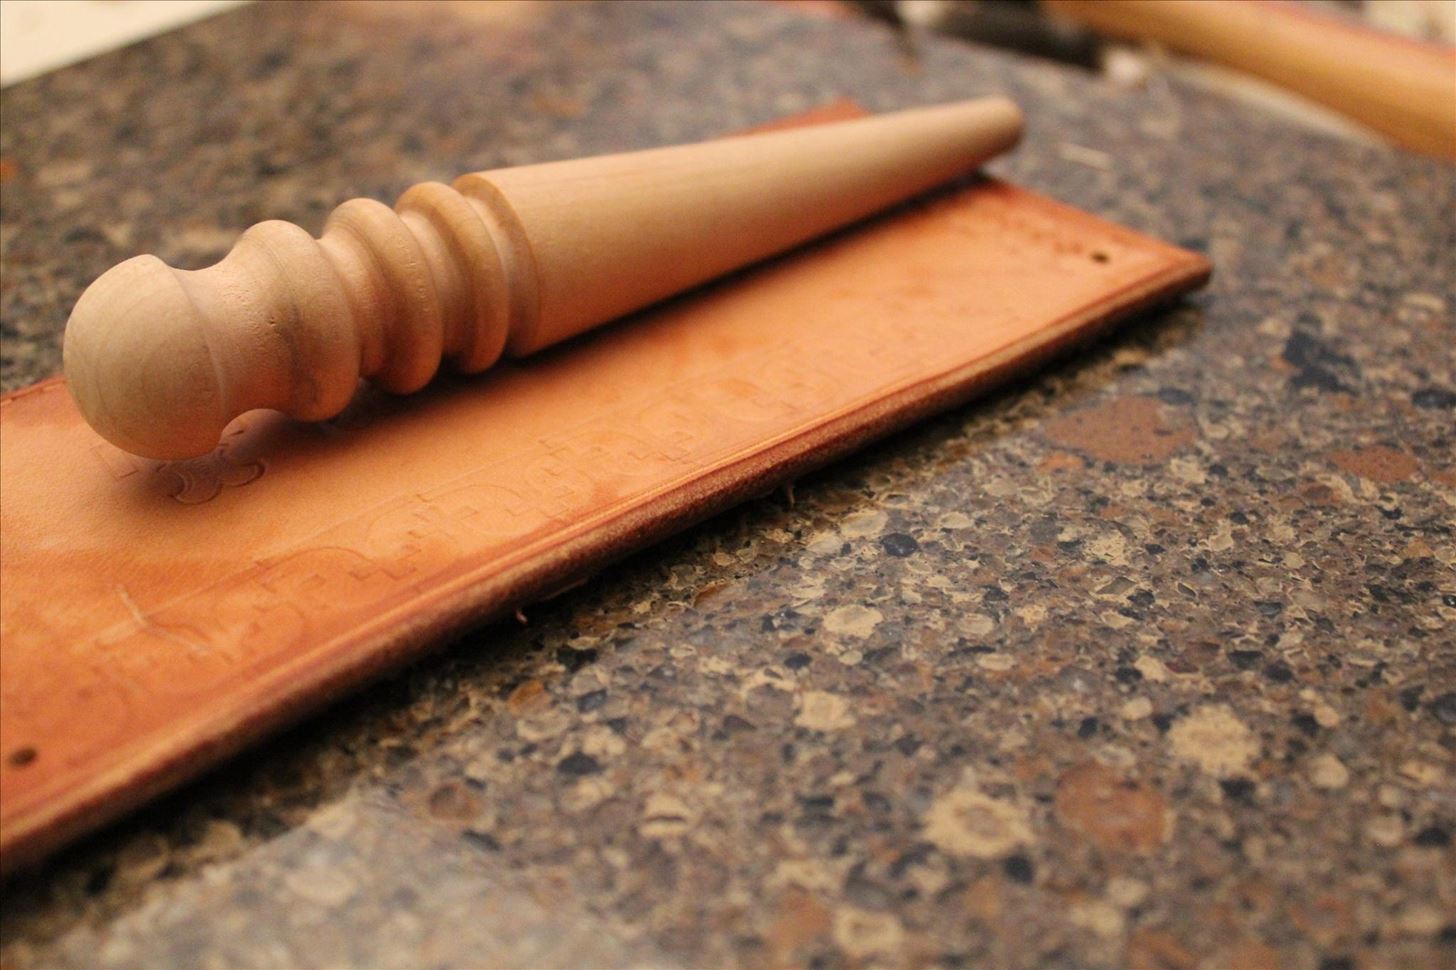
Burnishing is when you smooth out the edges of your leather, basically. There are a variety of tools you can use, but they're all some variant of this:
What you do is to wet the edge of your leather, and then put one of the grooves of the burnisher on it. You then rub the burnisher back and forth over the edge while exerting mild to moderate pressure.
This smooths out the edge, and makes sure that you won't get little frayed pieces of leather over time. It keeps everything nice and neat. When done, you should have a completely smooth, rounded edge.
Dying
Once all of that is done, your leather should look exactly how you want it to look when it's done, minus dying and finishing. Once you dye it, it's a pain to go back and alter anything else. You can still punch holes once it's dyed, but you have to be careful about what will show in the finished product.
If you dye it and need to add more stamping, for example, you'll have to strip all the dye off of that piece, because when you get it wet, the water will affect the dye, and you'll have a blotchy, ugly finished product.
So once you've committed to passing this point-of-difficult-return, it's time to dye!
There are three main types of leather dyes: water-based, oil-based, and alcohol-based. There are pluses and minuses to each.
- Water-based dyes are the easiest to work with, and they're the easiest to clean. However, they don't provide the most even coats.
- Oil-based dyes provide the smoothest, most even coats, but the problem is that not many colors are available in this format.
- Alcohol-based dyes provide the brightest, most interesting colors, but can offer unpredictable results.
Personally, I tend to go with oil-based dyes when I can, as I far prefer having even coats. And especially since I mostly do Steampunk stuff, I usually only want to use browns, anyway, which are available in abundance in oil. However, the technique I'll show you works for all the different types of dye.
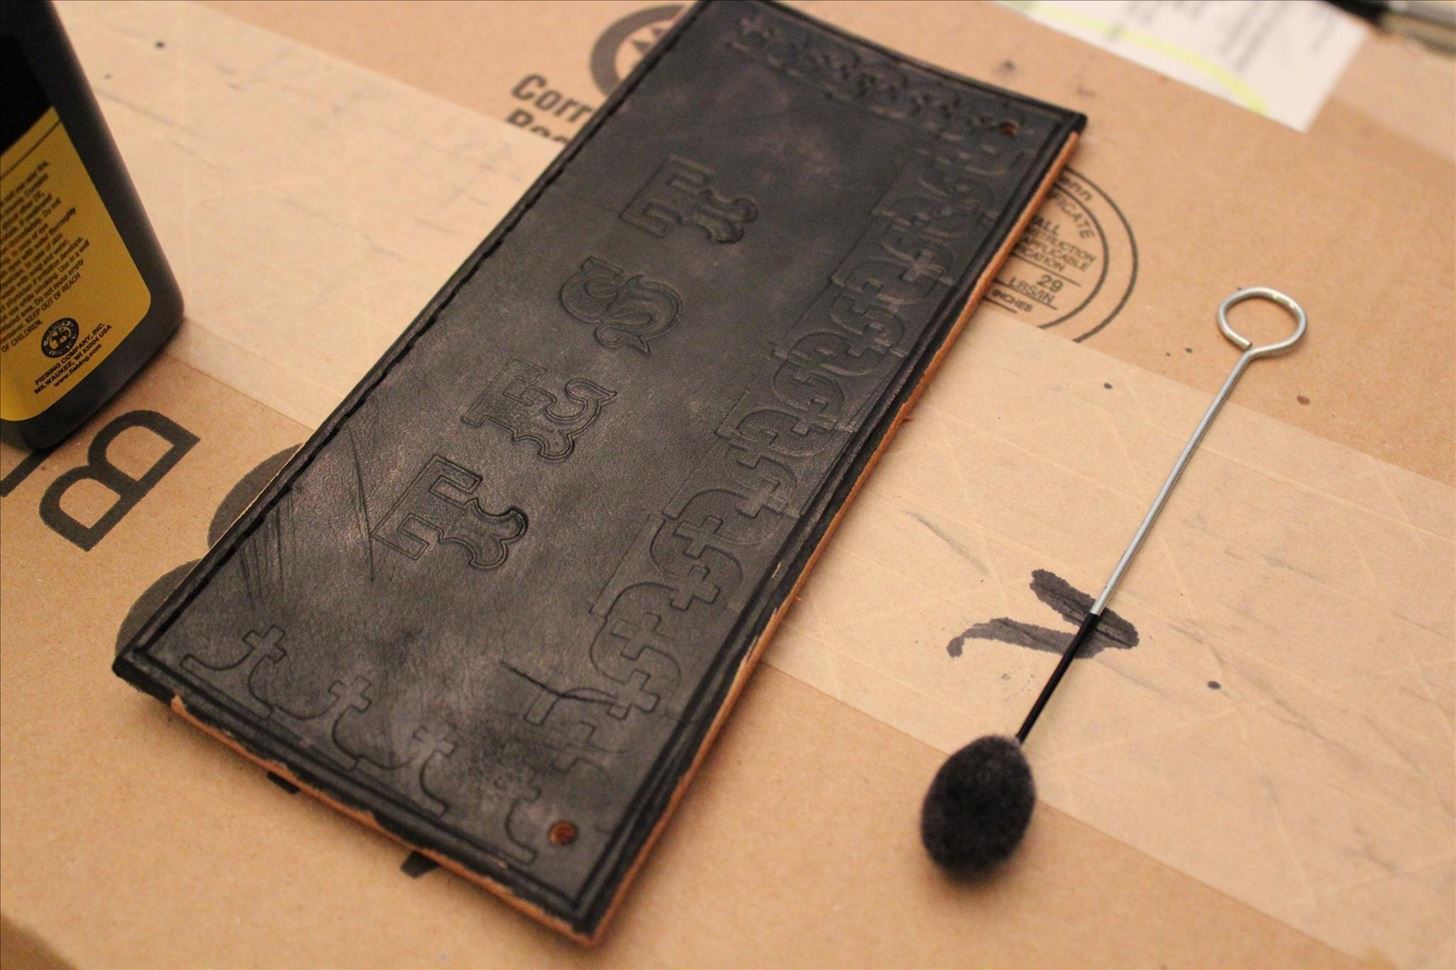
As you can see below, I'm using oil dye. I've decided to use black, because that's what I had lying around. The applicator that you see below isn't cotton, though it may look like it. It's actually a wool swab at the end of a metal rod. The wool soaks up the dye and gives you a very even application that you may not get with cotton, so I really recommend it.
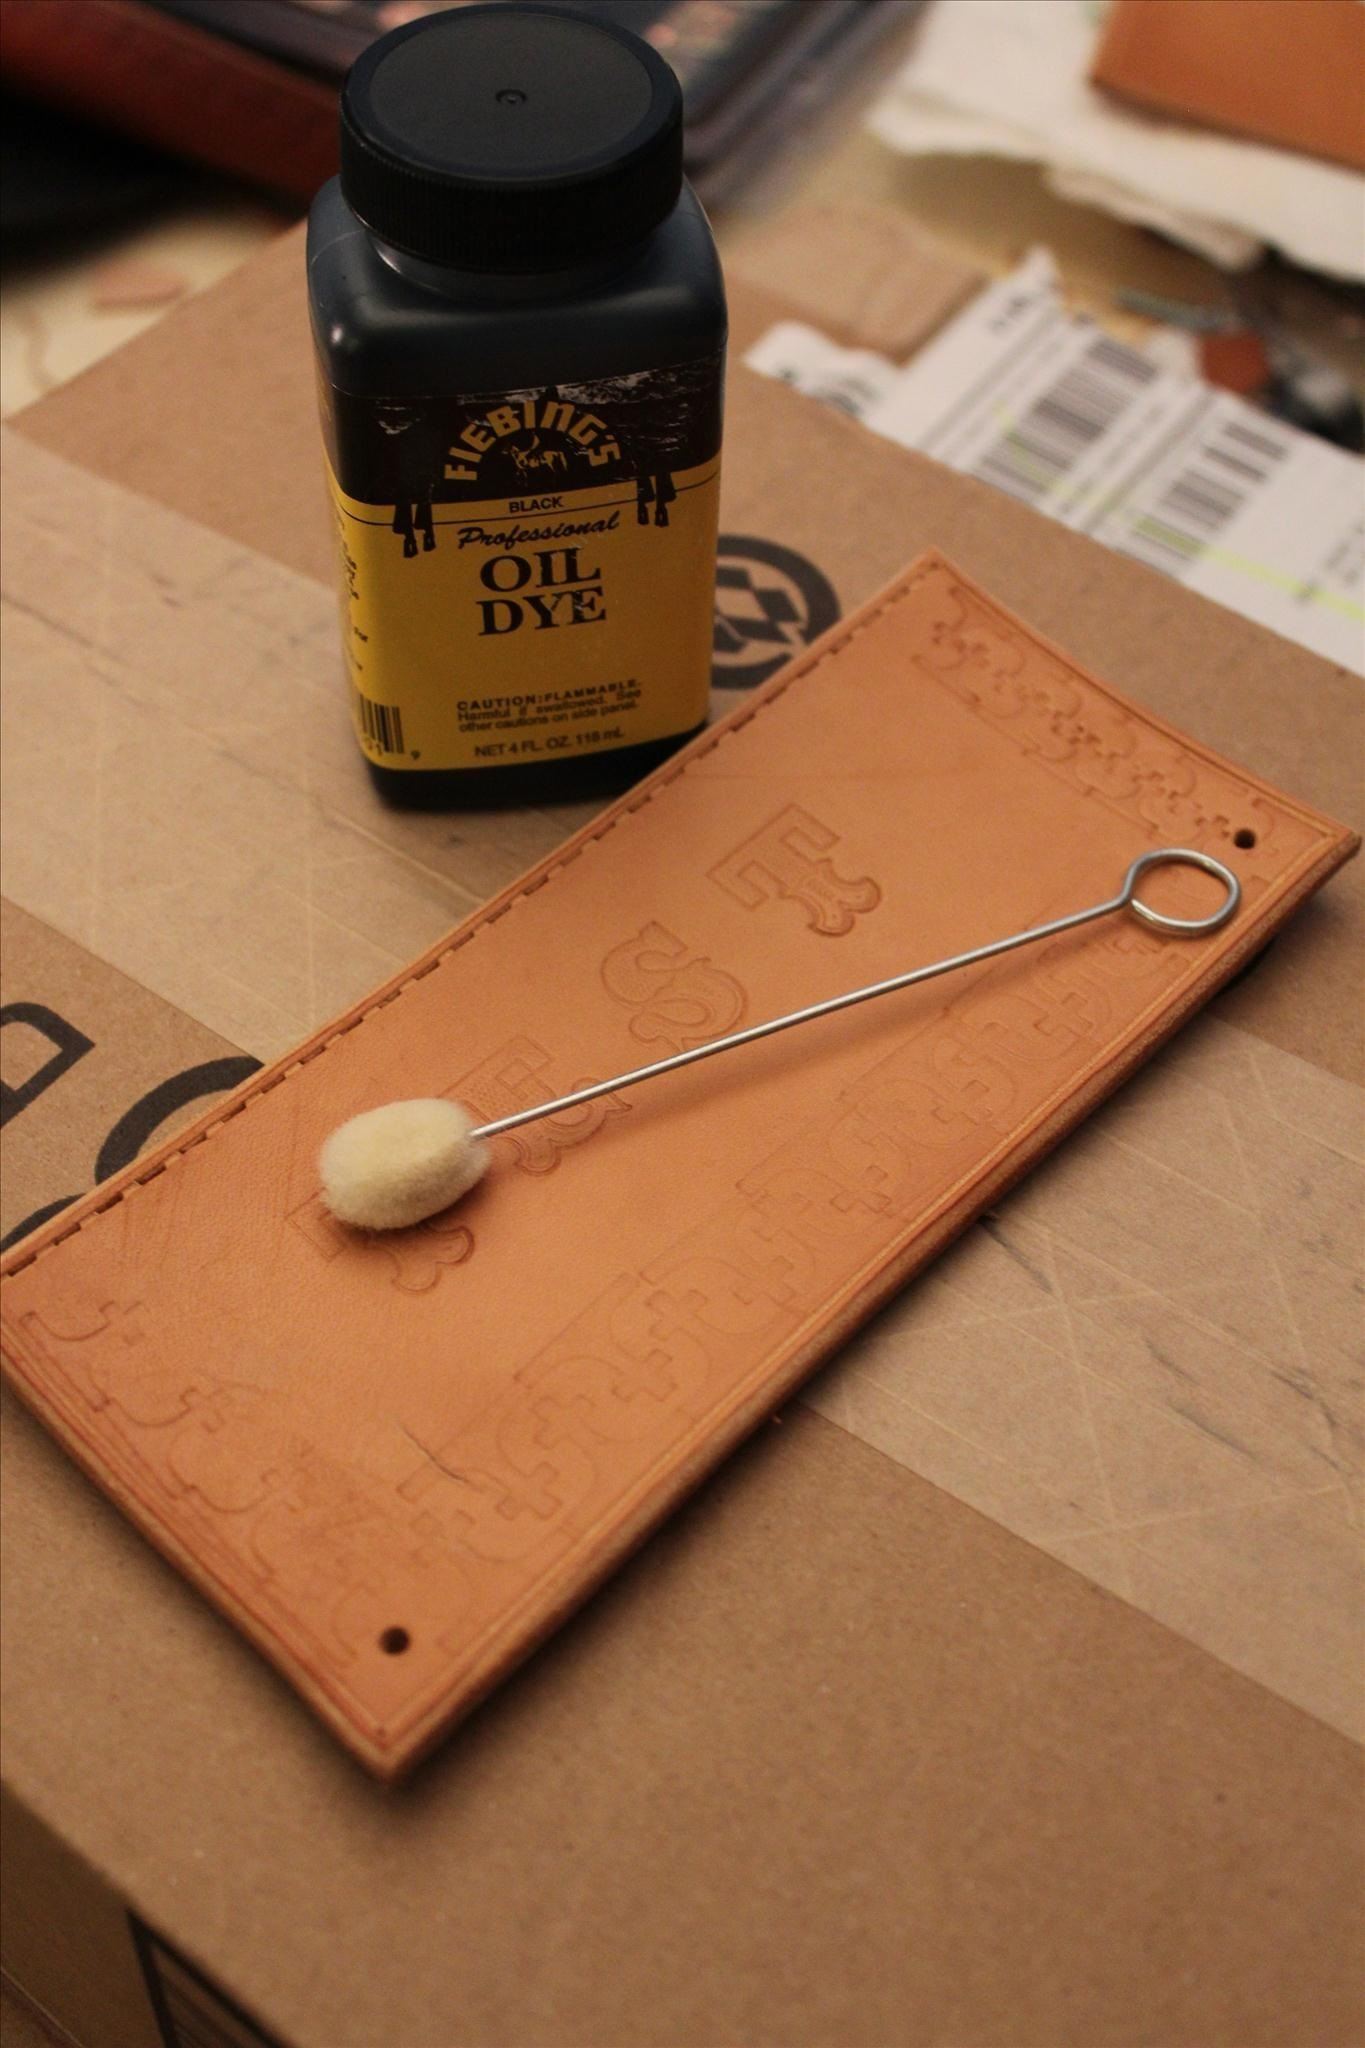
It's pretty easy to apply. All you have to do is dip the swab into the dye, and then slowly and evenly rub it onto the leather. I recommend shaking the swab lightly while it's still inside the dye jar so as to remove and big drops of dye. With oil, drops aren't such a big deal, since the oil evens out over time, but it can really make your leather look terrible if you're using water or alcohol-based dyes.
At this stage, no matter what dye you're using, your leather will look splotchy. There's no way around it. But the good news is that you don't have to worry too much, as it'll even out some as it dries.
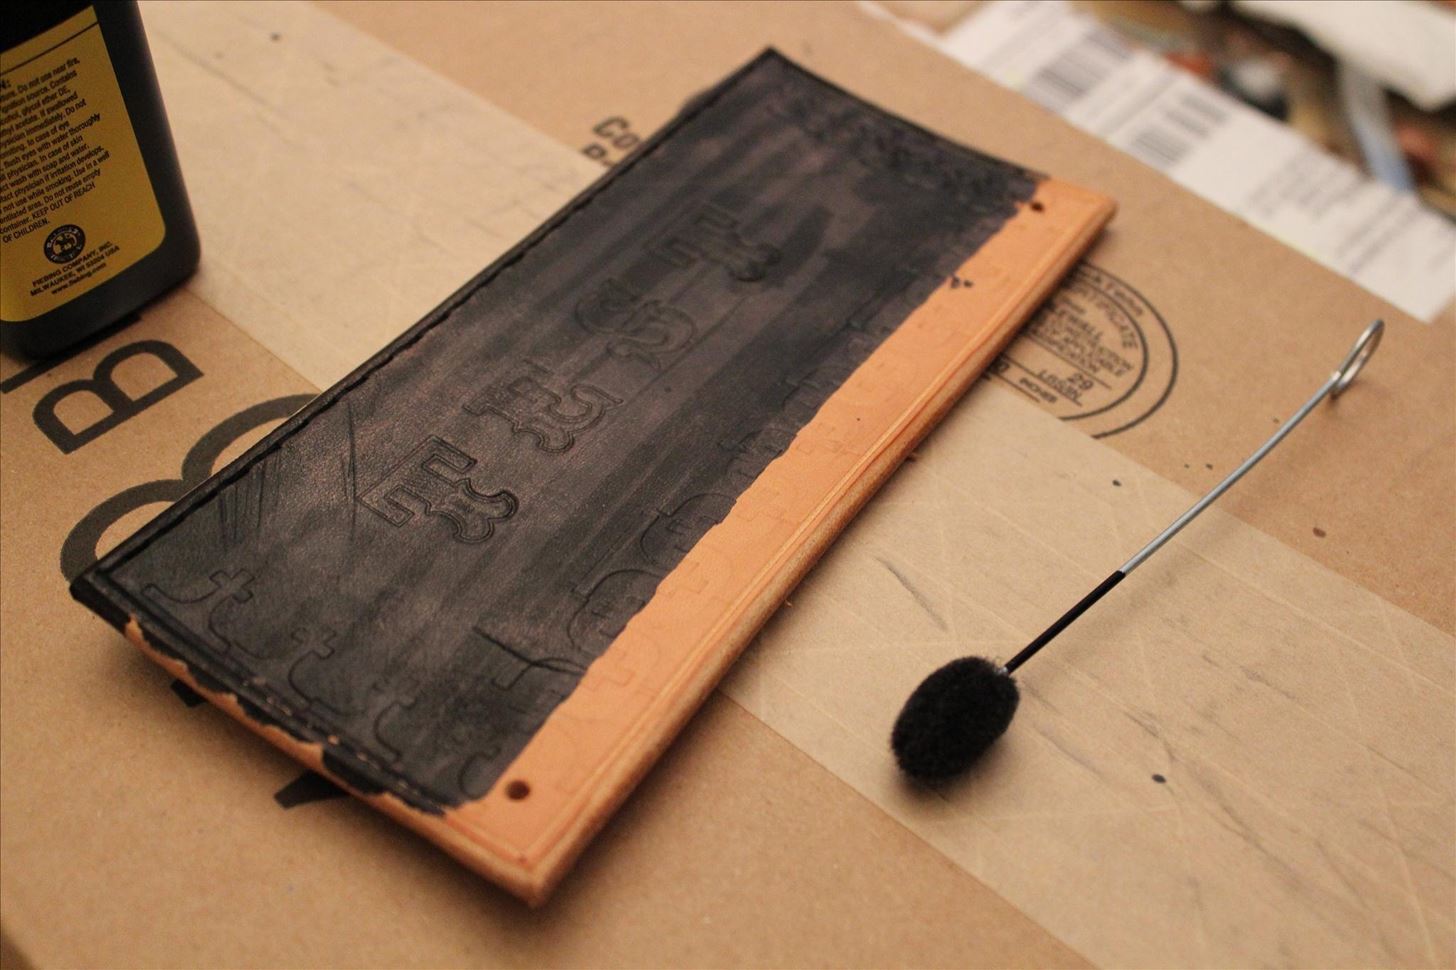
You can see the brush lines in the above picture. That's totally normal. Don't freak out.
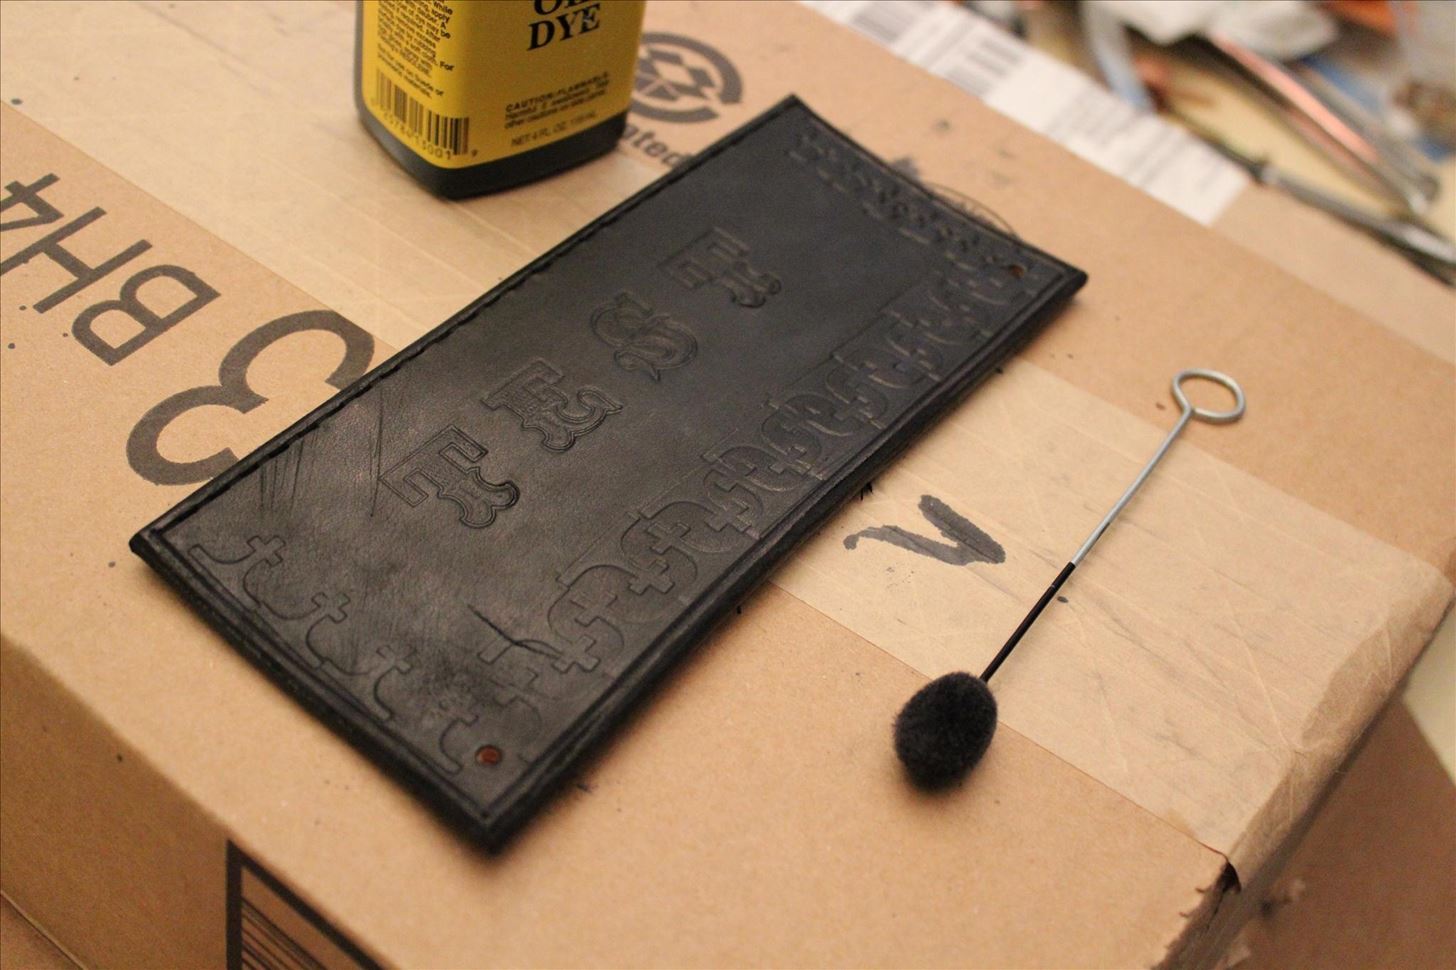
But go ahead and finish swabbing it down. You can see that by the time I finished and then took this picture, it had already evened out considerably.
Don't forget to get the edges! Those are important.
In this case, with black, I didn't find that I needed a second coat, but your mileage may vary. I sometimes find when using browns that I need to apply two or even three coats, depending on what specific color I want.
Also, let me stress this: only dye your leather in a well-ventilated area. It smells awful, and can make you ill.
Once your leather is dyed, wait a few hours. Once a few hours have passed, you'll know more or less how your leather will look when it's done absorbing the dye, so you can judge whether you want to add any more coats. By "a few hours", I mean "not less than four".
Sealing
Sealing your leather is an important step, because when your leather gets wet, the dye can just run right off of it. This is bad when you're wearing it, because the dye will get all over you. So we use a sealant to both preserve the dye, as well as to protect the leather from drying out.
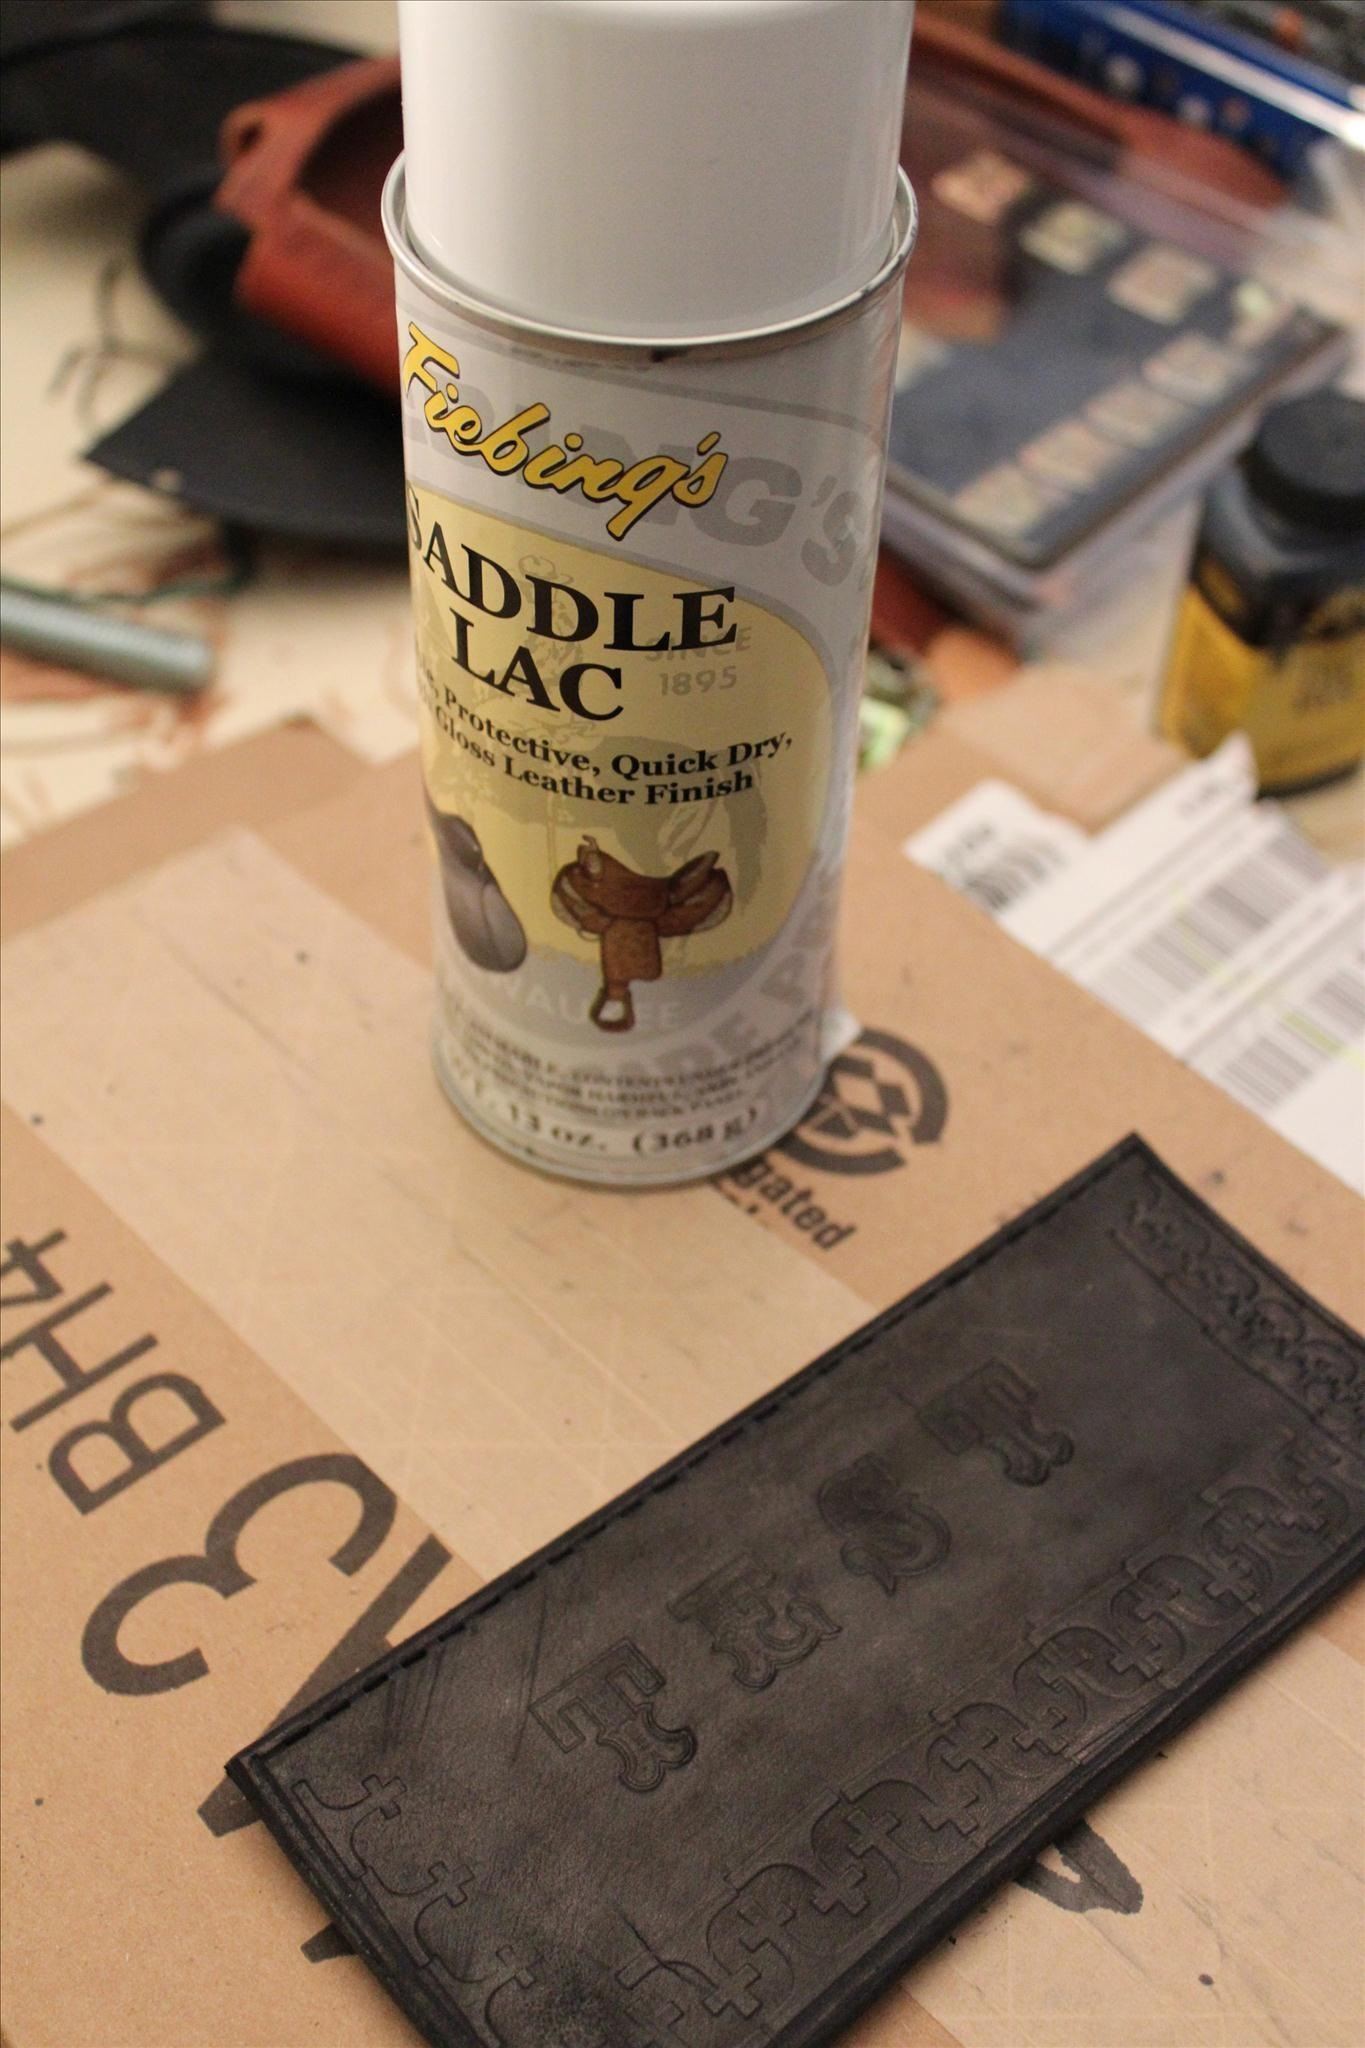
Personally, I used a lacquer-based product called Saddle Lac. I love it, because it gives the leather a nice sheen. However, lacquer-based sealants aren't best for thin leather that's meant to be fitted and worn, like jackets, skirts, etc. Saddle Lac is good for belts, holsters, cases, and probably even boots and corsets, though I haven't used it for those last ones.
But here's the can, along with the piece of leather before application.
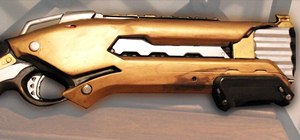
And here's what the leather looks like afterward:
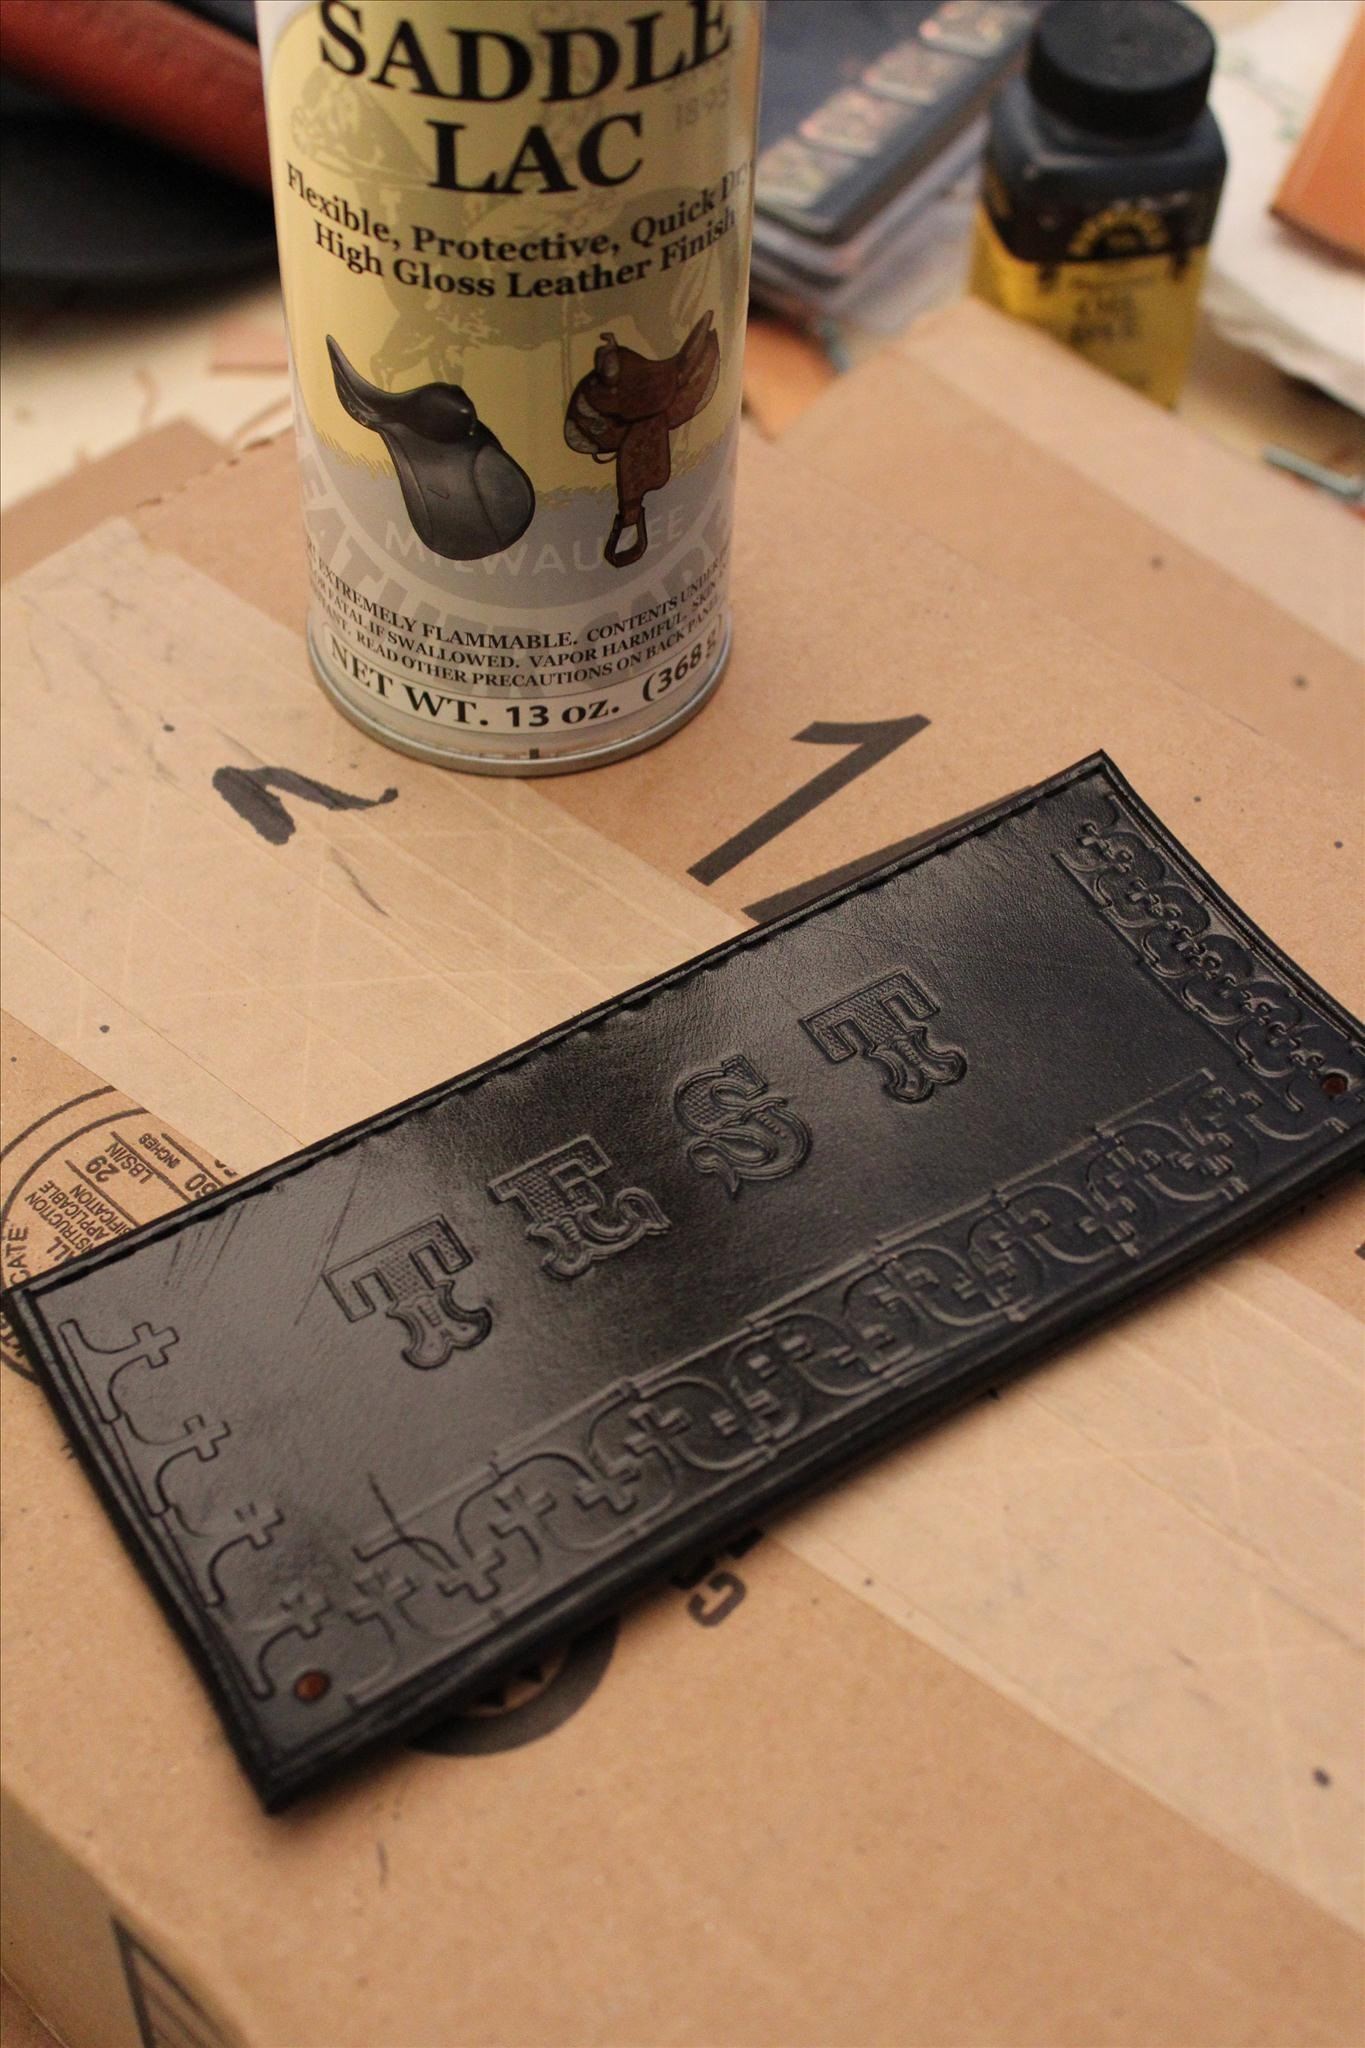
Isn't that an awesome finish? It's so shiny and smooth and professional-looking. In fact, here's another shot of it:
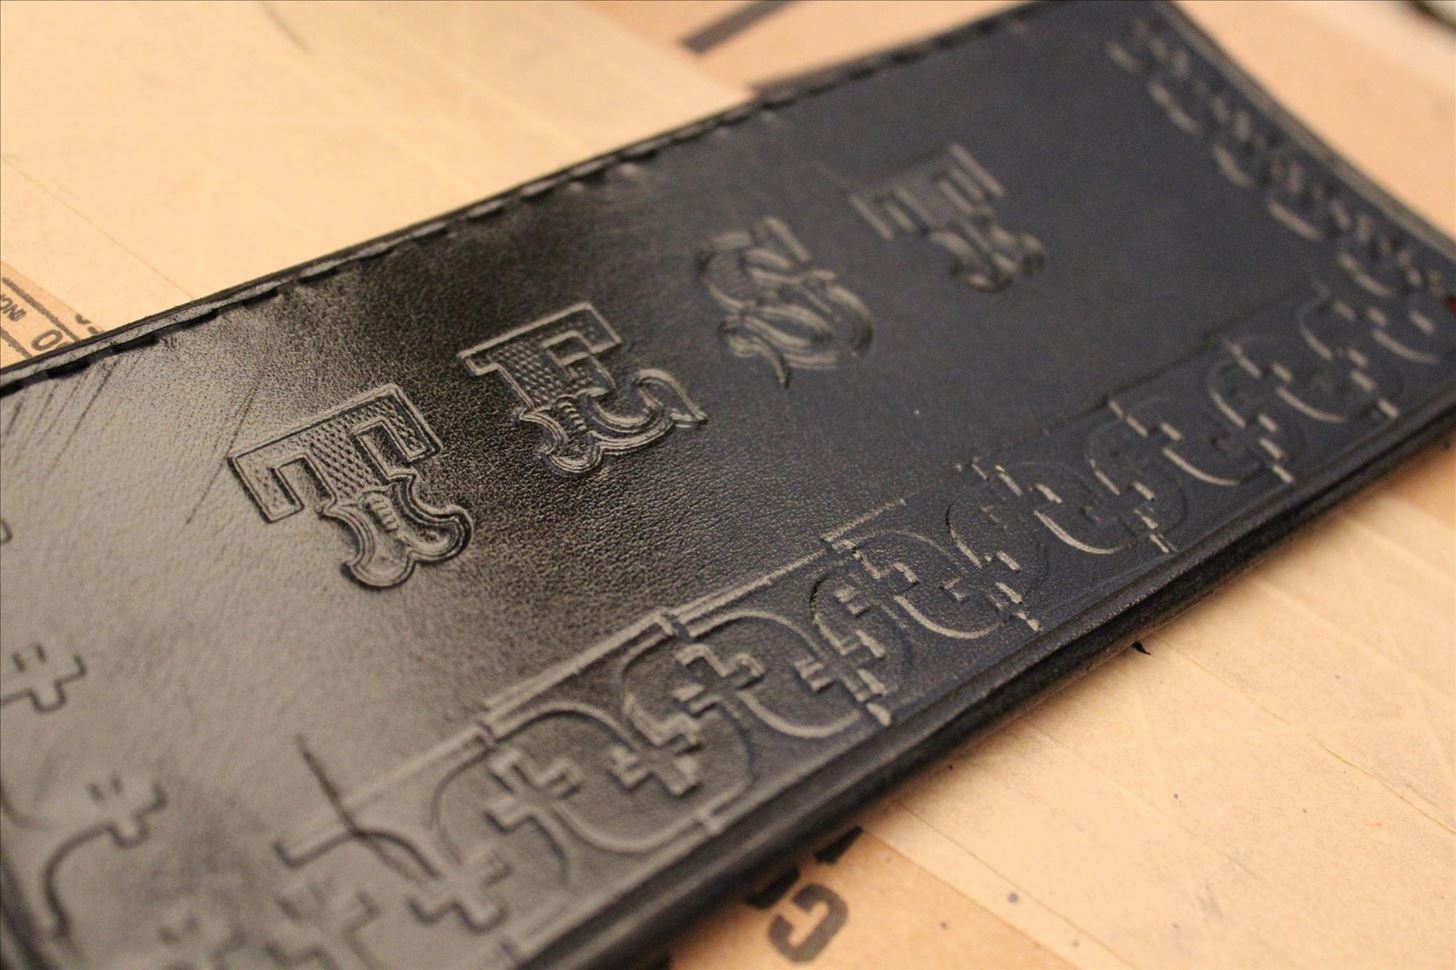
It's all even and lovely. Once again, as with the dyes, do not apply Saddle Lac without the proper ventilation. It's a bad idea, trust me.
When applying the sealant, don't use too much. In this case, I used two passes with the spray, one along the top side, and one along the bottom side, making sure to get all the edges. That's all you need!
Riveting
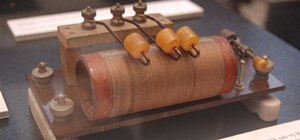
Rivets are awesome. They look cool, and they really give your leather some character. Here's what they look like before they're attached to anything:
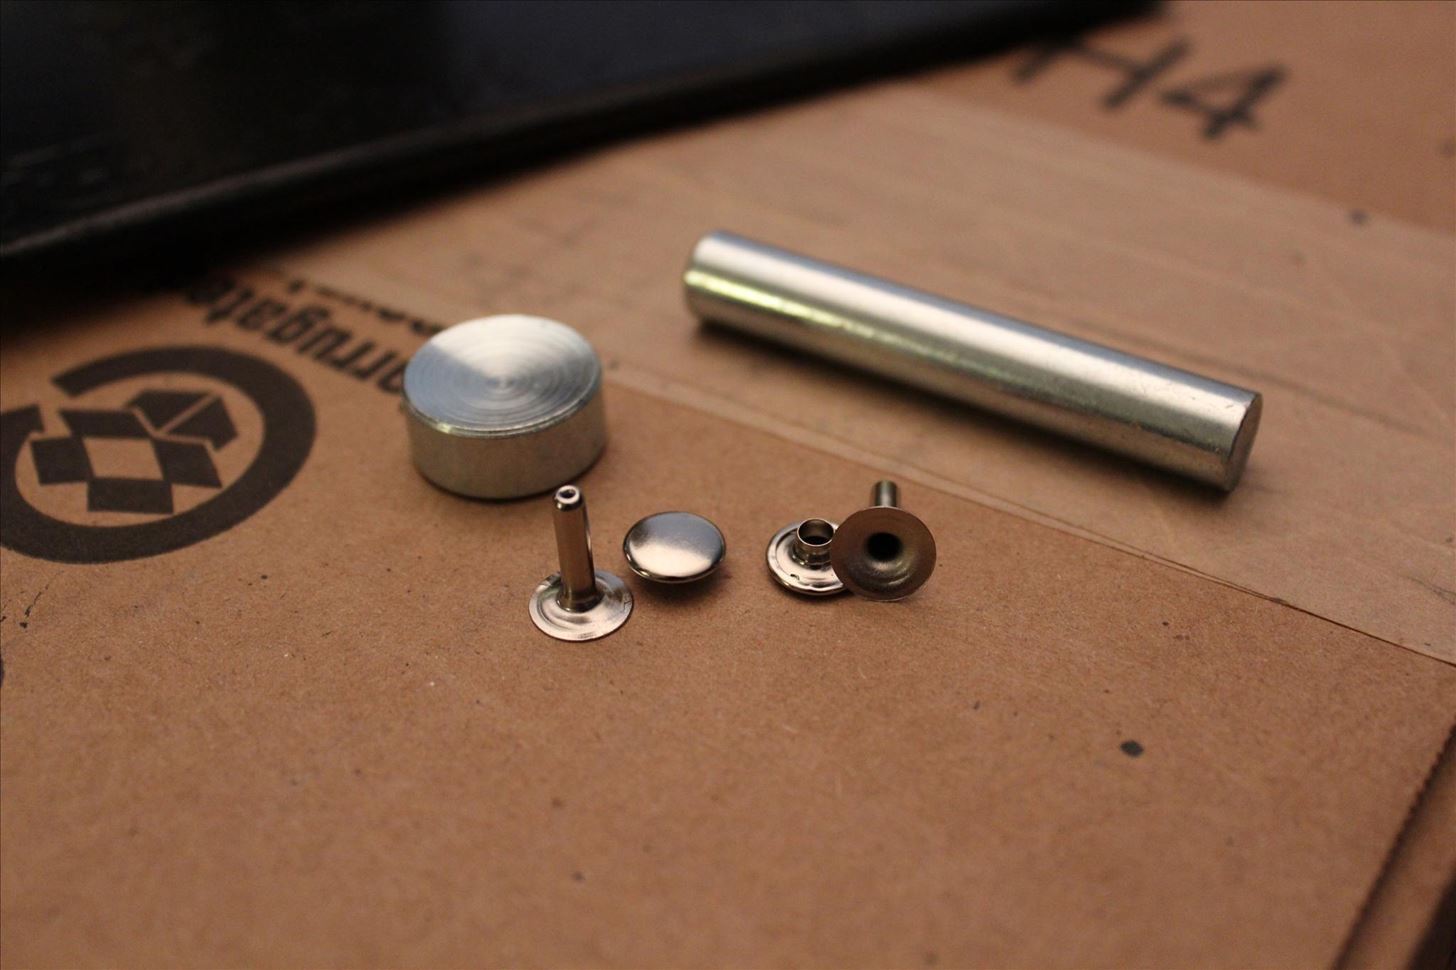
In the above picture are two sets of the same rivets, so that you can see them from all angles, as well as a little round anvil, and a cylindrical... thing. I don't know what they're called, but I'll show you how to use them.
Basically, rivets come in two parts. The long, thin part pokes through the leather, and you put the cap on from the other side. Then you hit the cap with the mallet, and the long part expands into the cap, creating a solid connection.
I'll demonstrate!
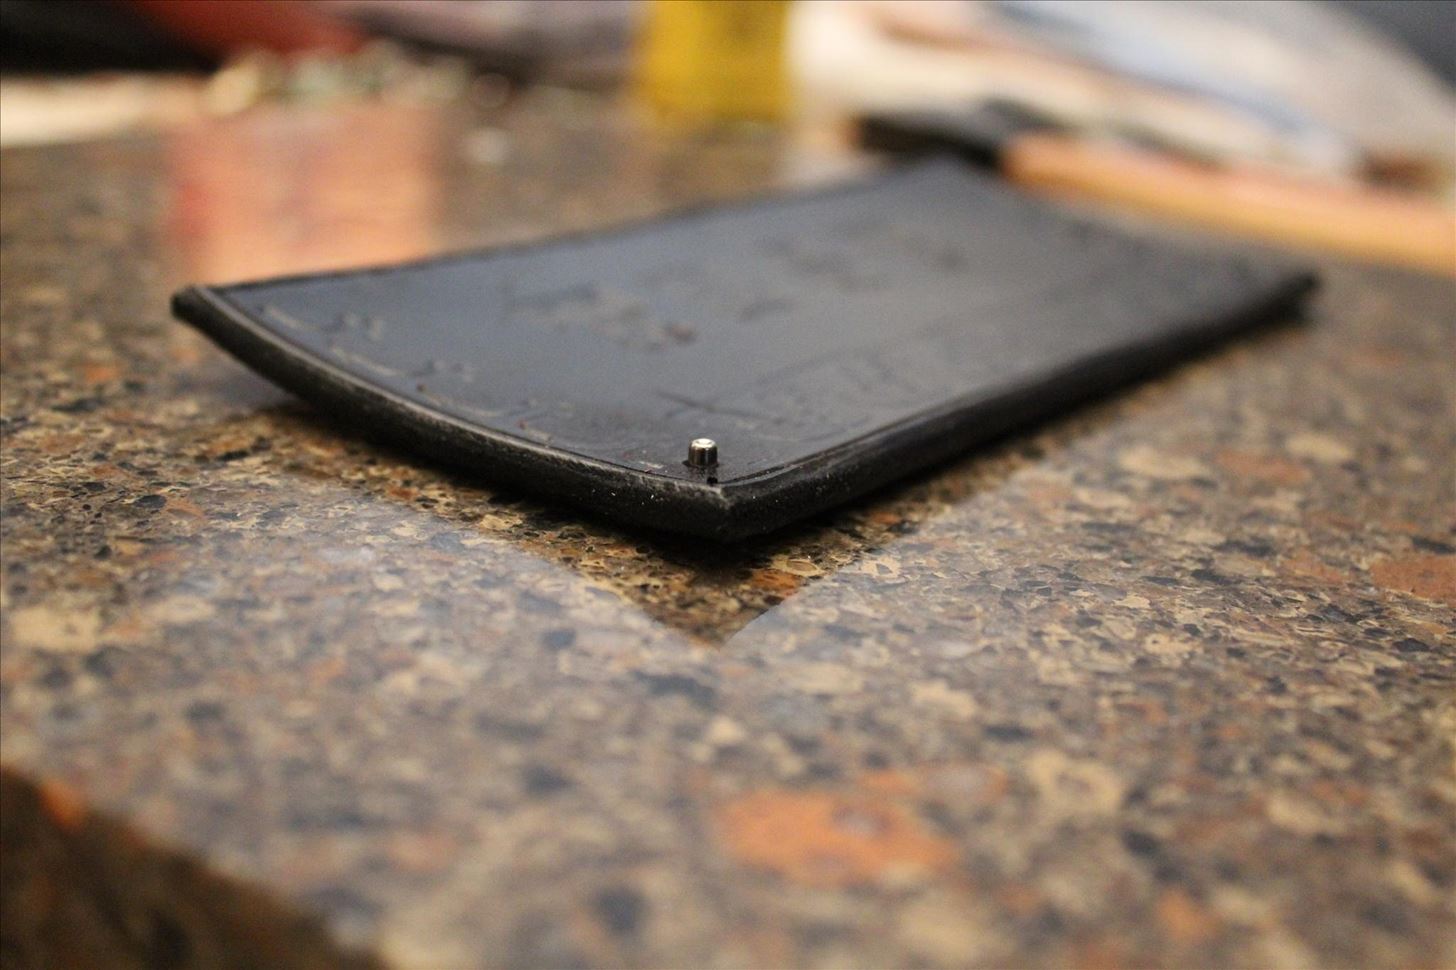
In the below picture, you can see the long bit of the rivet sticking up through the leather. However, because I'm not using it to attach to anything, this rivet is too long. When they're too long, you run out of room in the cap, and you end up with a really loose connection.

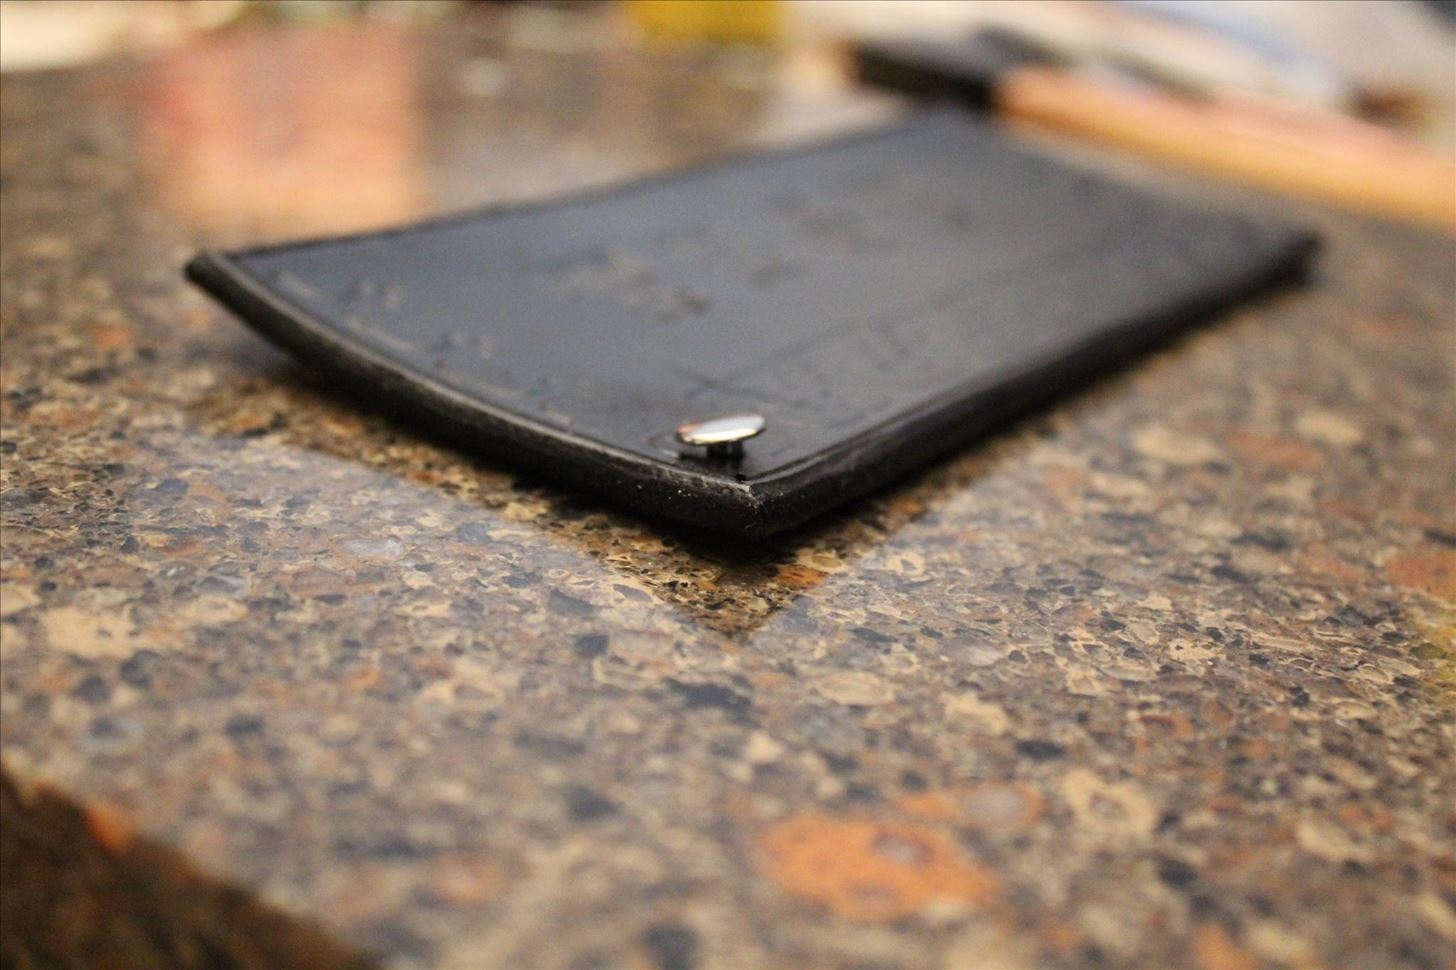
Instead, you want it to look more like this:
In the above picture, I've used a shorter rivet. They come in all manner of sizes, so make sure you get the ones that are best for your project. If you don't know what to do, I suggest getting a "starter pack" or something that comes with an assortment of sizes.
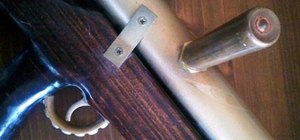
Because I have a thick, marble block, I can pound the rivet directly on that, and I get a nice, solid hit. However, if you're doing this on a less sturdy surface, you can use the little round anvil that they include in most packs of rivets. Just letting you know, since I won't be using it.
Next, you put the cap on top of the rivet.
Note how the cap is just sort of hanging there. That's exactly what you want it to look like. Don't force it down yet.
Now take the cylindrical thing, and feel both ends. You'll find that one end is concave, and one end is flat. Put the concave end on top of the rivet cap, like so:
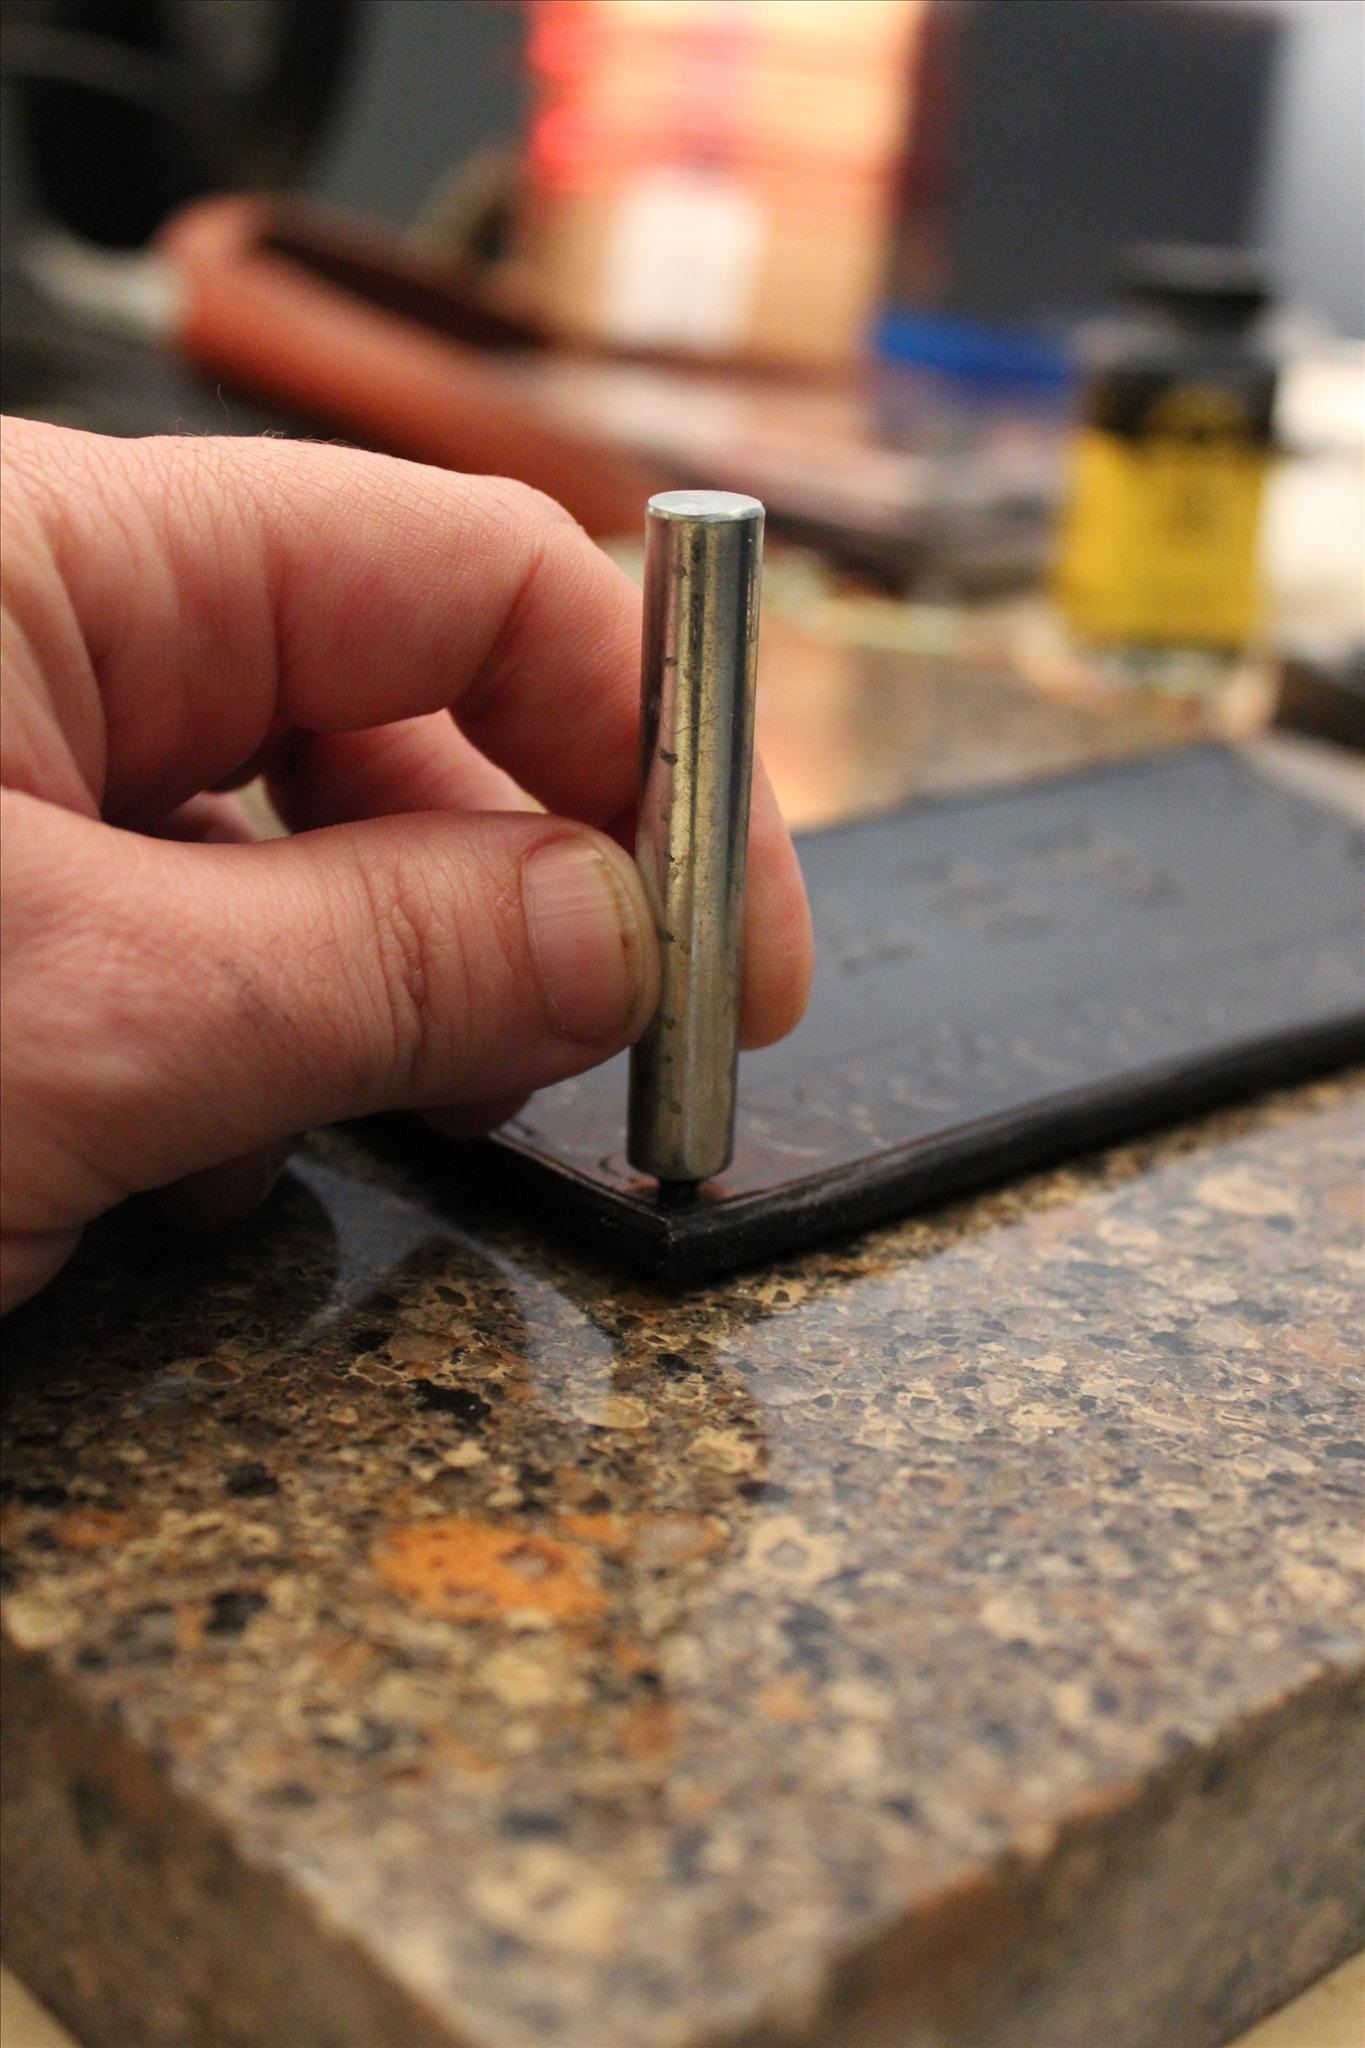
Then hit it with a hammer or mallet! You may need to hit it a few times in order to get it nice and tight. When you're done, congrats! You've successfully applied a rivet! Wasn't that easy?
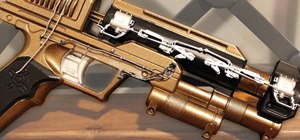
This is what it should look like:
And here's the back:
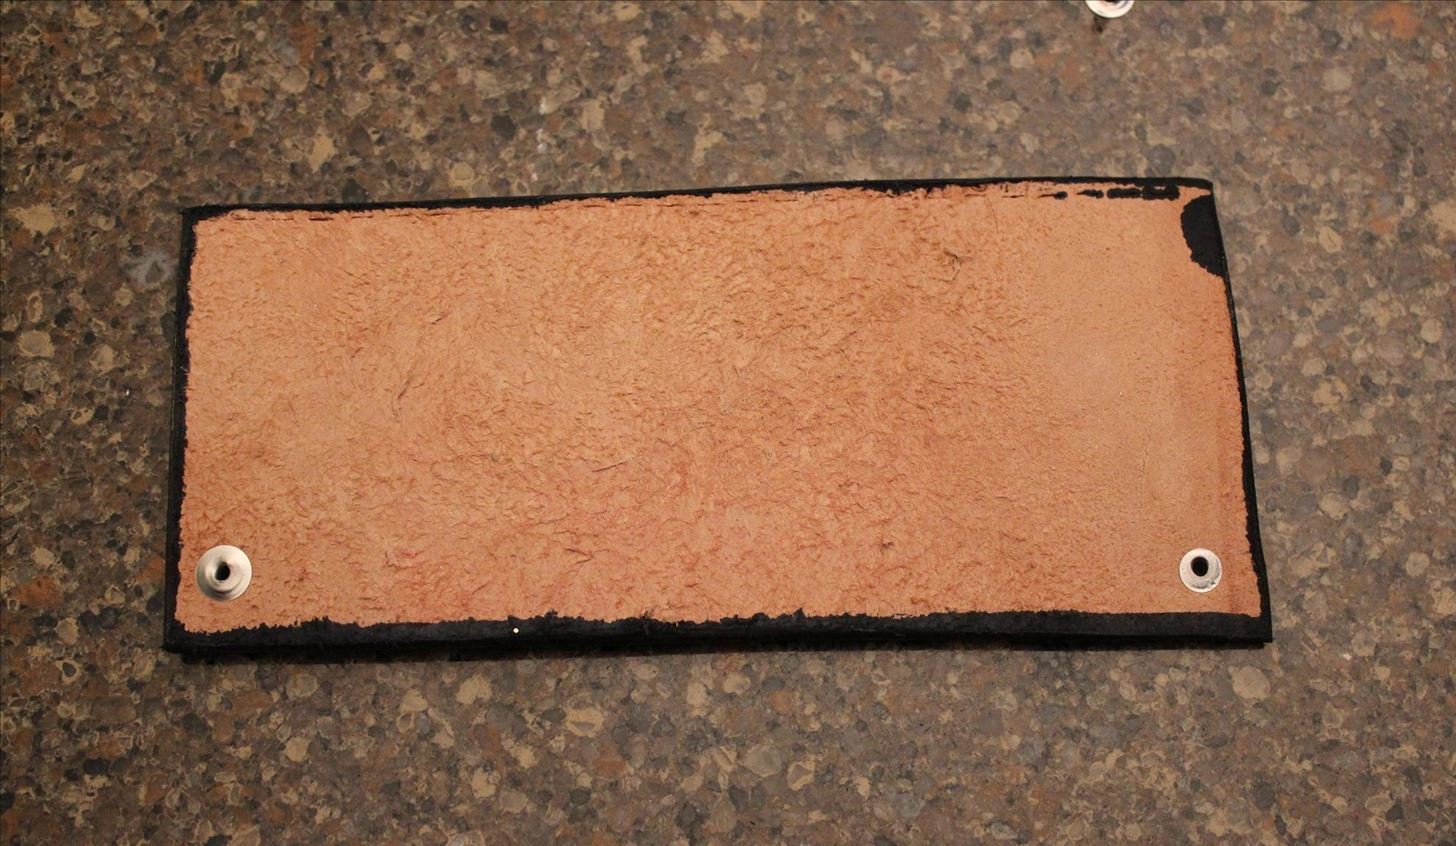
Remember that these pictures are huge, so feel free to zoom in to get some better detail.
Stitching
Stitches are far and away the most time-consuming part of leatherworking. It's no contest. That's why most leatherwork you see that has stitches was almost certainly done using a machine, because it's just that much of a pain in the butt. It's hard on your hands, and it's slow going.
Still, it's the most secure method of attaching things, and it's also pretty stylish. So I'll show you how to do it.
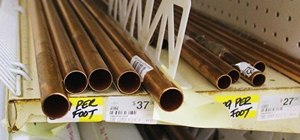
First, you may need to make yourself one of these. This is called a pony. No relation to the young horse.
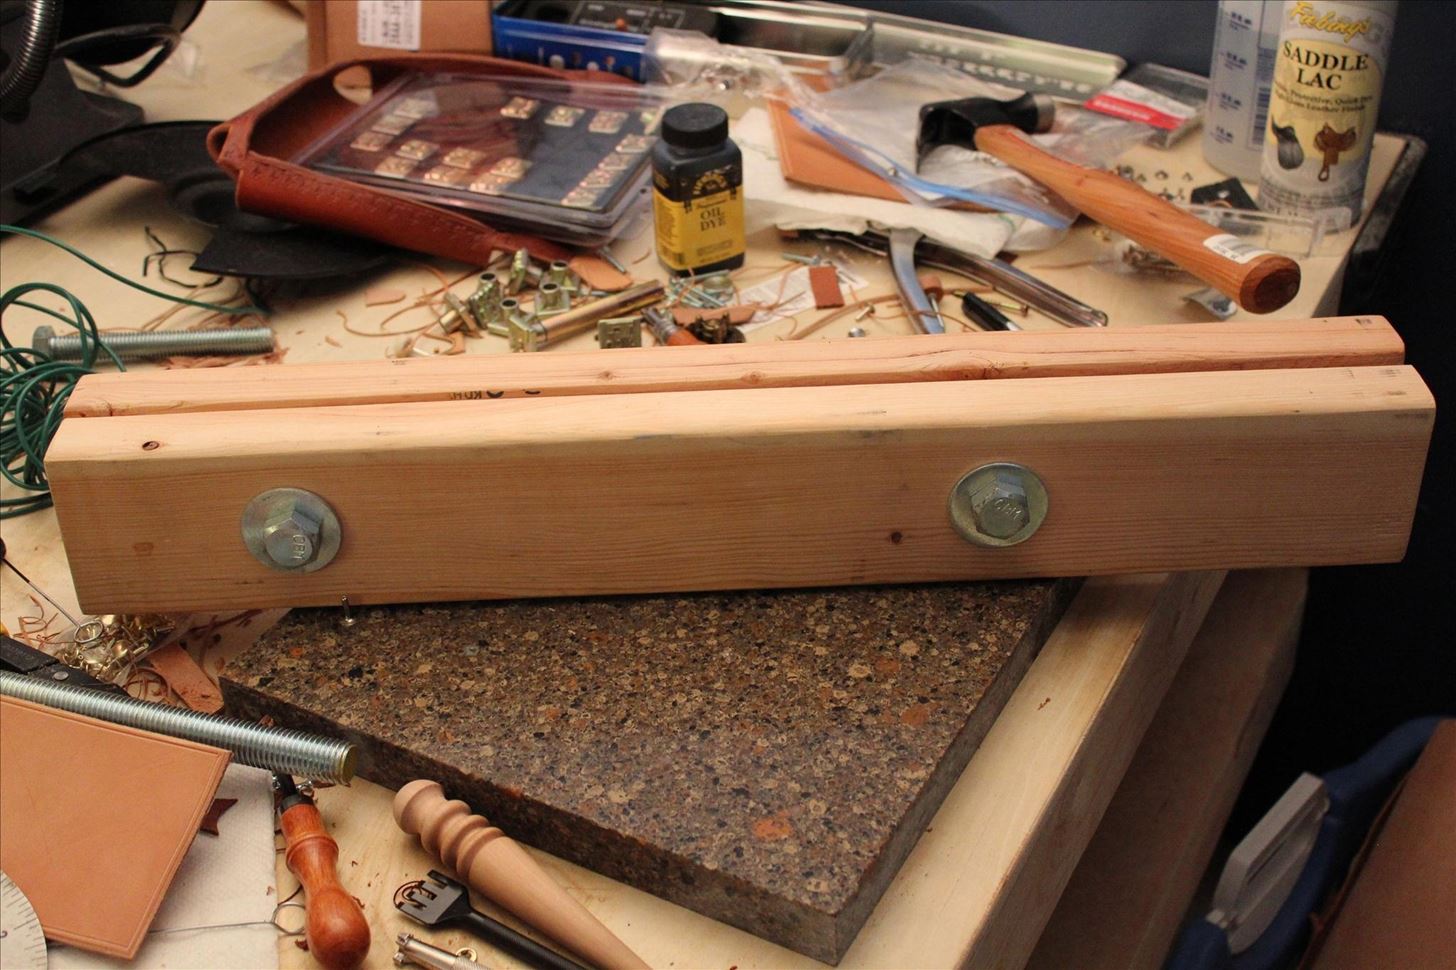
It's just two pieces of wood that are bolted together, with a spacer between them to hold them apart at one end. The space between them gets narrower as you move down it, which you can see here:
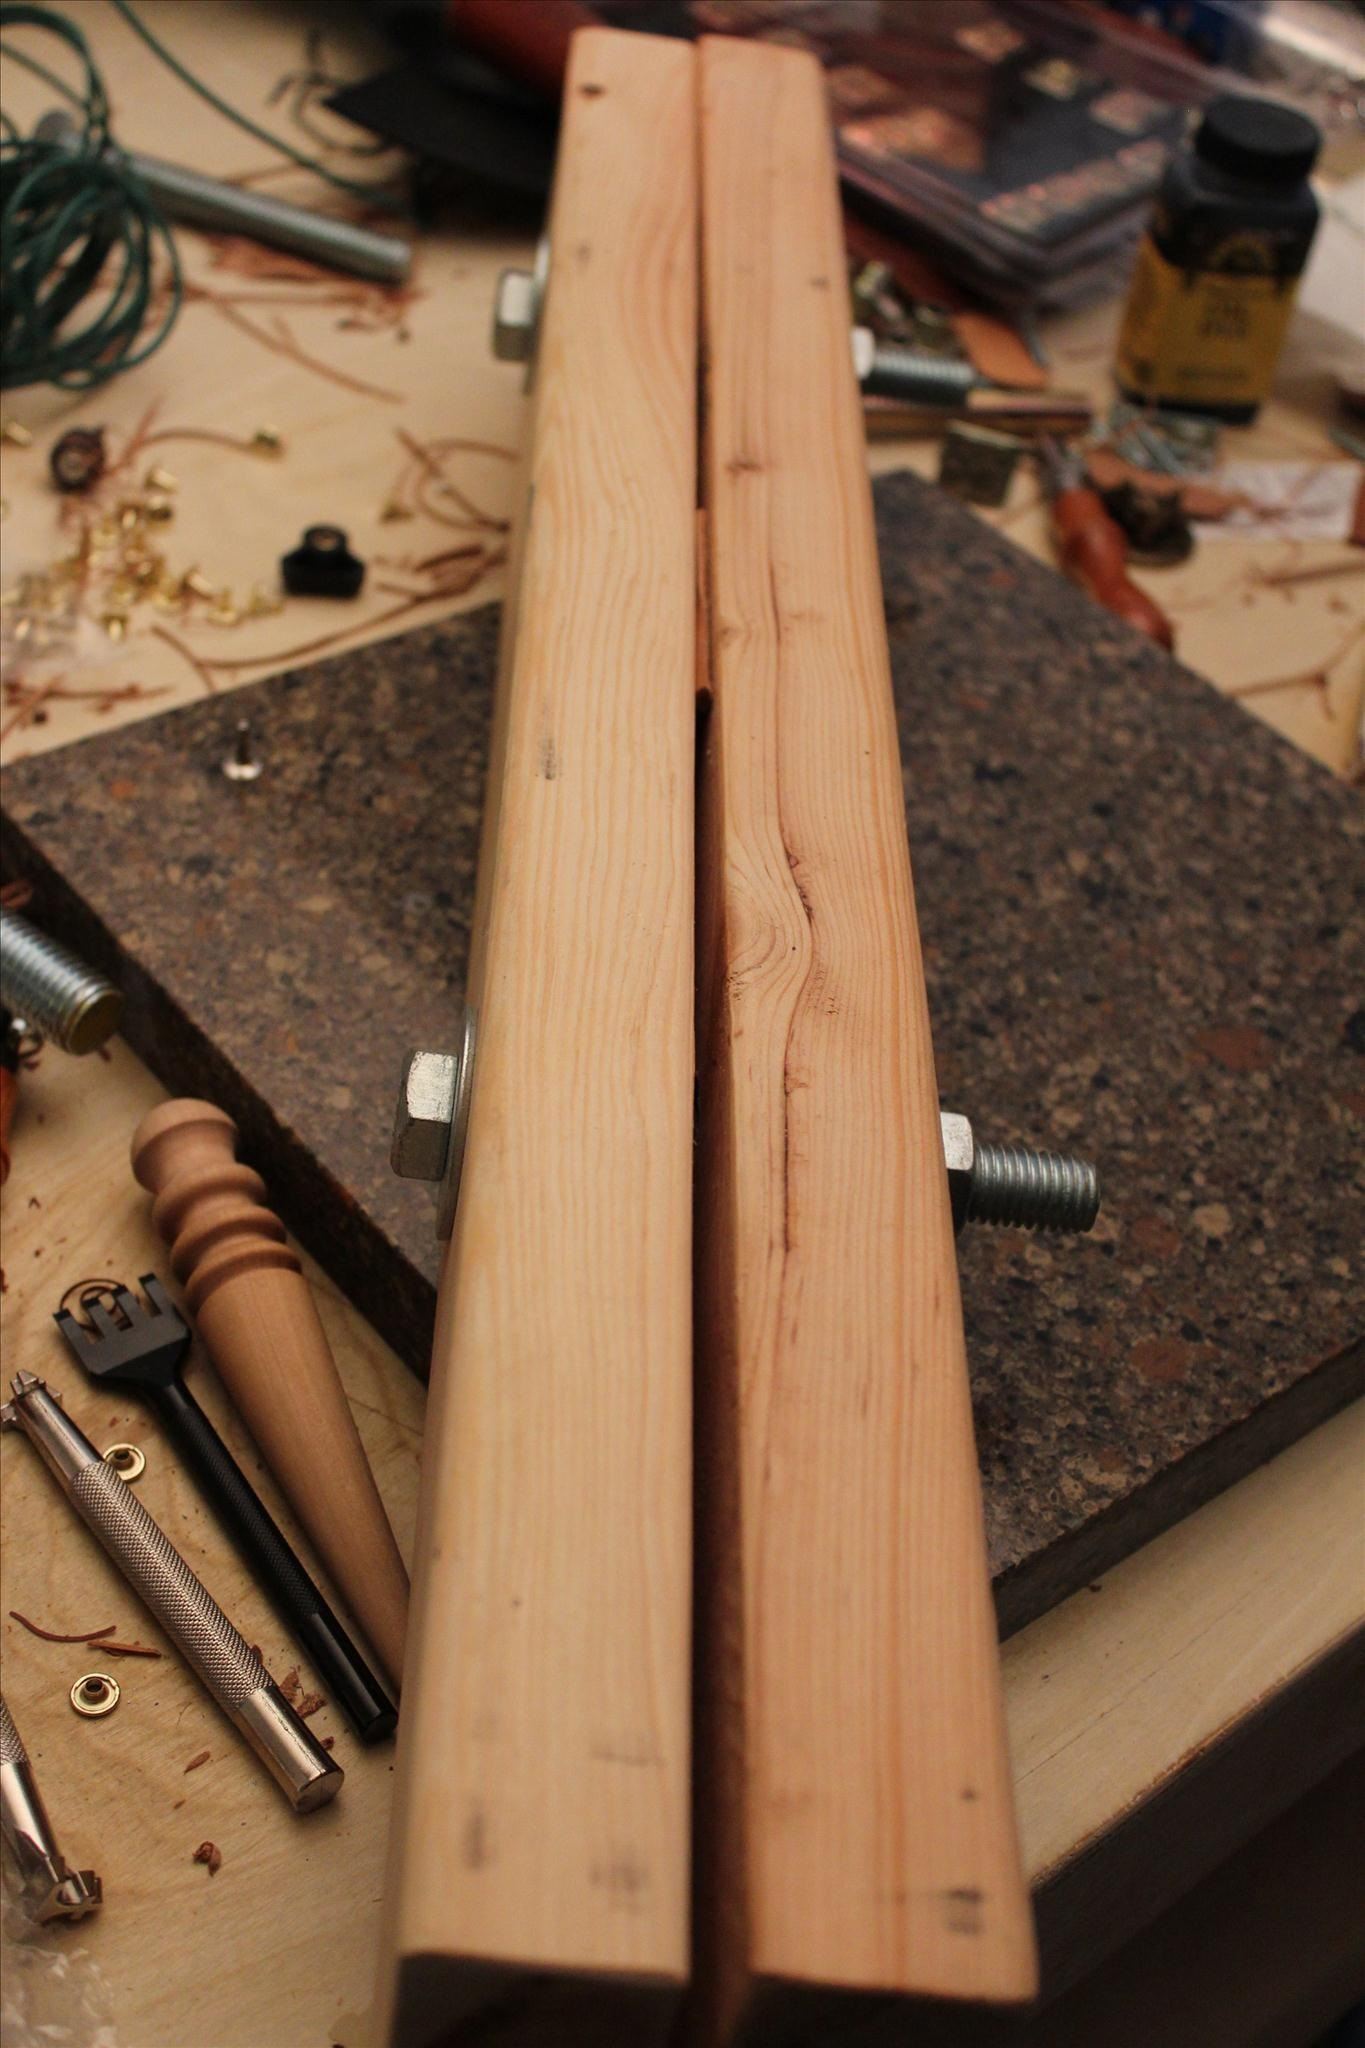
I made this one myself with just some planks from the hardware store, but you can buy one if you're so inclined.
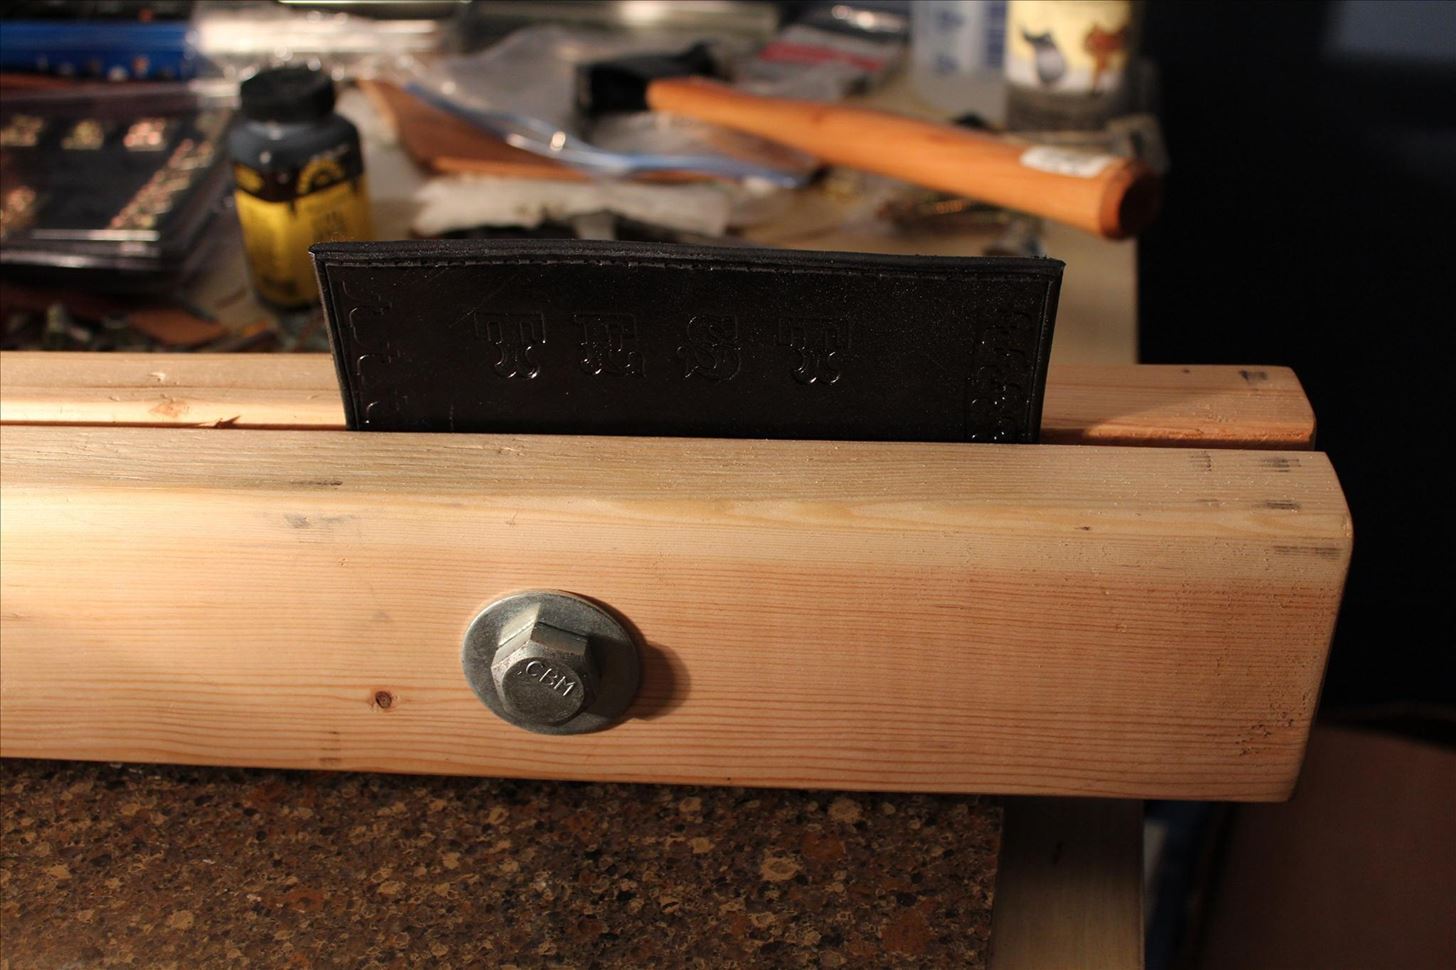
The reason you need a pony is because leather wants to bend all over the place, making it hard to stitch. So when you slide the leather into your pony, it holds it still, allowing you to use both hands for your leather stitching, like so:
So, with your pony ready for action, what you need for the actual stitching is waxed, braided cord and two thick, blunted needles.
When you have your thread and your needles, you should cut a moderately long piece of cord off of the spool. Then put each end in the eye of a needle, so that you have a needle at each end. There's no need to tie the thread or anything, just leave it hanging at the end. This is what it should look like:
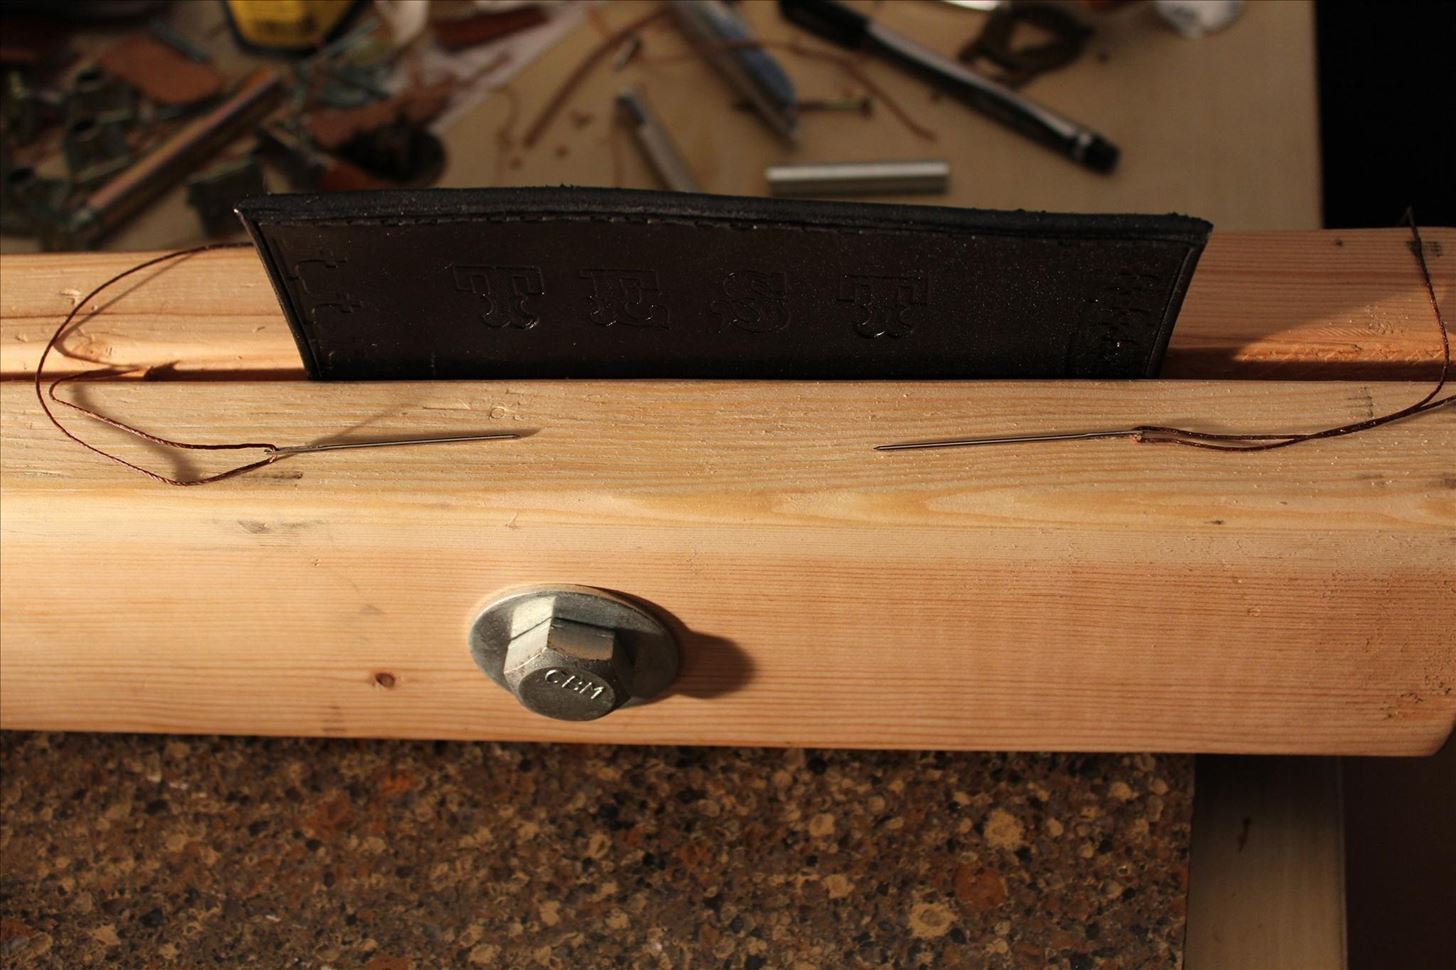
Two threaded needles. Oh, and make sure you have enough slack through your needles that the cord doesn't just pull out.
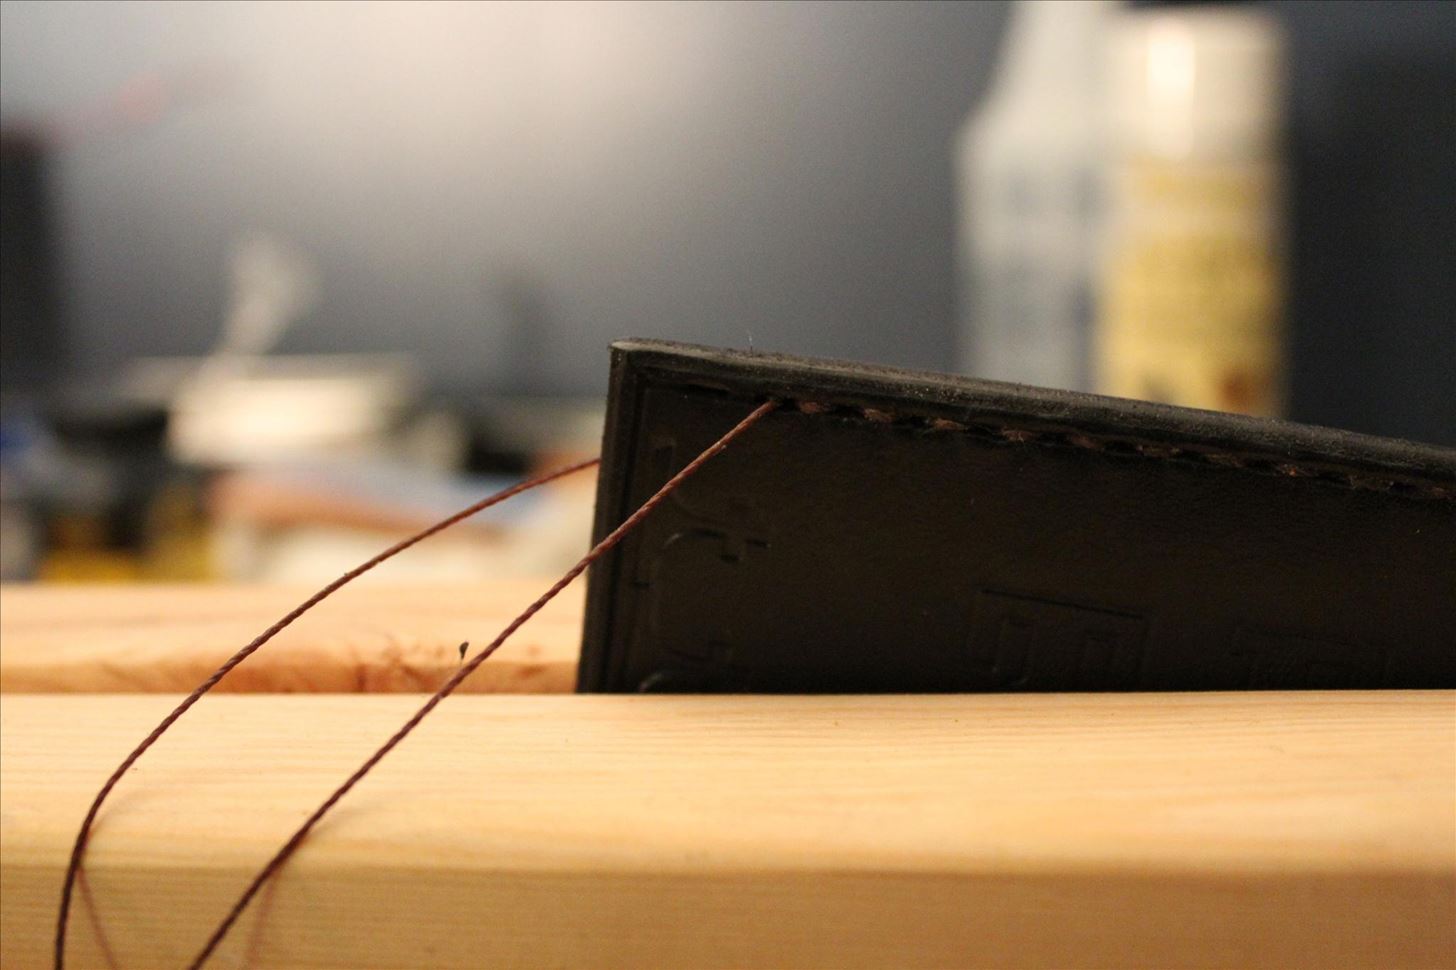
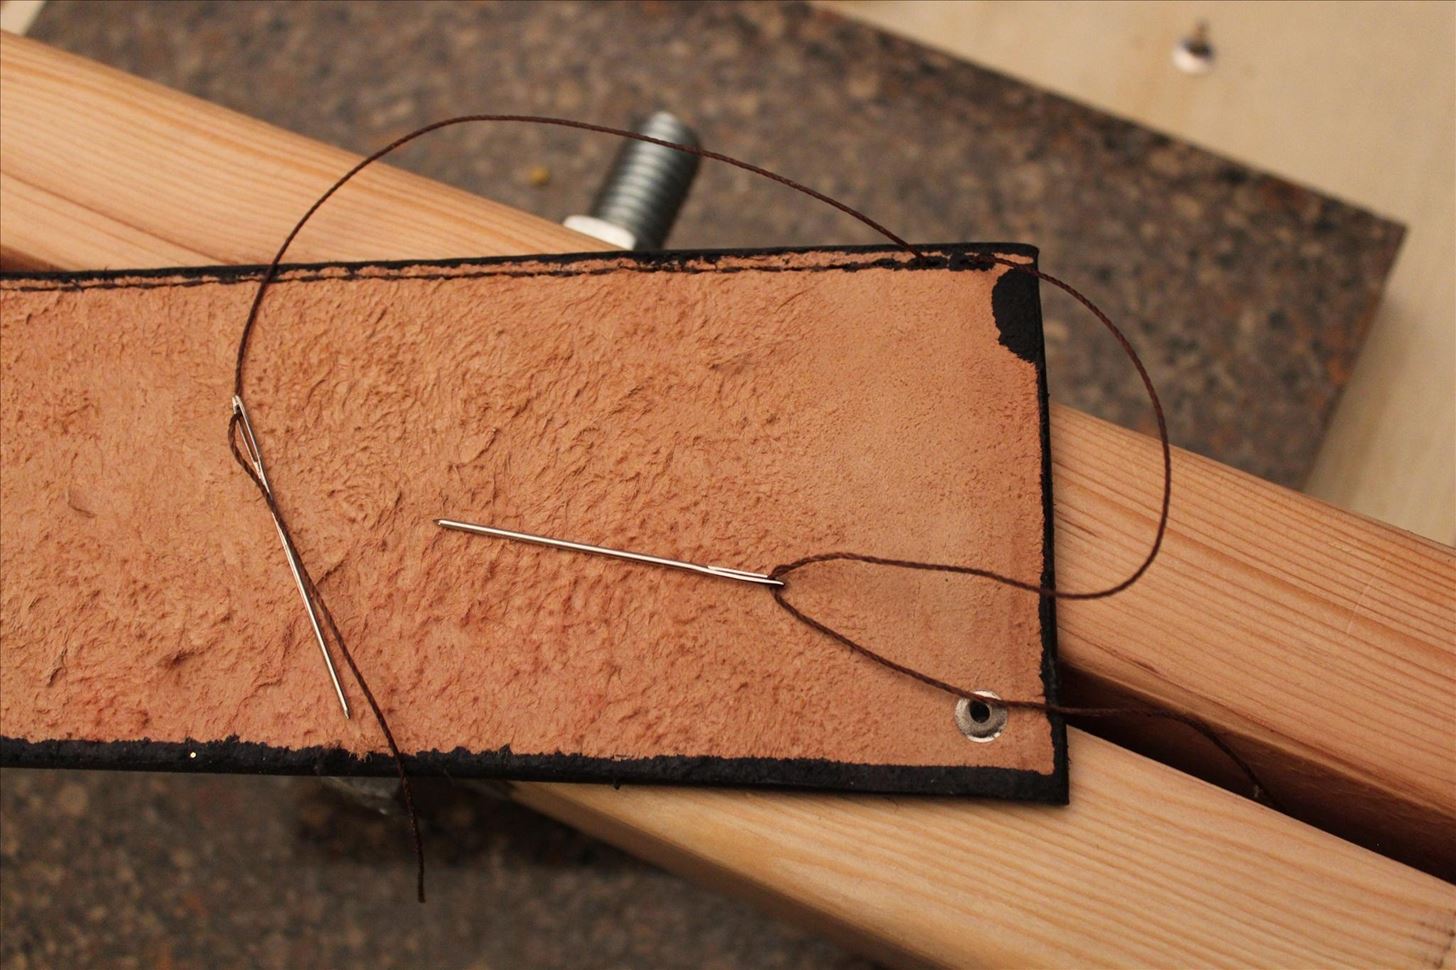
Once your needles are ready, push one of them through whichever hole you're starting from, and then make sure both sides have the same amount of thread.
Now you're going to push both needles through the same hole in the leather from opposite sides, like so:

It's easiest to do them both at the same time. I find that I have to push them through from behind, and then pull them the rest of the way from the front.
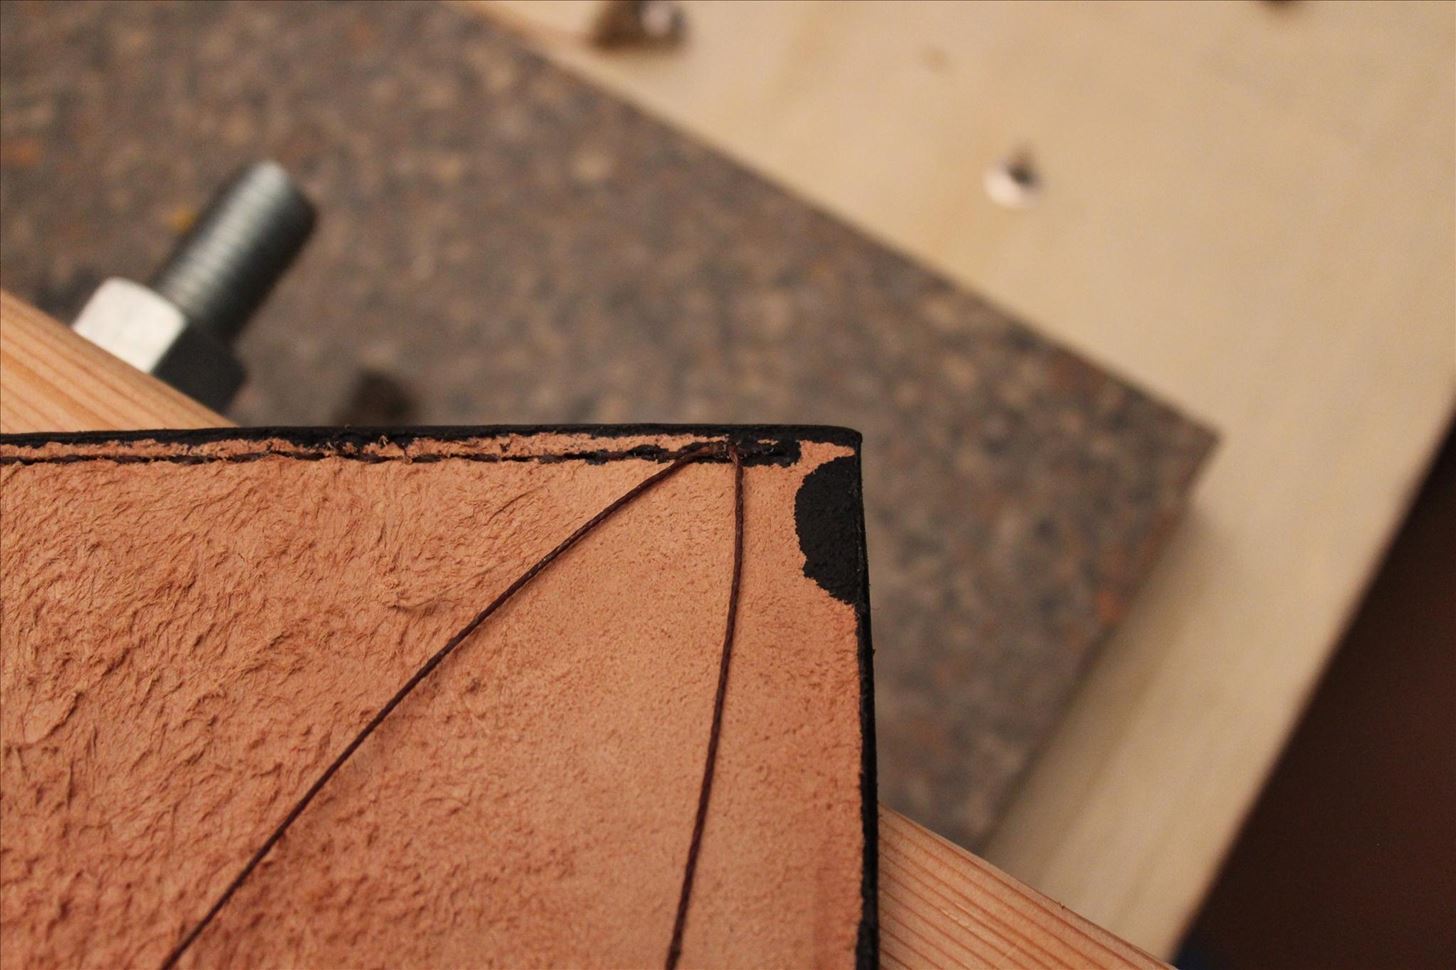
Stitching the leather is literally just repeating this, over and over again. It sounds easier than it is, trust me. Back and forth, from both sides in each hole. When you get to the end (or run out of thread), this is what it should look like:
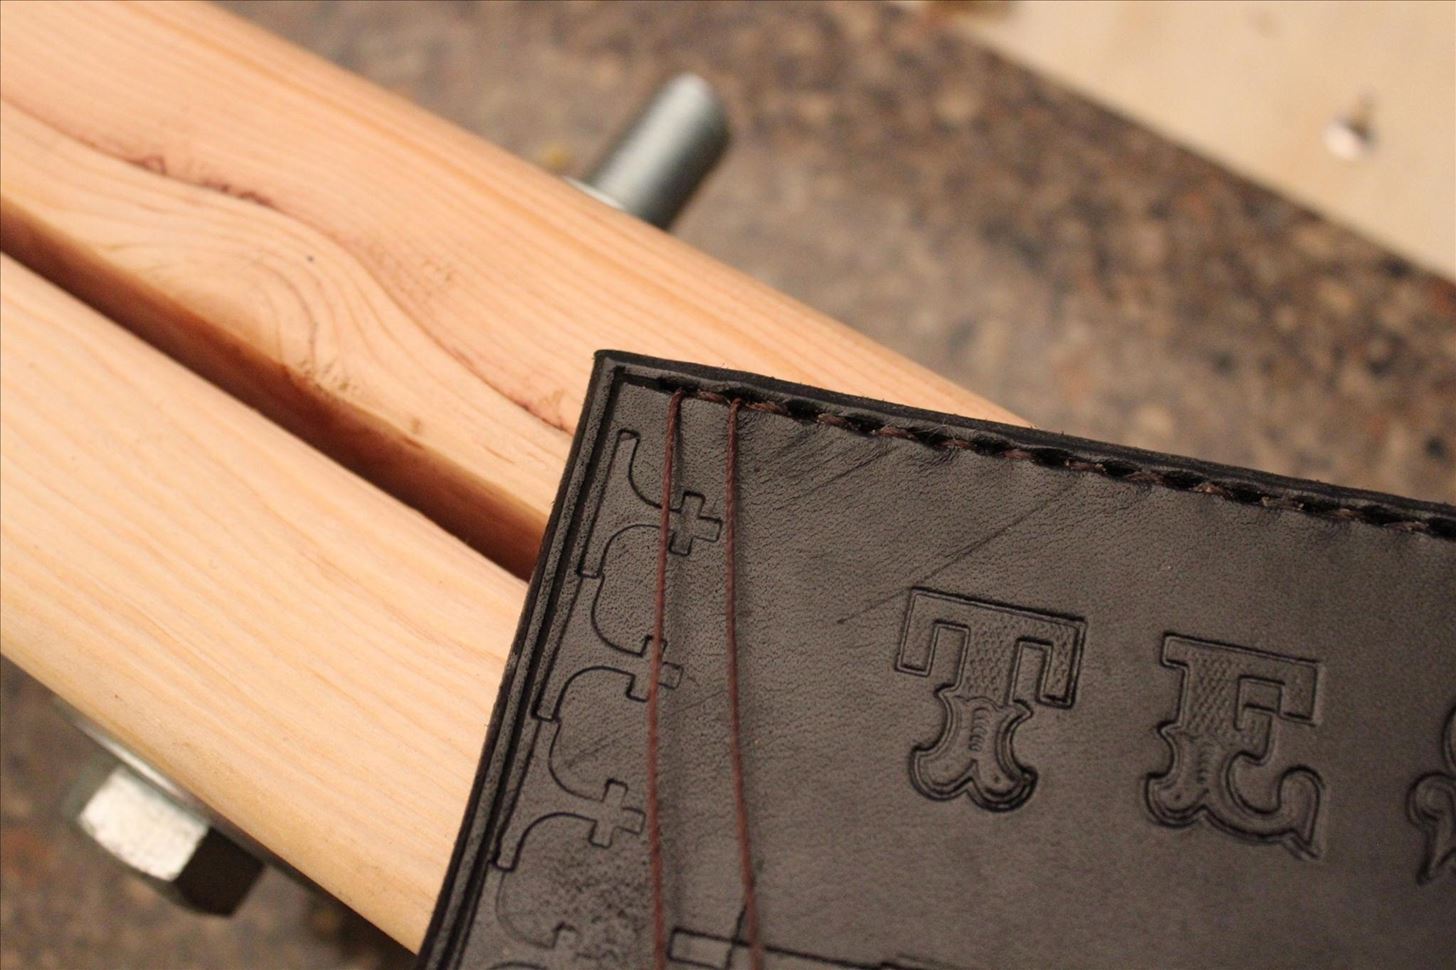
Now I'll show you how to finish it off. When you get to the end of your stitches, leave the very last hole empty. Then, from the front of your leather, put only one needle through so that you now have two needles on the back side. You would also do this if your thread breaks, or you run out of thread but still have more stitching to do.
Now you're going to tie these two threads in a square knot. This means tying a regular knot, and then tying another knot on top of it, but the opposite way. That is, going over when you went under, or vice versa. Pull it tight.
This is what it should look like:
Lastly, push both needles through from the back in different holes, so that you now have two needles at the front. These will have to go through holes that already have thread in them, so be careful.
When done, it should look like this:
Now cut those two cords as close to the leather as possible, taking care not to cut any other threads.
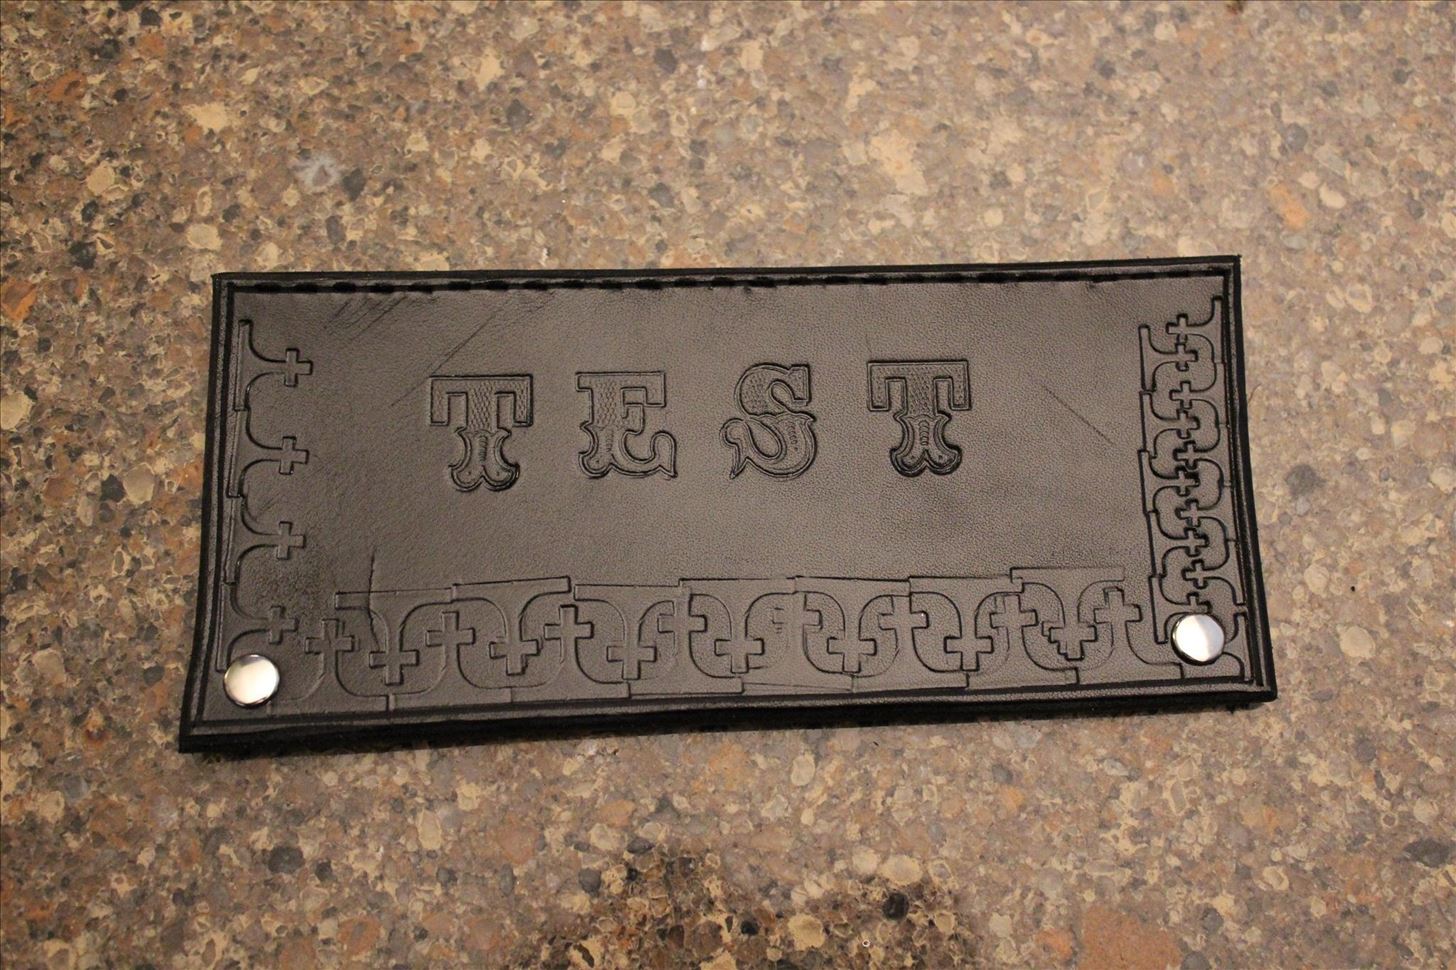
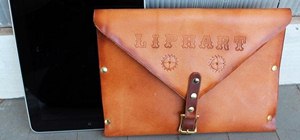
Congratulations! You're done! If you still have more stitching to do, simply move to the next hole and begin the process again from the beginning. If not, great! You should have a finished piece of leather, like so:
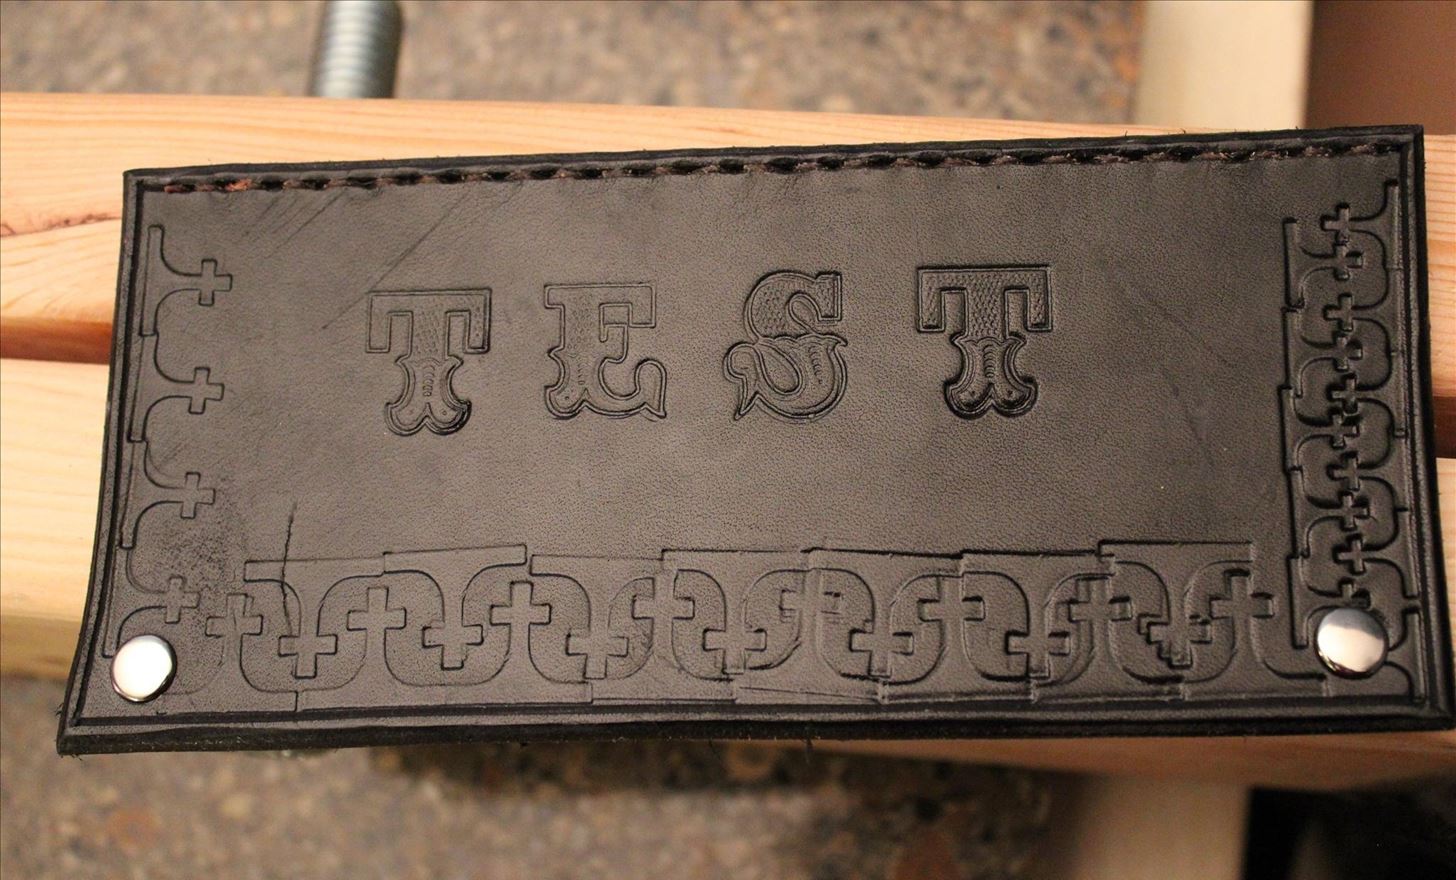
Again, feel free to zoom in to see smaller details. These pictures are enormous.
Anyway, well done! You made it through the tutorial! These skills will help you make nearly anything you'd like, and will definitely allow you to follow nearly any pattern you find.
Every single tool and material used in this tutorial was purchased from the Tandy Leather Factory, so if you want to purchase any of these exact products, that's where to go.
If you have any questions, or if you make anything using this tutorial, please let me know by commenting below!
Alternately, click here to head back to the first article!
Just updated your iPhone? You'll find new emoji, enhanced security, podcast transcripts, Apple Cash virtual numbers, and other useful features. There are even new additions hidden within Safari. Find out what's new and changed on your iPhone with the iOS 17.4 update.


10 Comments
thank you for the help now i just need to get the leather haha btw not to offend you but did you consider useing a ruler or someother straight edge when you where doing the stamping i think it would end up looking better but then again i haven't even made one piece yet....
How do you dye just small areas? like in the lines of the lettering on the fonts and such? Small detail work?
Apply the dye using small paint brushes. It's a lot slower, and it's harder to get even coats, but it's really your only option.
I just got into leatherworking myself. I'm definitely going to make a pony (had no idea that was a thing), but going to use wing-nuts so I don't have to use a tool to tighten it
Can you assist me in figuring out how to do this see photo.
I want to stitch very small seed beads on a 1/2" leather (raw cut) strip. Glovers needles will not go through the leather - any ideas - I want three lines of beads as in the photo - thought about drilling holes with my dremel - but it would be a bear to have them all spaced evenly and to keep the rows straight. Would appreciate also info on what kind of leather to use and what kind of thread. This has kept me up at night trying to figure it out. Thank you in advance. Victoria
Honestly, I would string the beads and then find a way to fasten them towards then ends. Either that or glue the strands to a backing and the to the leather. I'm not a leather worker, but looking from the picture that is probably what has been done.
I found a link for you that might help you out.
http://www.beadingdaily.com/forums/t/14316.aspx
Howdy,
I am interested in getting one of those cross border stamps you used. Do you have the Tandy part number. If not , do you know where I could get one. If you want to sell yours I would buy it.
Thank you,
George
Thanks for the guide Mr Sirkin! :D
I'm looking into developing skills in leather work, as there seems to be a severe shortage where I live (and those that can do it, charge a fortune!).
Just a quick thing (or two) to add to / update your post - when riveting, the metal block with the curved shape in it is called the "Block", and the cylinder you hit with the hammer is called the "Snap". Those are the terms used for the tooling we use on aircraft to rivet repairs and such where I work.
The knot you tied in the stitching section is also called a "Reef knot". I remember the phrase I was taught years back as "Left over right - wrap it round, right over left - wrap it round". It's a very good knot!
Click here to see how to tie the box / reef knot. Obviously, when using this in a stitching situation, pull both ends hard after the first "wrap" (left over right), and then do the second part (right over left) to lock it. You may have to keep some pressure on top of the first "wrap" in order to keep the final knot tight, by putting a finger on the first part, and pulling the two threads with your free hand on one thread, and teeth on the other (if no-one's available to help).
I've recently acquired leather scraps from Argentia. some of it looks like the piece you posted but there are several varieties of Color & texture to them. some are slick, patterned with holes, etc...
my question is if the leather is already dyed by the company I bought it from is it likely it will blotch up as well if I
were to wet it for stamping? as well, any advice on how to work with already dyed & textured leather? I'm guessing I've got scraps left over a company that makes purses, wallets, etc...
nice article, can't help remembering a comedy sketch, how to play the flute, put your mouth by the hole and blow, there you are, you can play a flute!
But seriously, a great intro to leatherworking, covering all the necessary bits and pieces and plenty of decent pics too!
Good one! (well, two :) )
Share Your Thoughts