
This two-part series (second part here) will teach you literally everything you need to know in order to make pretty much anything out of leather.
There are some advanced techniques that I don't cover in this guide, but these are the basics. With these skills, you'll be able to make any basic thing out of leather, including belts, holsters, straps, cases, and more.
It's called "Steampunk" leatherworking because I'm a Steampunk dude and I work on Steampunk stuff, but there are no special Steampunk tricks or anything. This knowledge will serve you well in whatever style of work you choose to do.
I'm breaking this guide down into two parts because there's just too much information for only one article. There are a variety of stages that you go through when working on a piece of leather, and the first half of them, one through five, are in this post.
These will be my sections of the guide:
- Cutting
- Grooving
- Beveling
- Making Holes
- Stamping/Tooling
Six through ten will appear in the follow-up, which covers burnishing, dying, sealing, riveting, and stitching.
That's a lot of sections! However, they're really much easier than it seems like. Once you become proficient, you can literally just fly right through most of these steps. The only things that are really time-consuming are dying and stitching. Everything else is really quick.
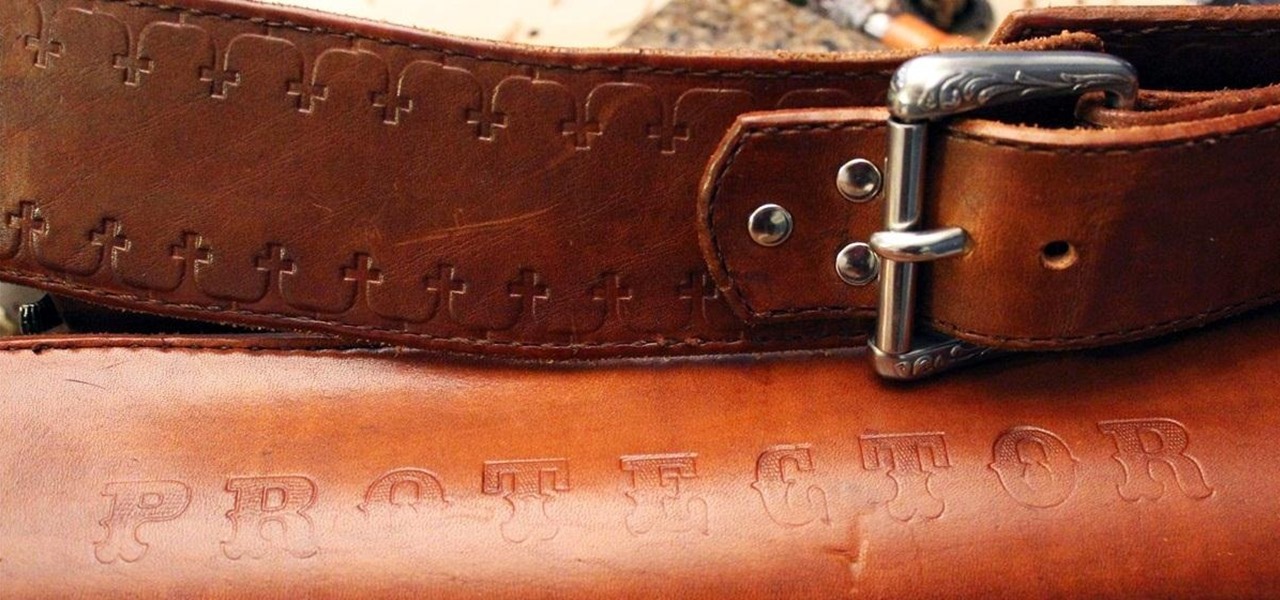
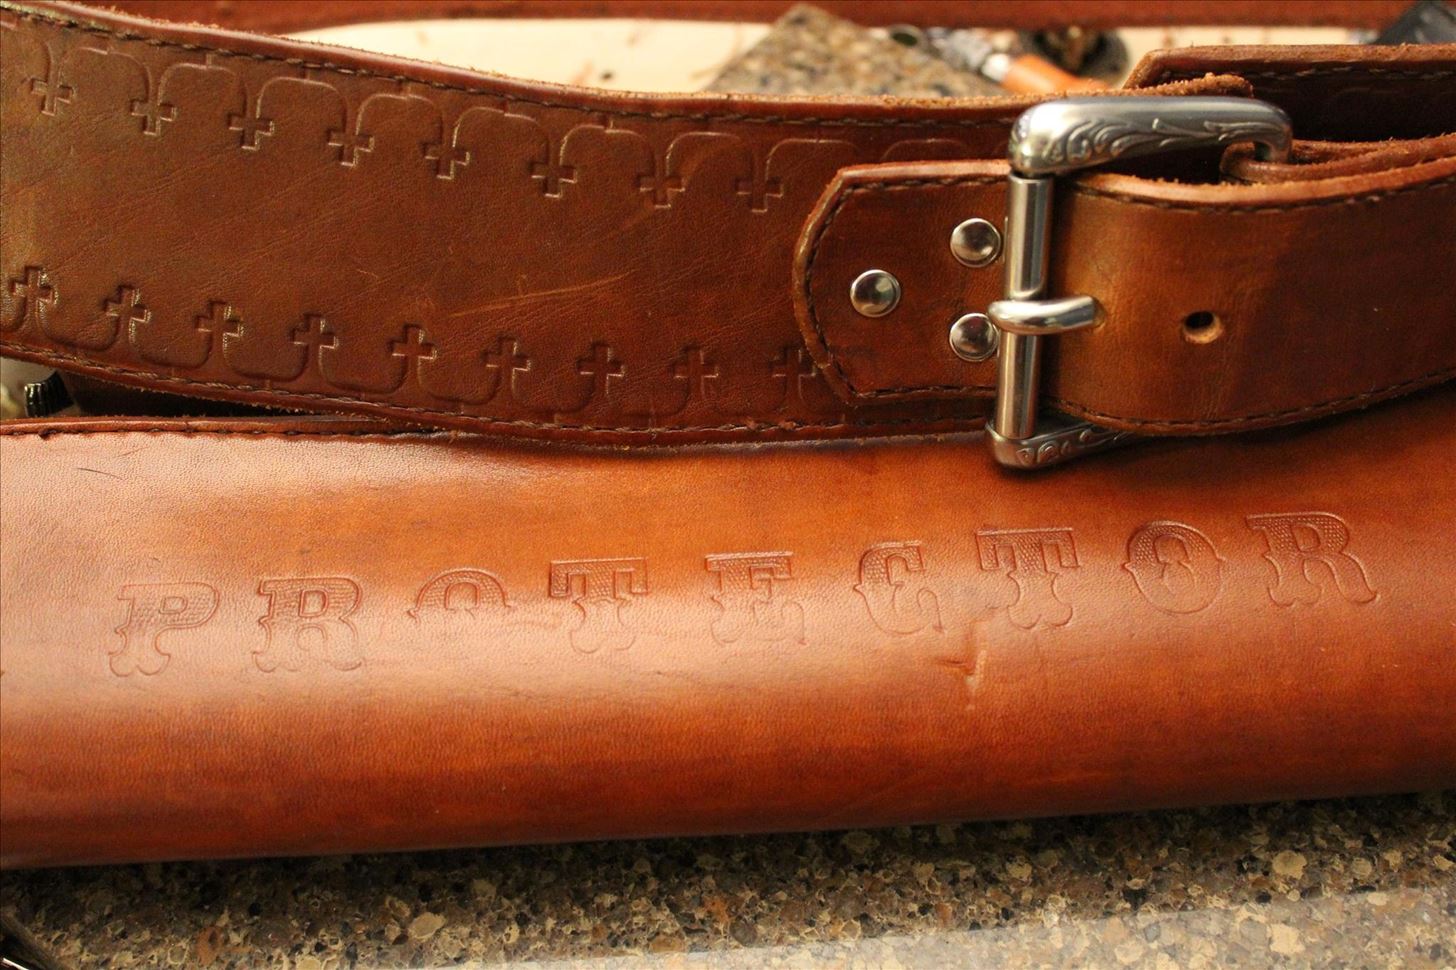
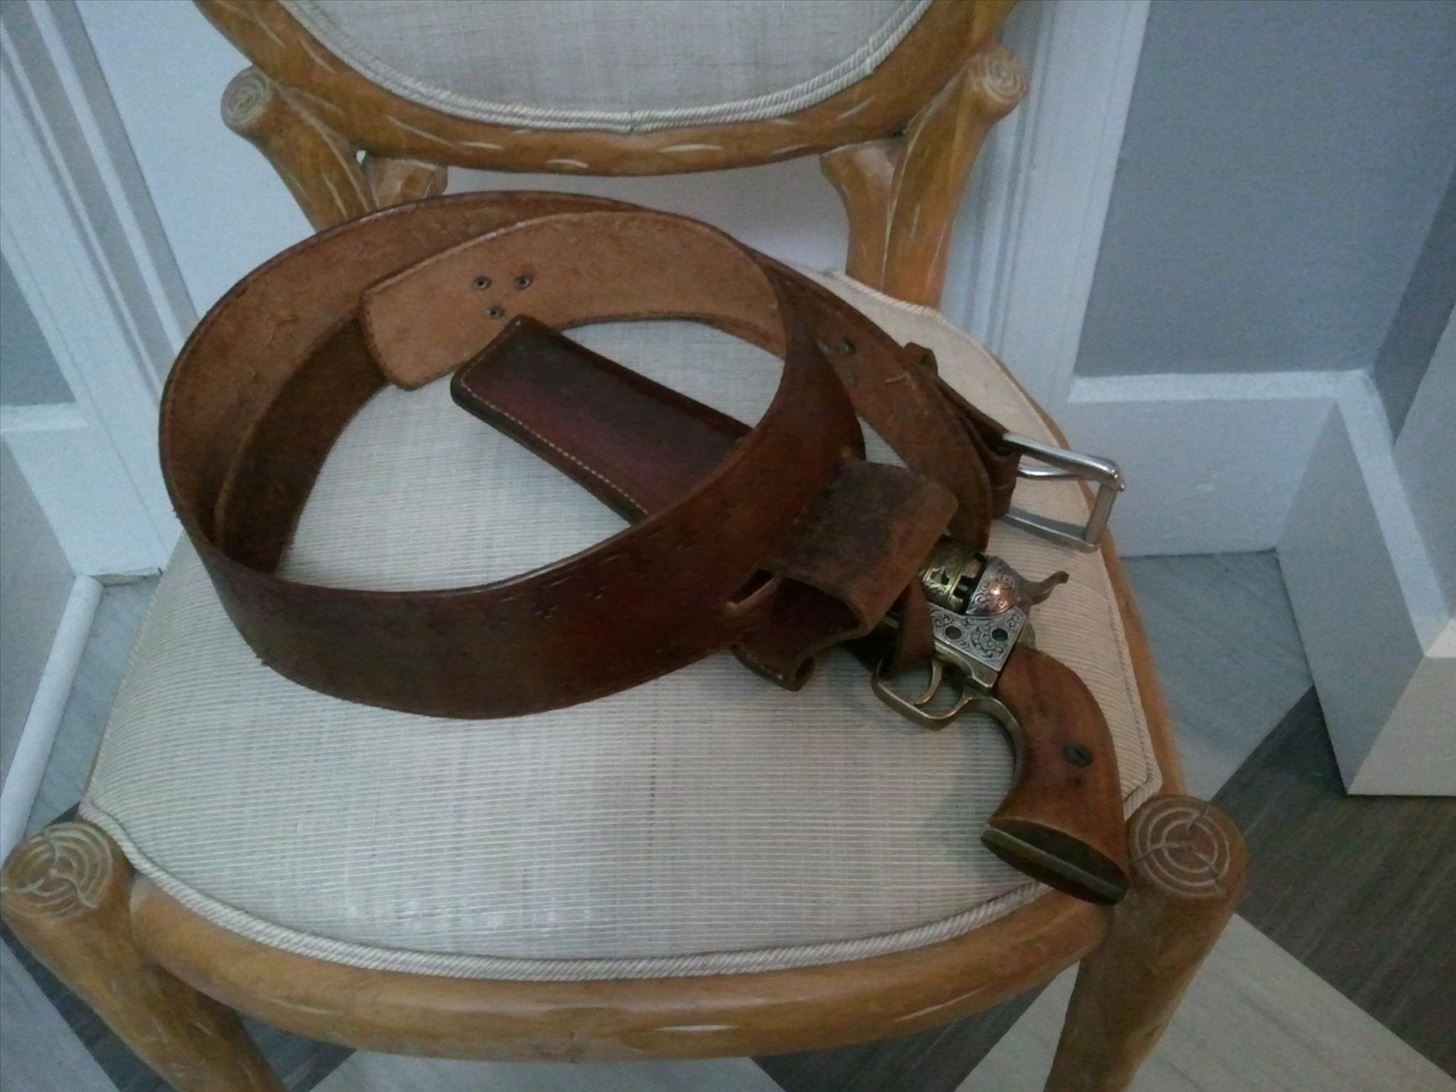
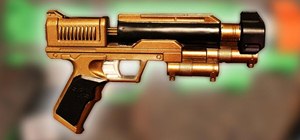
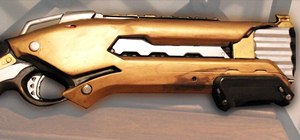
My goal here is to demystify the process, and to make literally anyone comfortable with working with leather. Trust me: I can't even draw a stick figure. My artistic talent is practically non-existent. So if I can make things like those shown below, so can you!

As a last note before I begin, every tool and material used in this guide comes from the Tandy Leather Factory. So if you want to purchase any of them, that's the place!
Step 1: Cutting
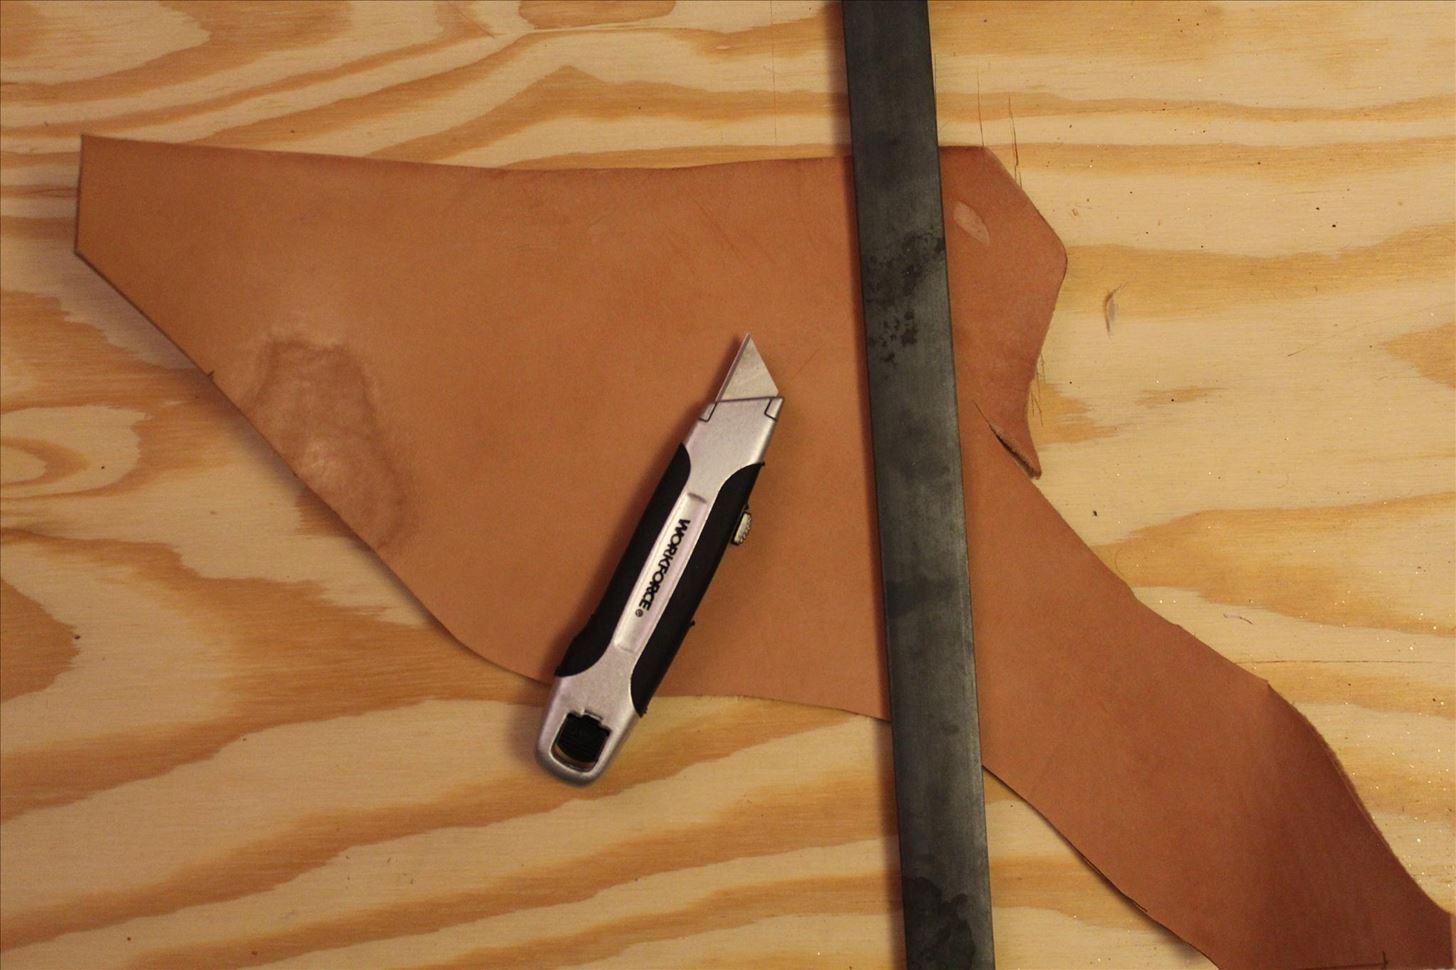
When you start out, you'll have a piece of leather that looks more or less like this:
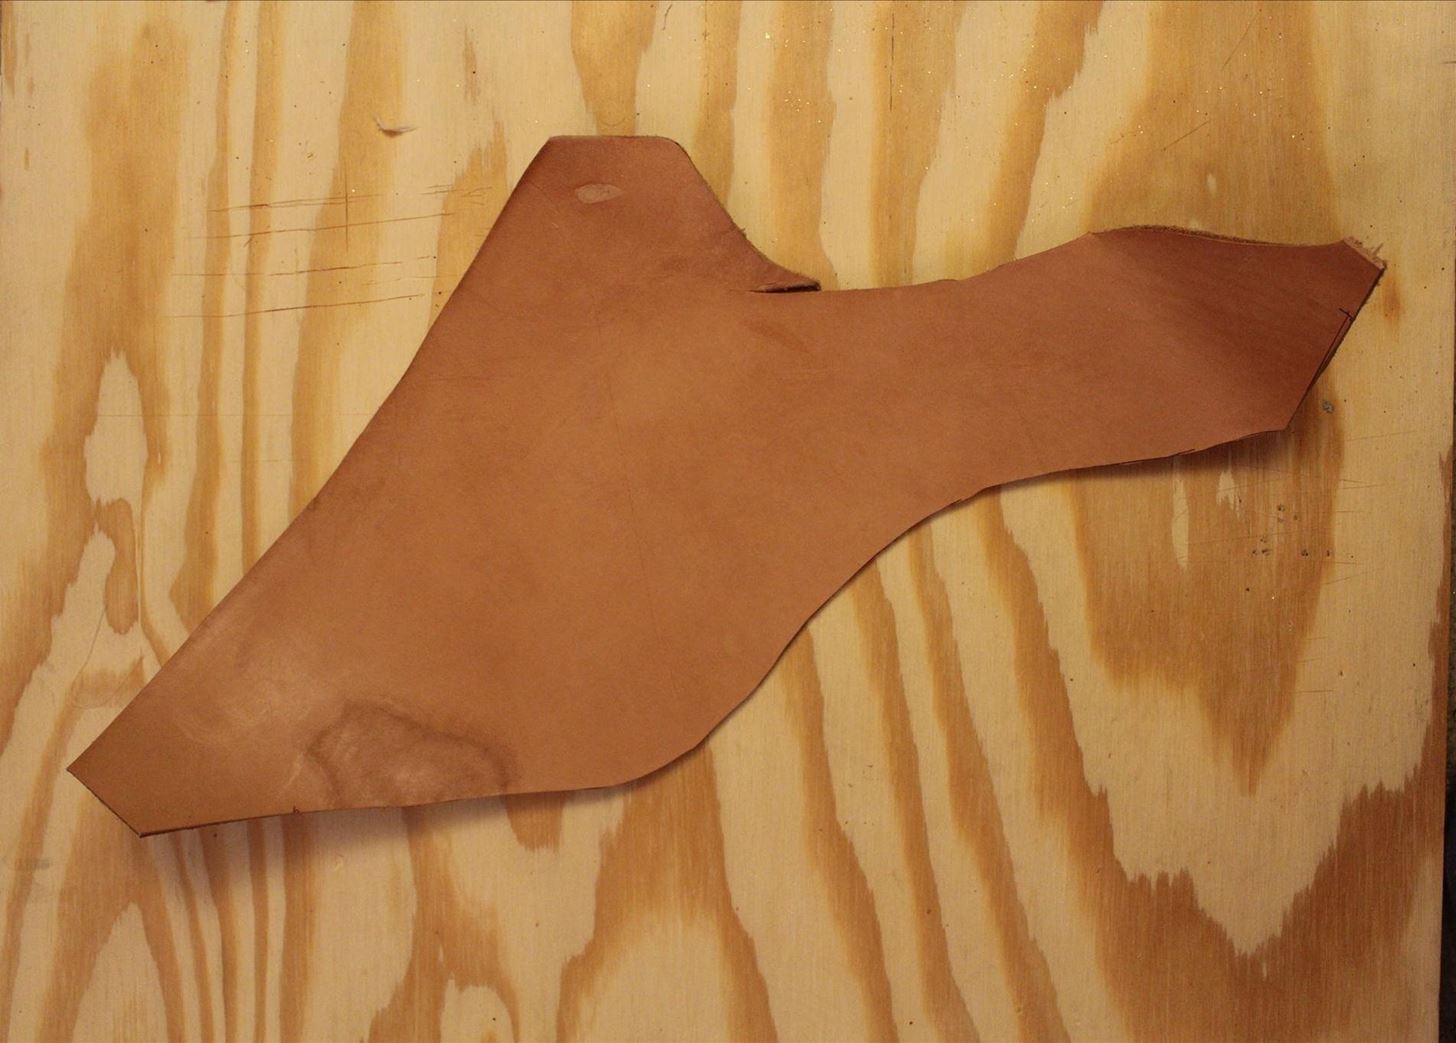
The leather pictured above is veg-tanned leather of about 8-ounce thickness. What you also see in the above picture is a piece of plywood that I use for cutting. I suggest you get one, though you can also use a cutting board of some variety. The plywood is quite sturdy, though.
Another thing you'll want is a straight edge of some sort. Pictured below is the one that I use, which is just a flat metal bar that's about 1/4th of an inch thick. I've adhered gritty traction strips to the bottom of it so that it won't slide around on the leather.
Also pictured below is my cutting tool of choice: a simple box cutter. It's cheap, easily replaceable, and highly functional. It can be hard to make tight corners with it, but you can just go wide on those corners and then trim them down afterward.
I'm going to go ahead and cut some rectangles as sample pieces. I'm not making a specific project for this guide, just a test piece on which I can demonstrate techniques.
This is what I cut out:
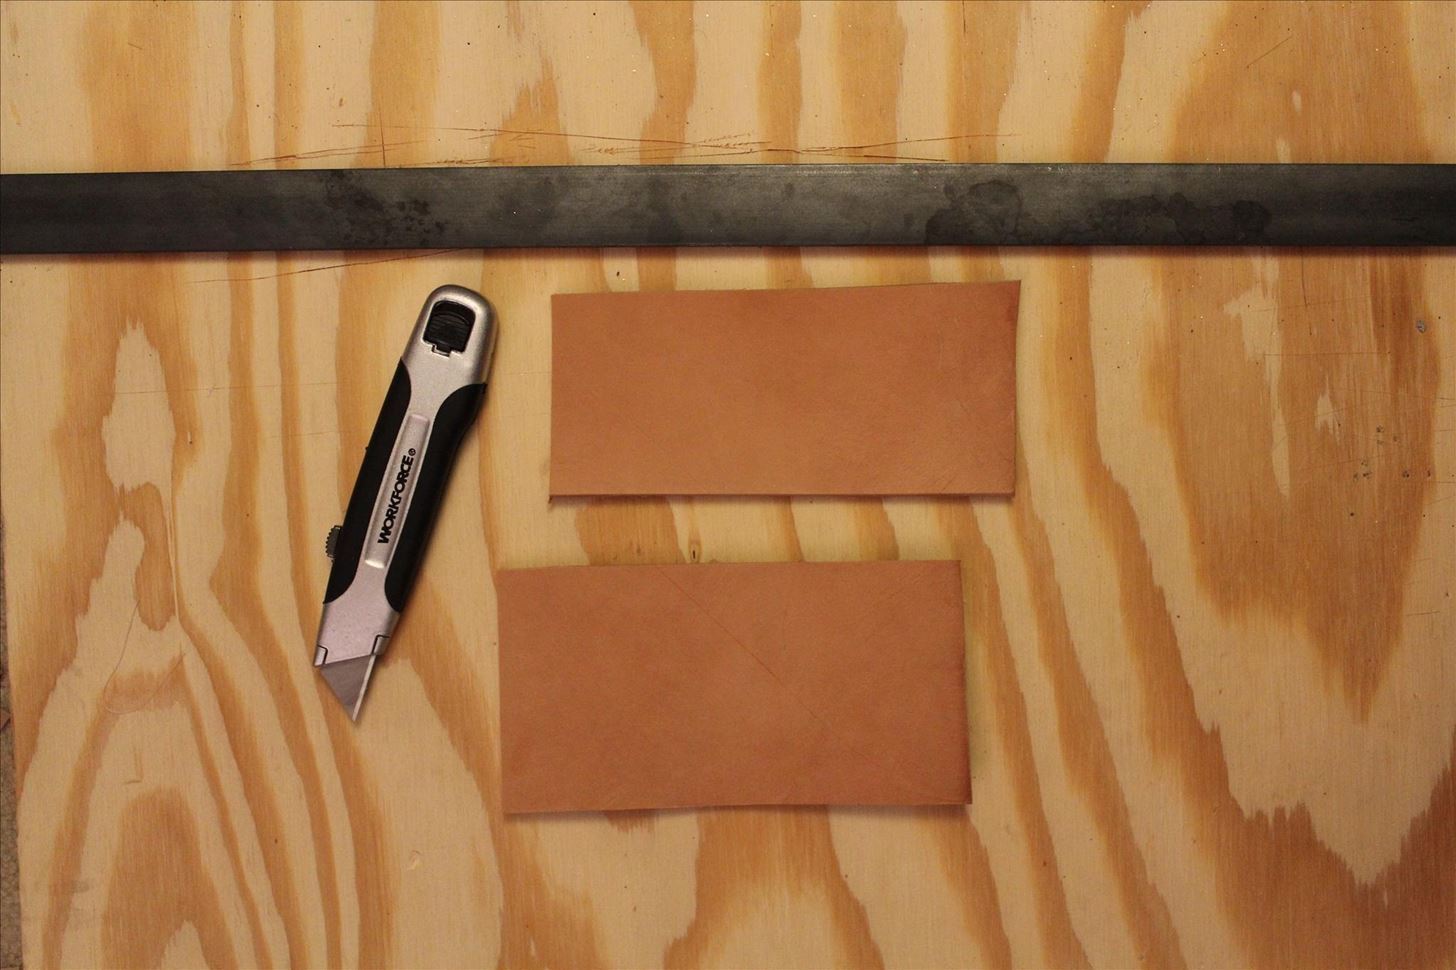
That's pretty much all there is to cutting. If you have a pattern, I recommend drawing the pattern out onto the actual leather, and then cutting on it as close as you can. If you get a little pen or pencil on your finished piece, don't worry. Beveling will usually take care of it, but we'll get to that later.
First, it's time to get your groove on.
Step 2: Grooving
Yeah, let's groove.
But first, let me show you my next work space. It consists of a big slab of marble.
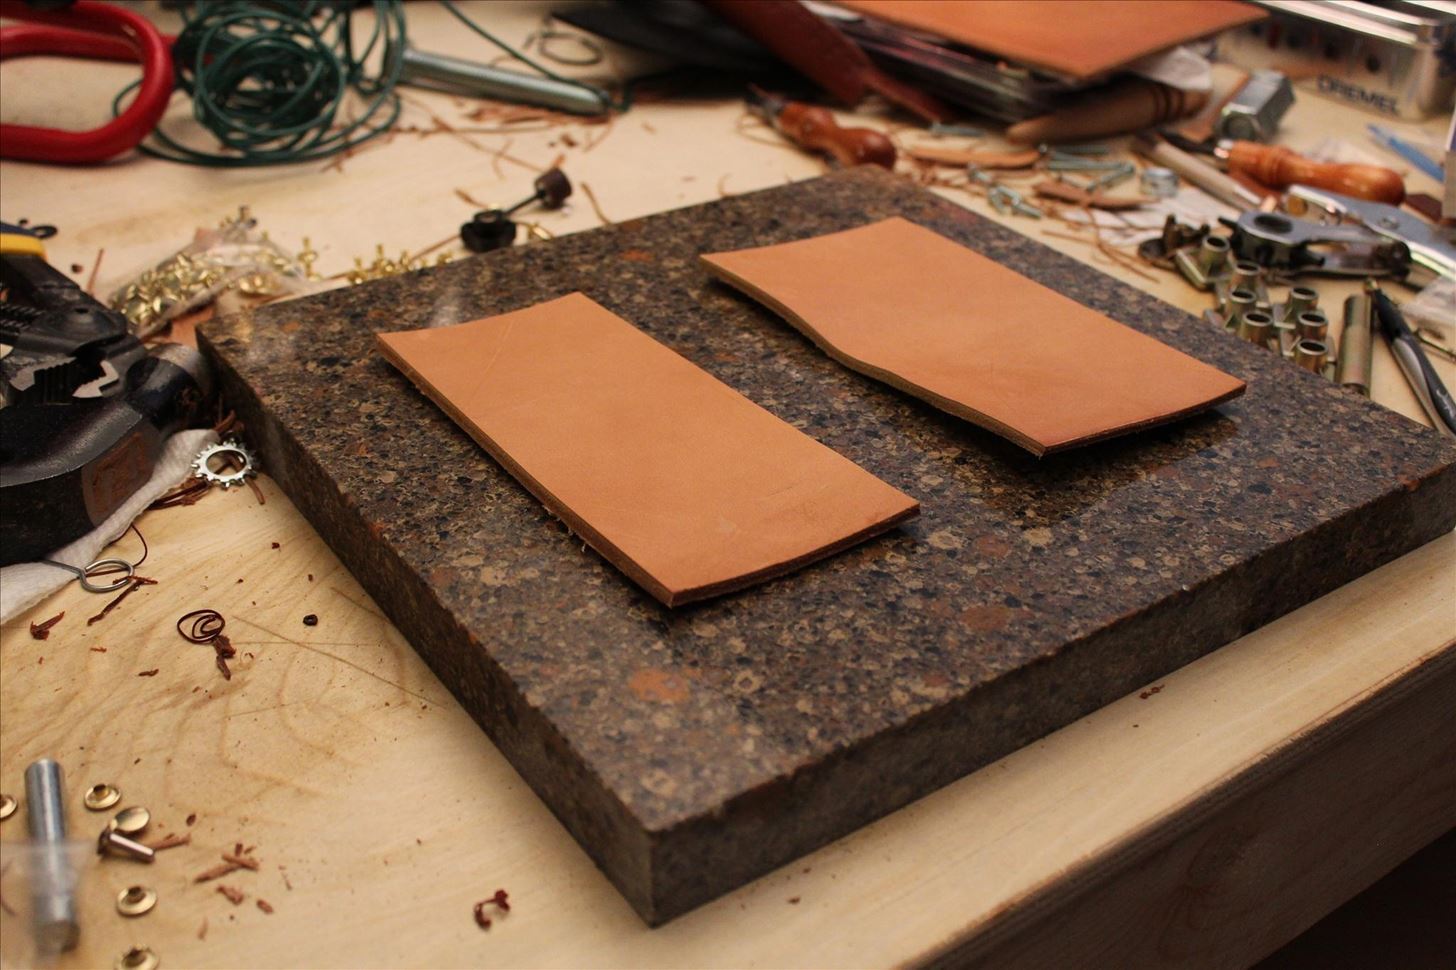
The slab of marble functions as both a work area, and an anvil. It's pretty ideal for stamping, tooling, and riveting. It weighs a ton, but that's what makes it so stable.
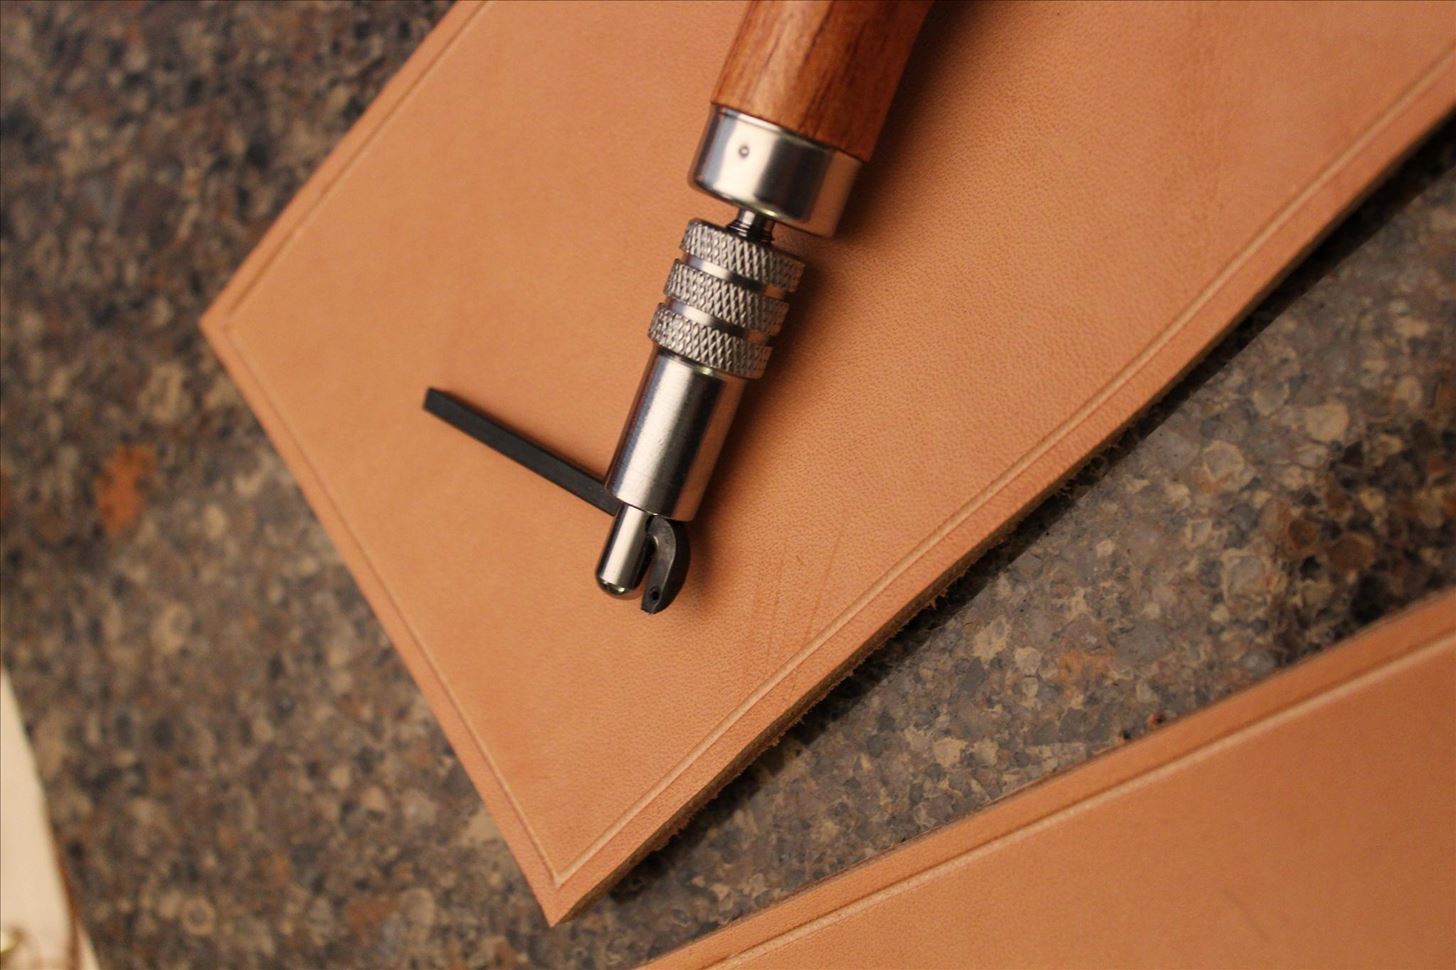
Now, grooving. In order to groove, you need some Barry White. Or a groover, like this:
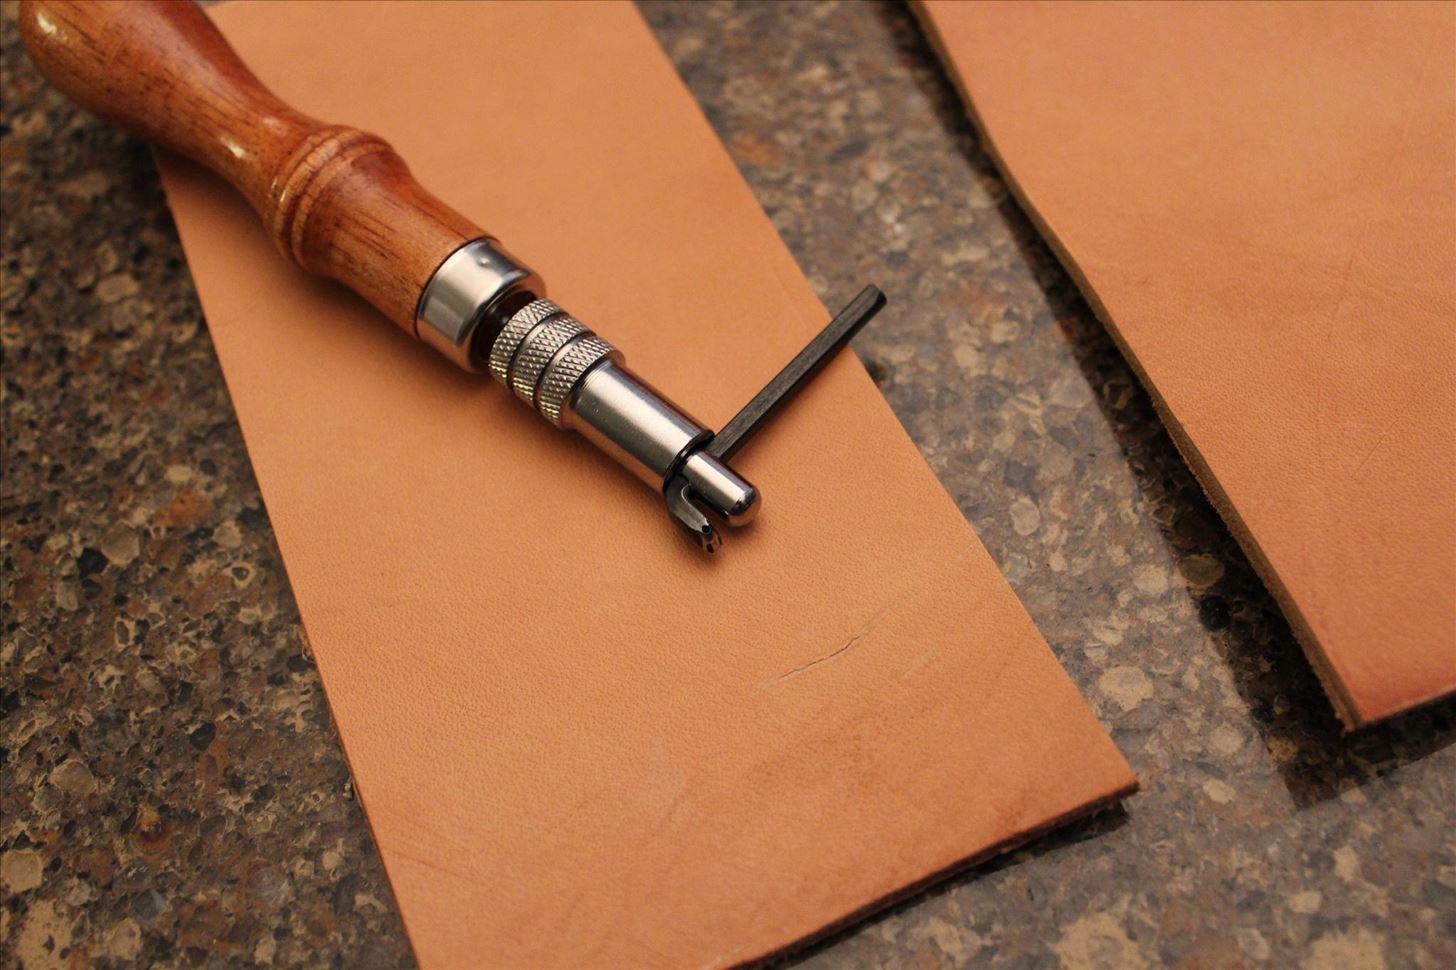
A groover is a weird-looking tool, and it may be difficult to figure out exactly how to use it, at first.
What you do is adjust how far the black bar sticks out; that will control where your groove appears. I recommend testing it on scraps before attempting a real project. But this is what it should look like:
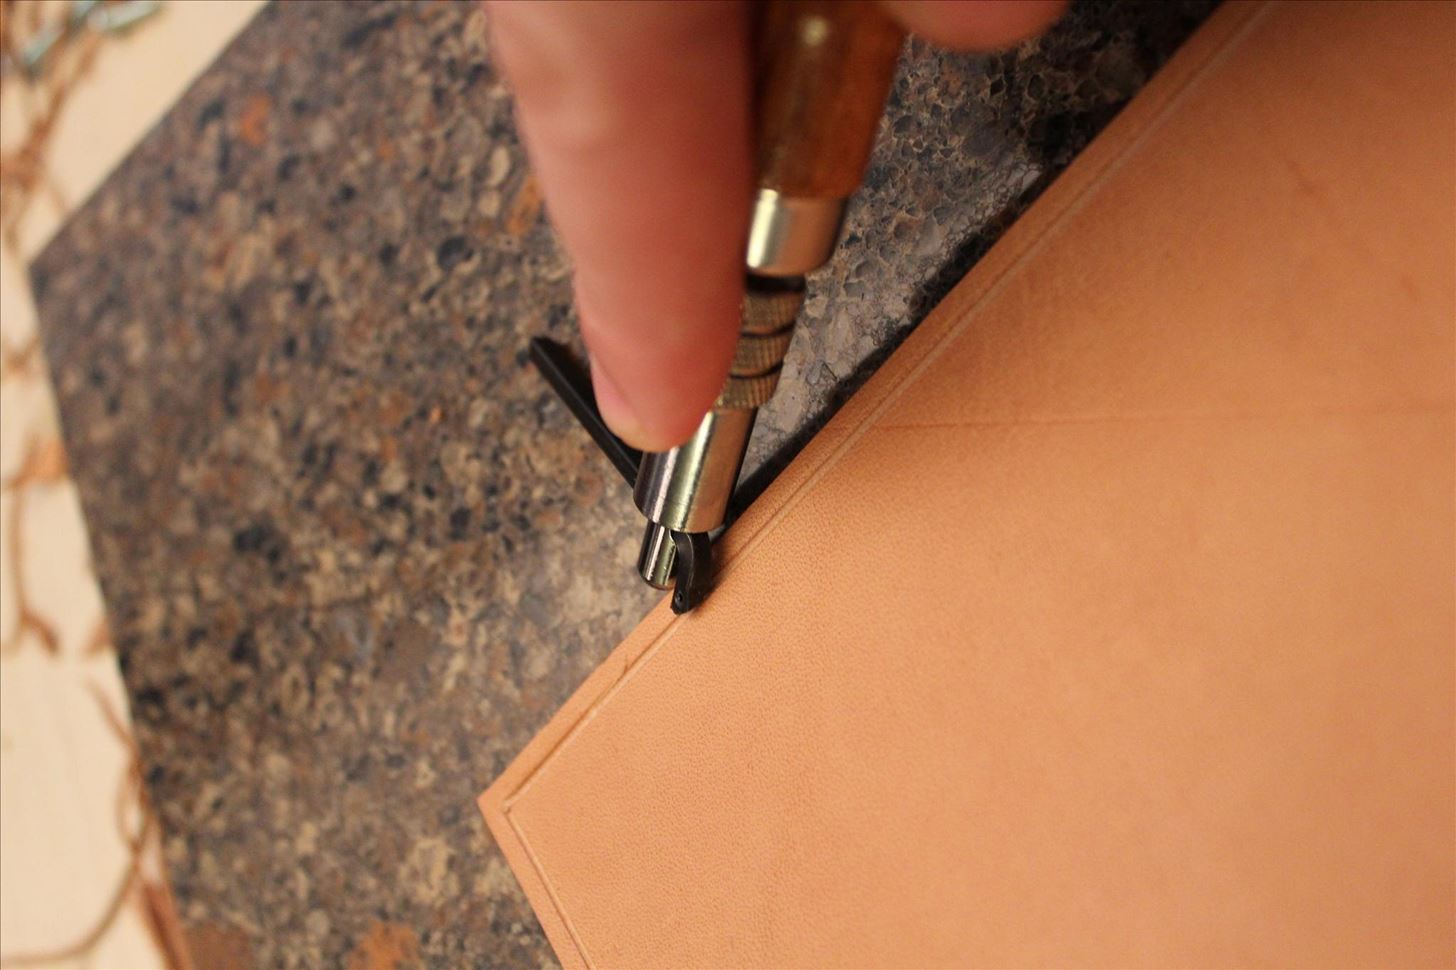
Hold it at about a 45 degree angle, and let the silver knob at the end be your guide. Hold that knob against the edge of the leather, and the groover will automatically make a line that's perfectly even with that edge.
Grooved lines can be used for a variety of things. For example, they're great guides for stamping and tooling. They also provide a line for stitching, and really just look great on their own.
Don't those nice, straight lines look great? They just add such an air of professionalism. I love them.
Step 3: Beveling
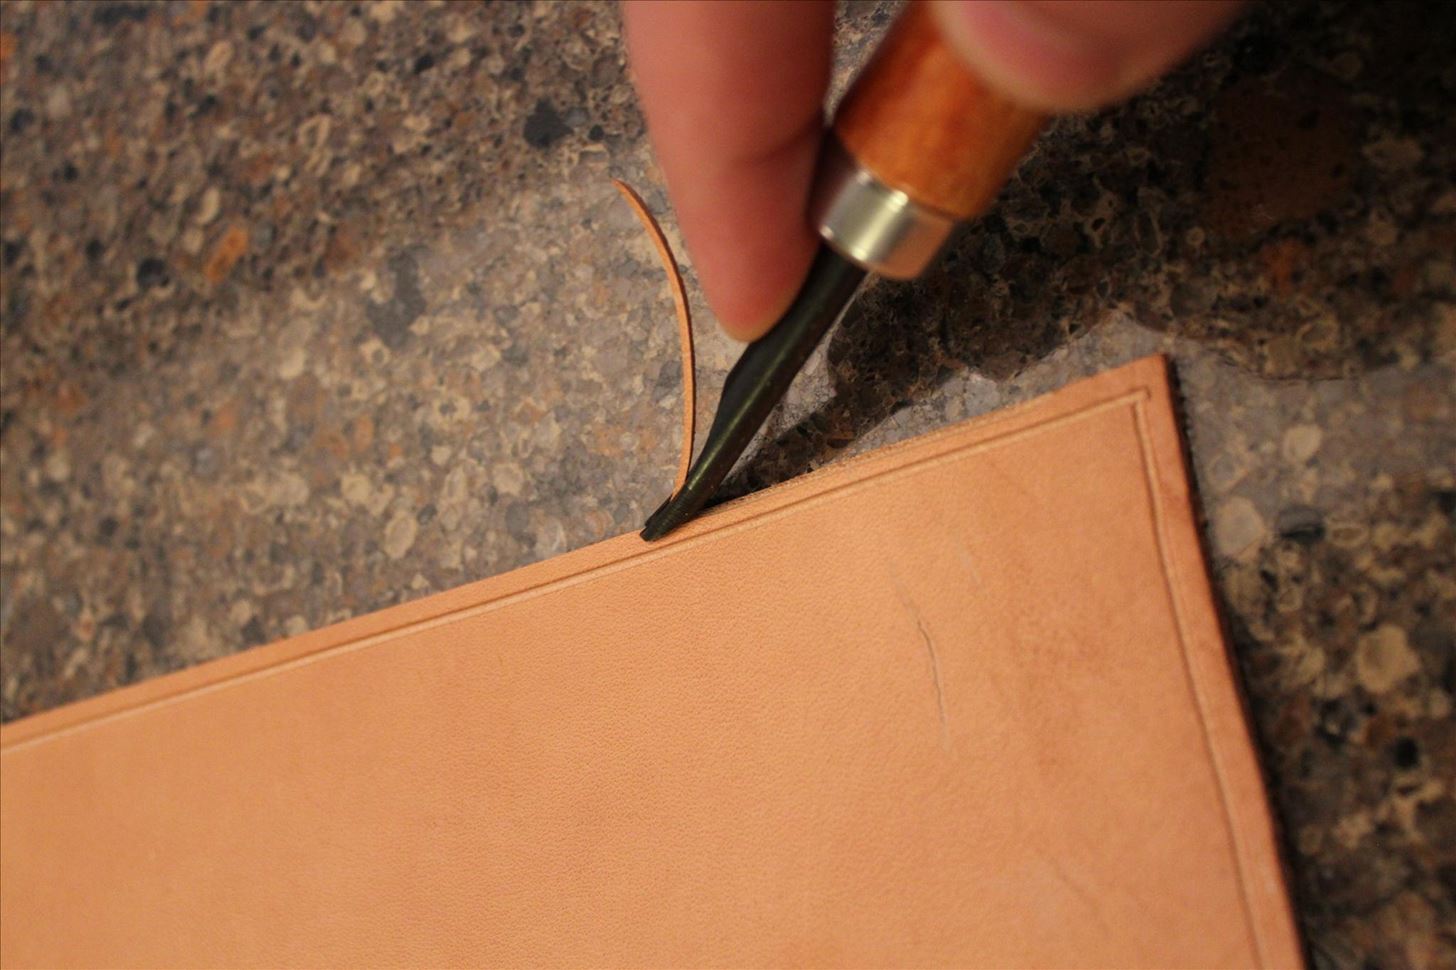
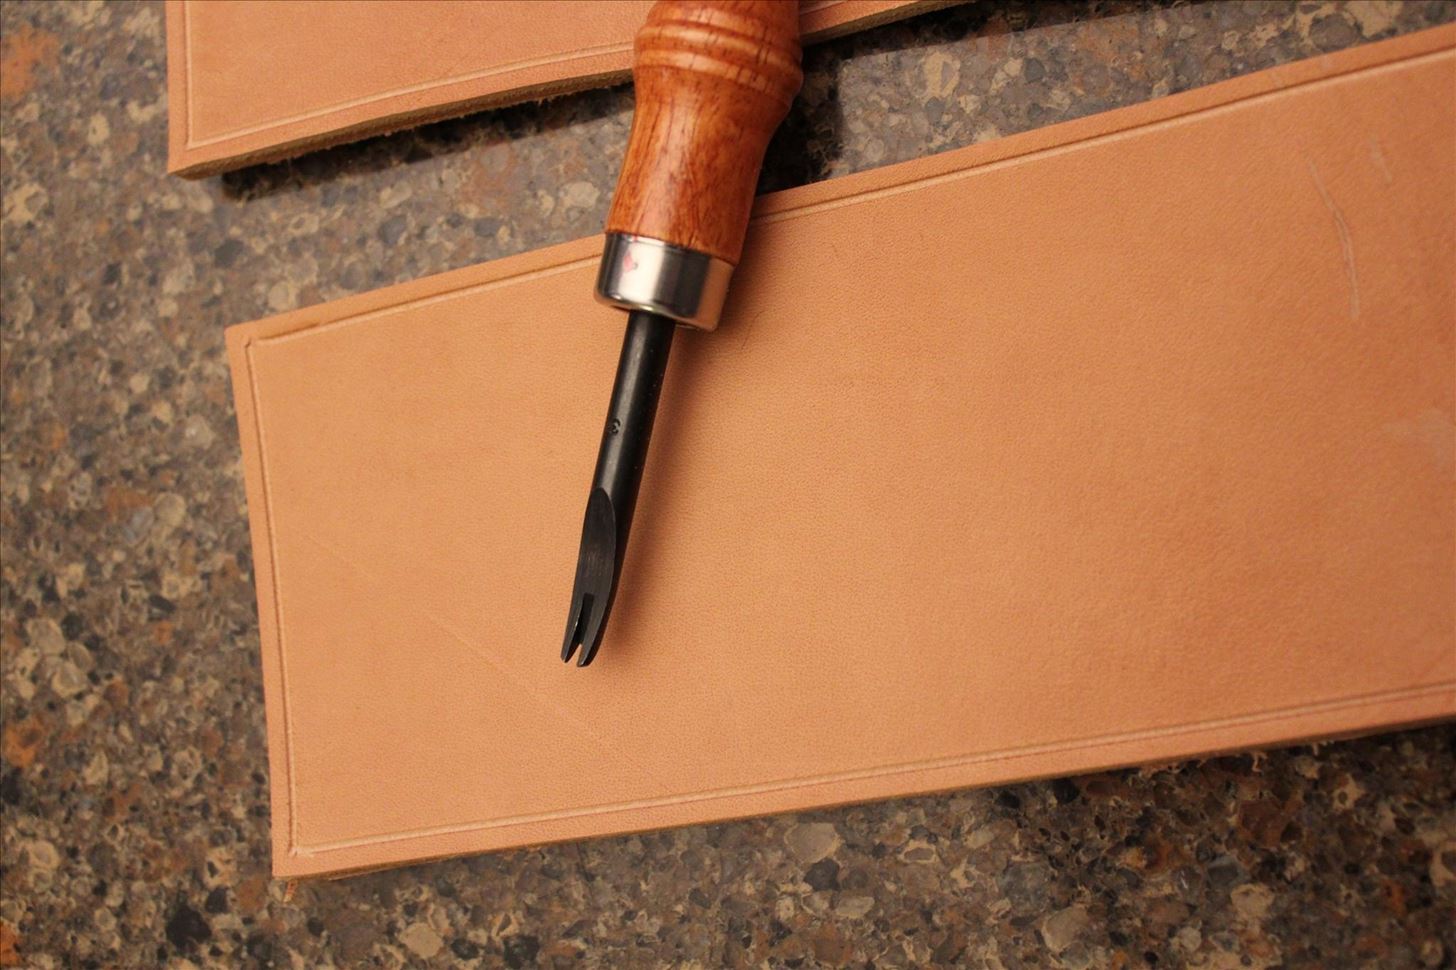
Beveling is the process of removing the hard edges of your leather. It, too, uses a specialized tool called a beveler. Here's what it looks like, sort of like a mini two-pronged fork:

You put the two prongs on either side of an edge, and then just run the beveler down that edge, like so:
It's hard to show a good shot of exactly what it looks like afterward, but here it is anyway:
Those are pretty big pictures, so I suggest you click on them to see it blown up.
Step 4: Making Holes
Once your leather is grooved and beveled, it's time to decide where you want your holes to be. Holes will be of two different types, and will serve two different purposes. However, these holes are how you're going to attach your leather to things, such as buckles, D-rings, or other pieces of leather.
The first type of hole we'll look at is the stitch-hole. You'll use these for stitching, and they're a pain in the butt. They're really strong, they look great, and they should almost always be your preferred method of connecting leather to other leather, but they're such a pain to do that it can really be a chore. Even punching the holes is kind of tough.
What you'll use to punch these holes is called an awl. Specifically a four-pronged awl. An awl is technically any sharp, poke-y stick, but in this case, you want an awl with a flat head. This is what it looks like:
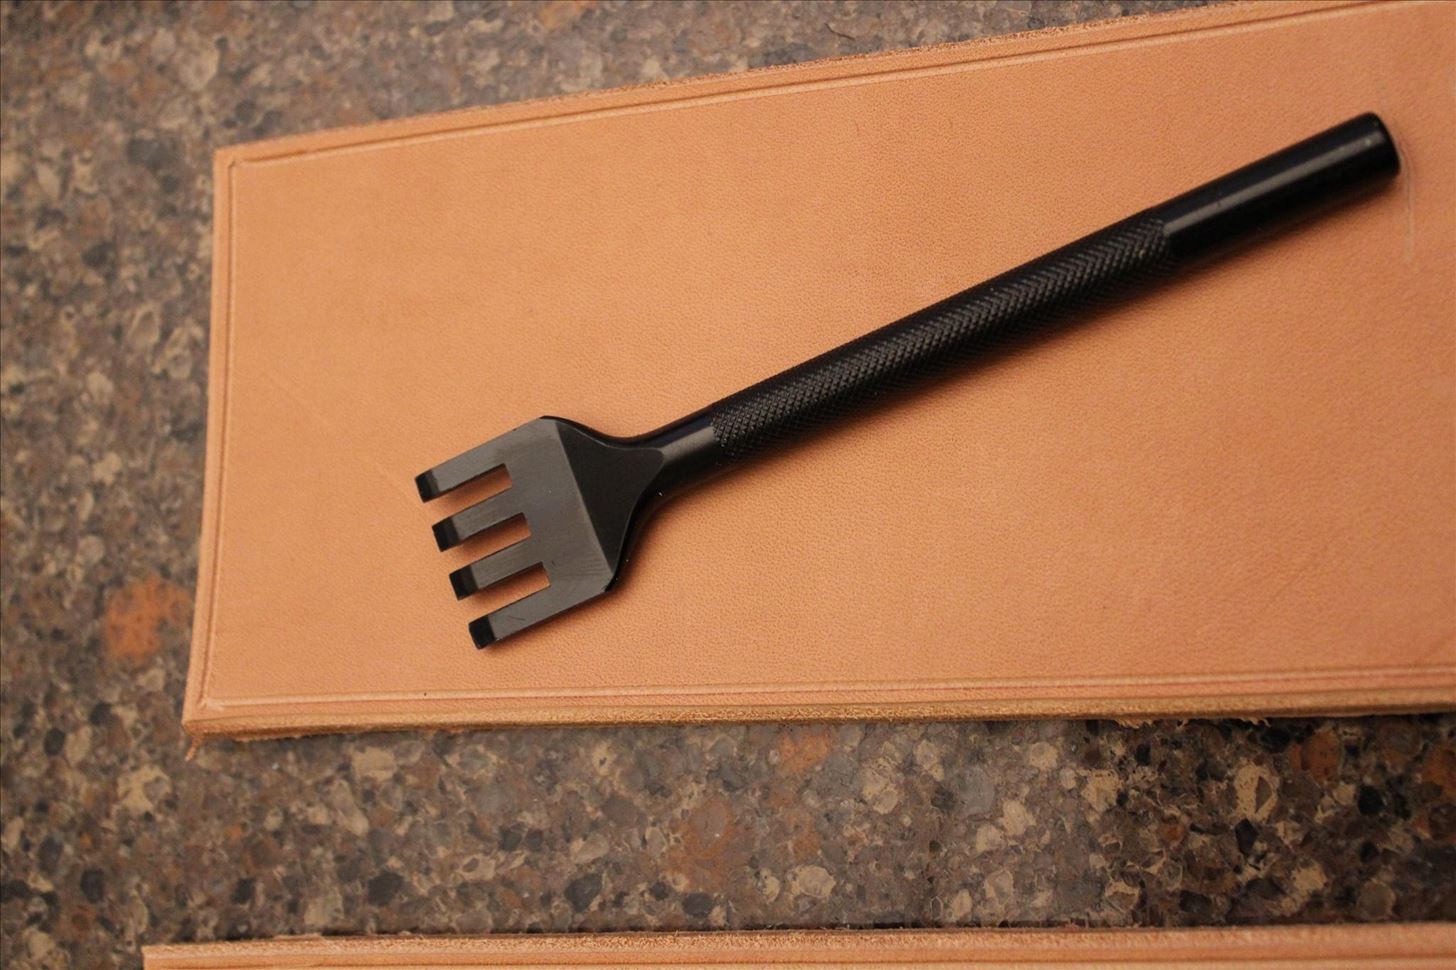
It's kind of like a stubby fork, right?
So, now that you have your nice groove line, all you have to do is put the prongs of your awl inside your groove line and hit it a few times with a mallet. Oh, also, be sure to put a cutting mat (or plywood) underneath your leather for this step. Otherwise you'll blunt the edges of your awl.
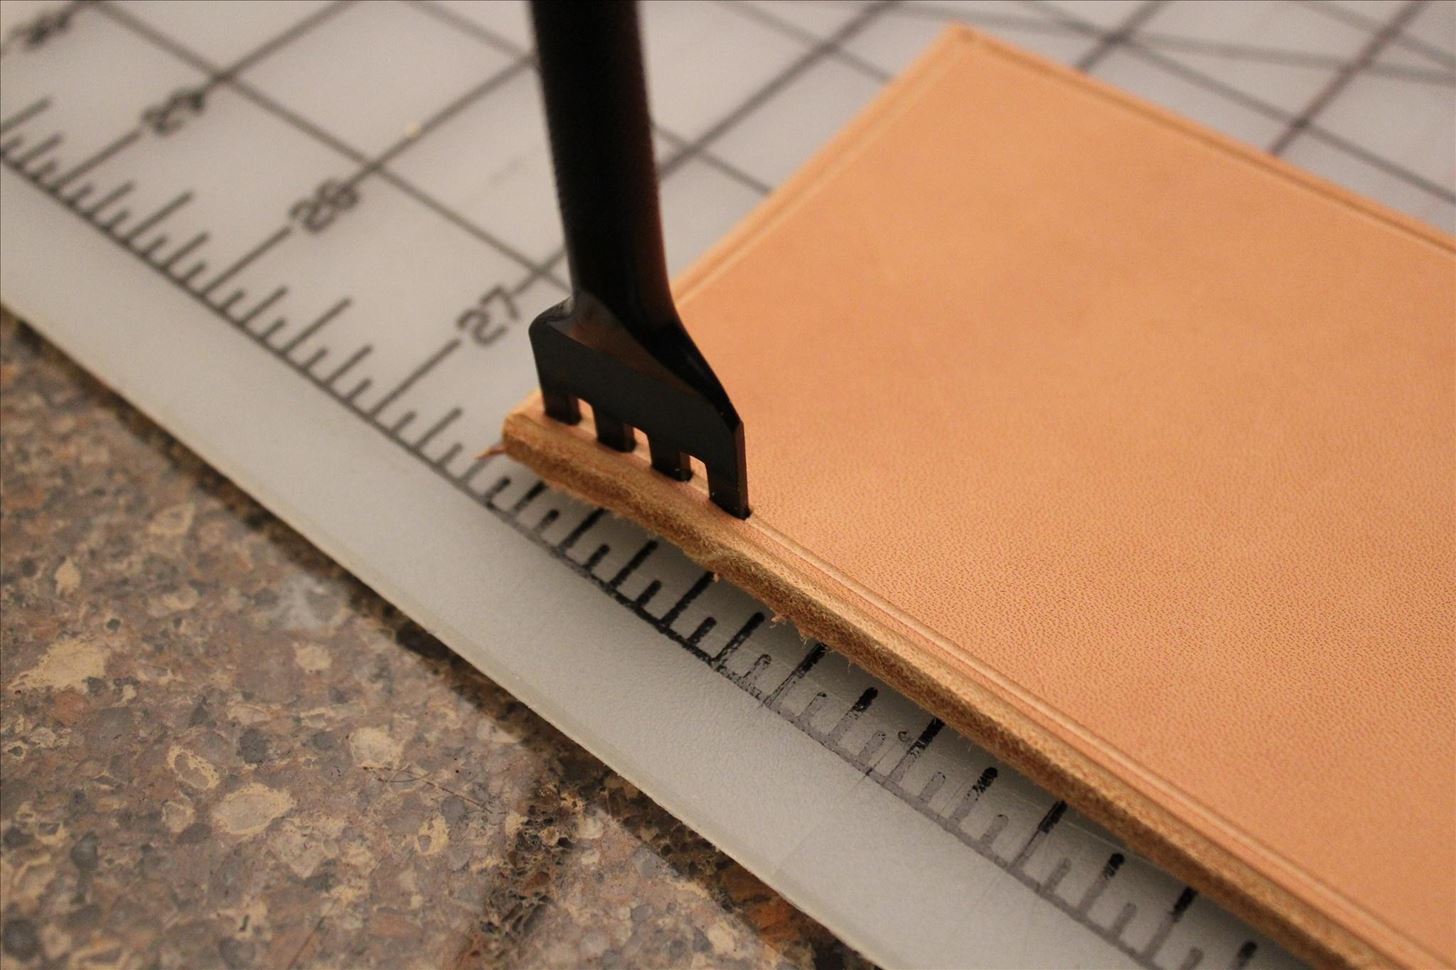
It's hard to get the awl out once you hammer it in, so you'll have to work it back and forth. However, once it comes out, you'll have four perfectly-spaced lacing holes.
In order to continue your perfect spacing, every time you move down the groove line with your awl, place the first prong in the last hole you made, like so:
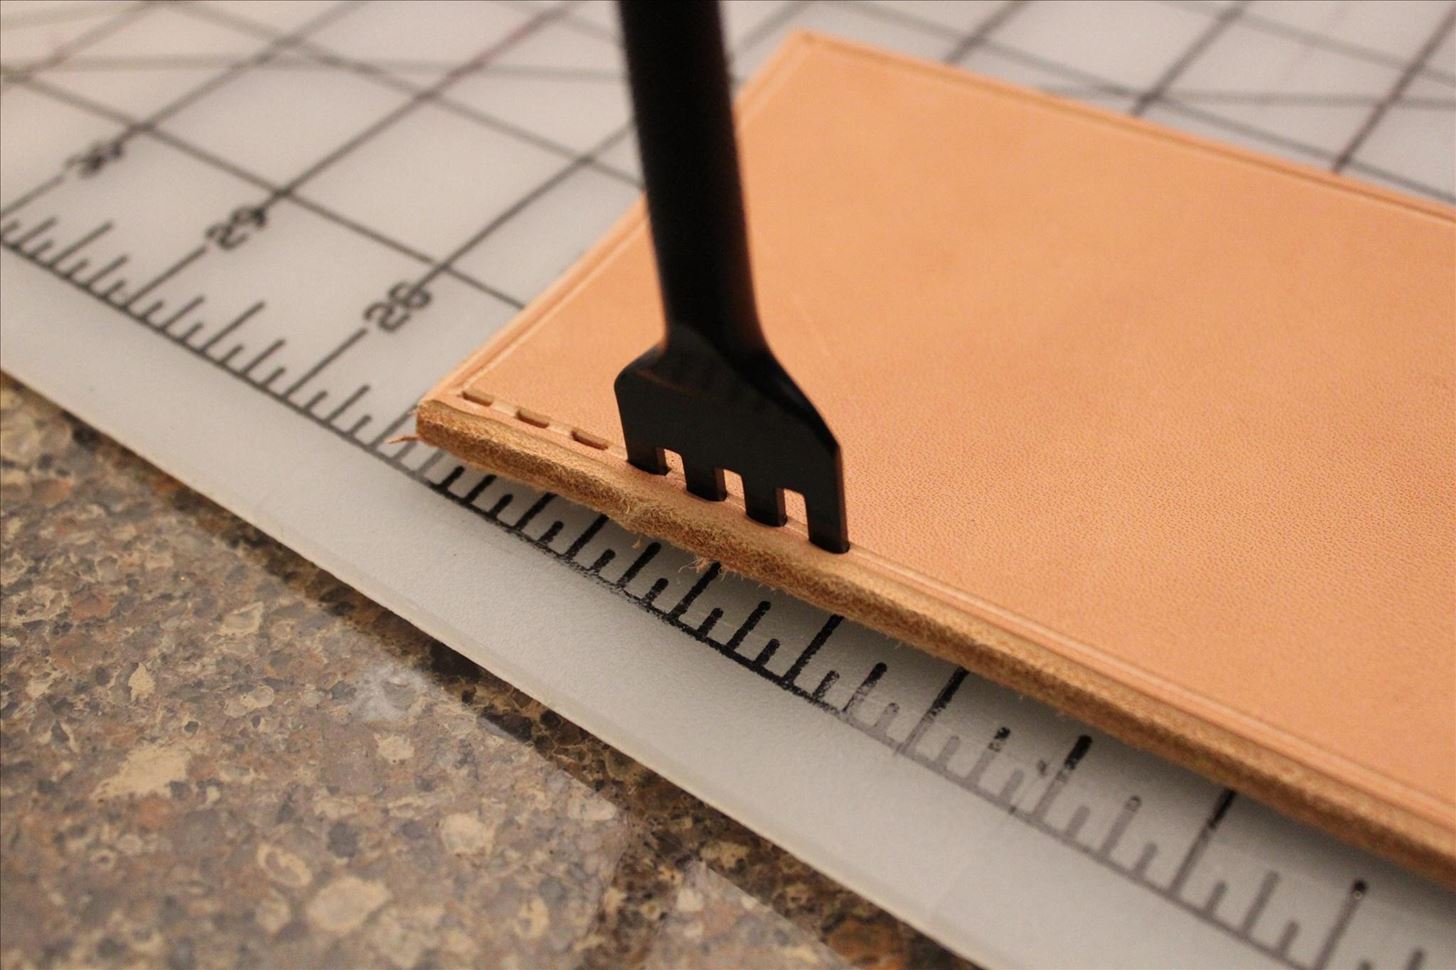
See how there are three empty holes? That's because the fourth one is filled again. Repeat this across your whole surface, and your stitches will look perfect!
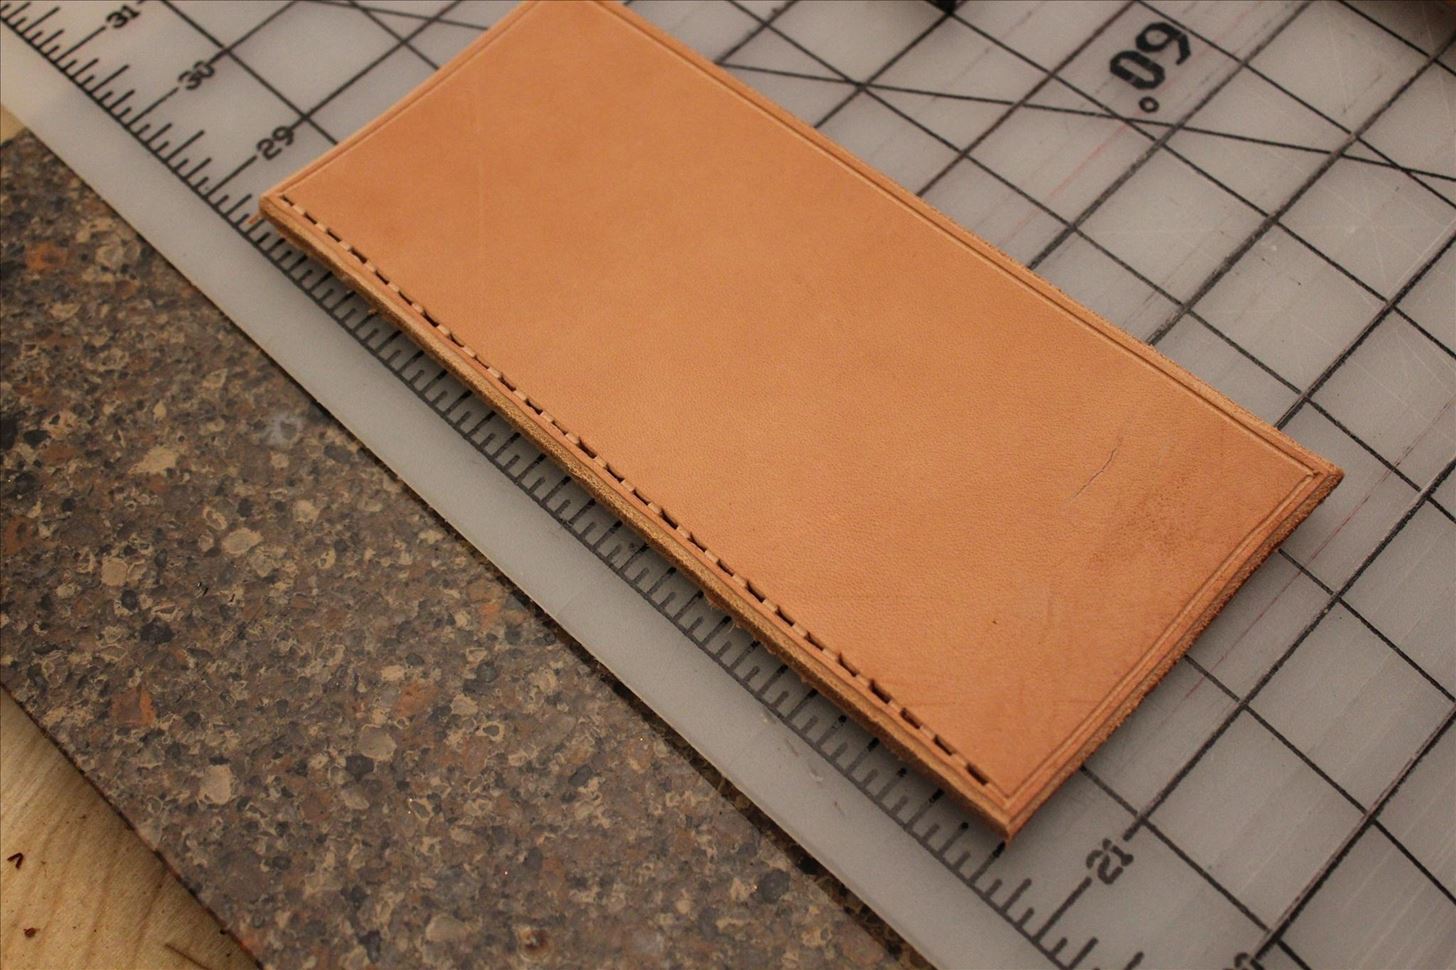
Perfect, right? And it's so easy... It didn't require any artistic skill at all!
The next type of hole we'll look at is the punched hole. Punched holes are what you'll use for rivets (which we'll cover later). Rivets are the absolute easiest way to connect two pieces of leather, and they look cool while doing it. I recommend against using rivets on high-strain areas, as rivets can pull out. If you really want to use rivets in a high-strain area, use several so that you spread out the stress.
What you use to punch holes in leather is a specialized tool called a leather hole punch. It has a variety of different size hole punches, so you can choose whichever one fits the rivet you want to use.

It's really easy to use. You just put it where you want the hole to be, and squeeze really hard. Then you have your holes! It can get pretty tiring on your hand if you're doing more than 10 holes or so, but it's still much easier than stitching!
Step 5: Stamping/Tooling
Stamping and tooling are more or less the same thing. They're also known as 'detailing'. Basically what you're doing is adding designs to your leather. There are a few different ways to do this, but right now we're just concerned with stamping.
Stamping is the easiest way to decorate your leather, and literally anyone can do it. A leather stamp is a design of some sort with a metal handle. Like so:
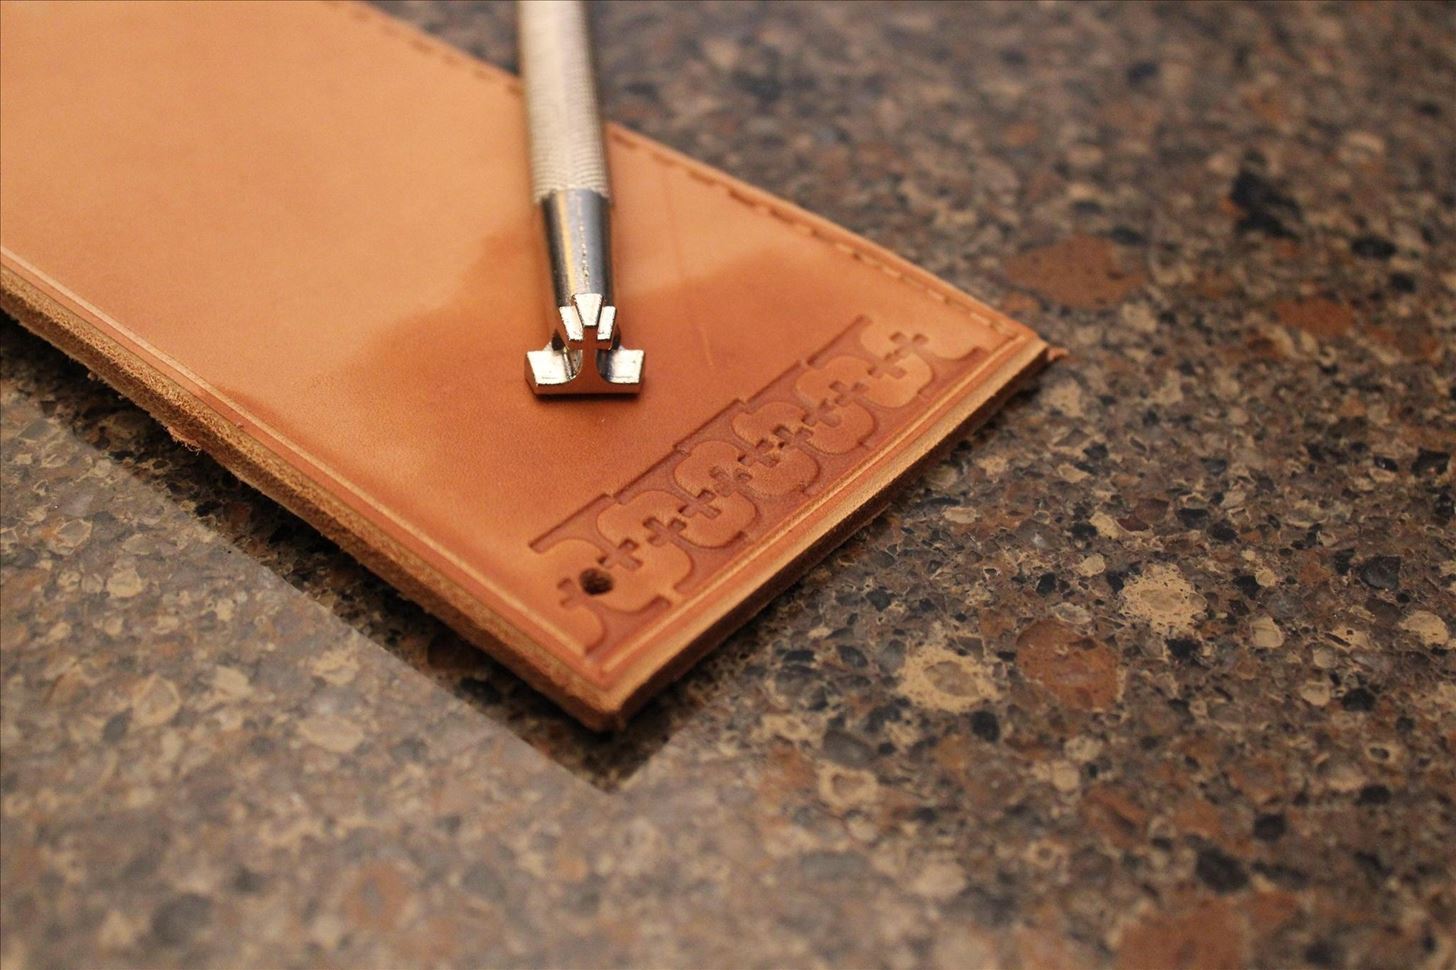
As you can see, It's a cross-shaped thingie on the end of a metal handle. What you do is wet the leather, then put this design down and hit the handle with a mallet or hammer.
Wetting your leather is a valuable part of the process, so let's talk about it for a sec. The best way to do it is with a sprayer like so:
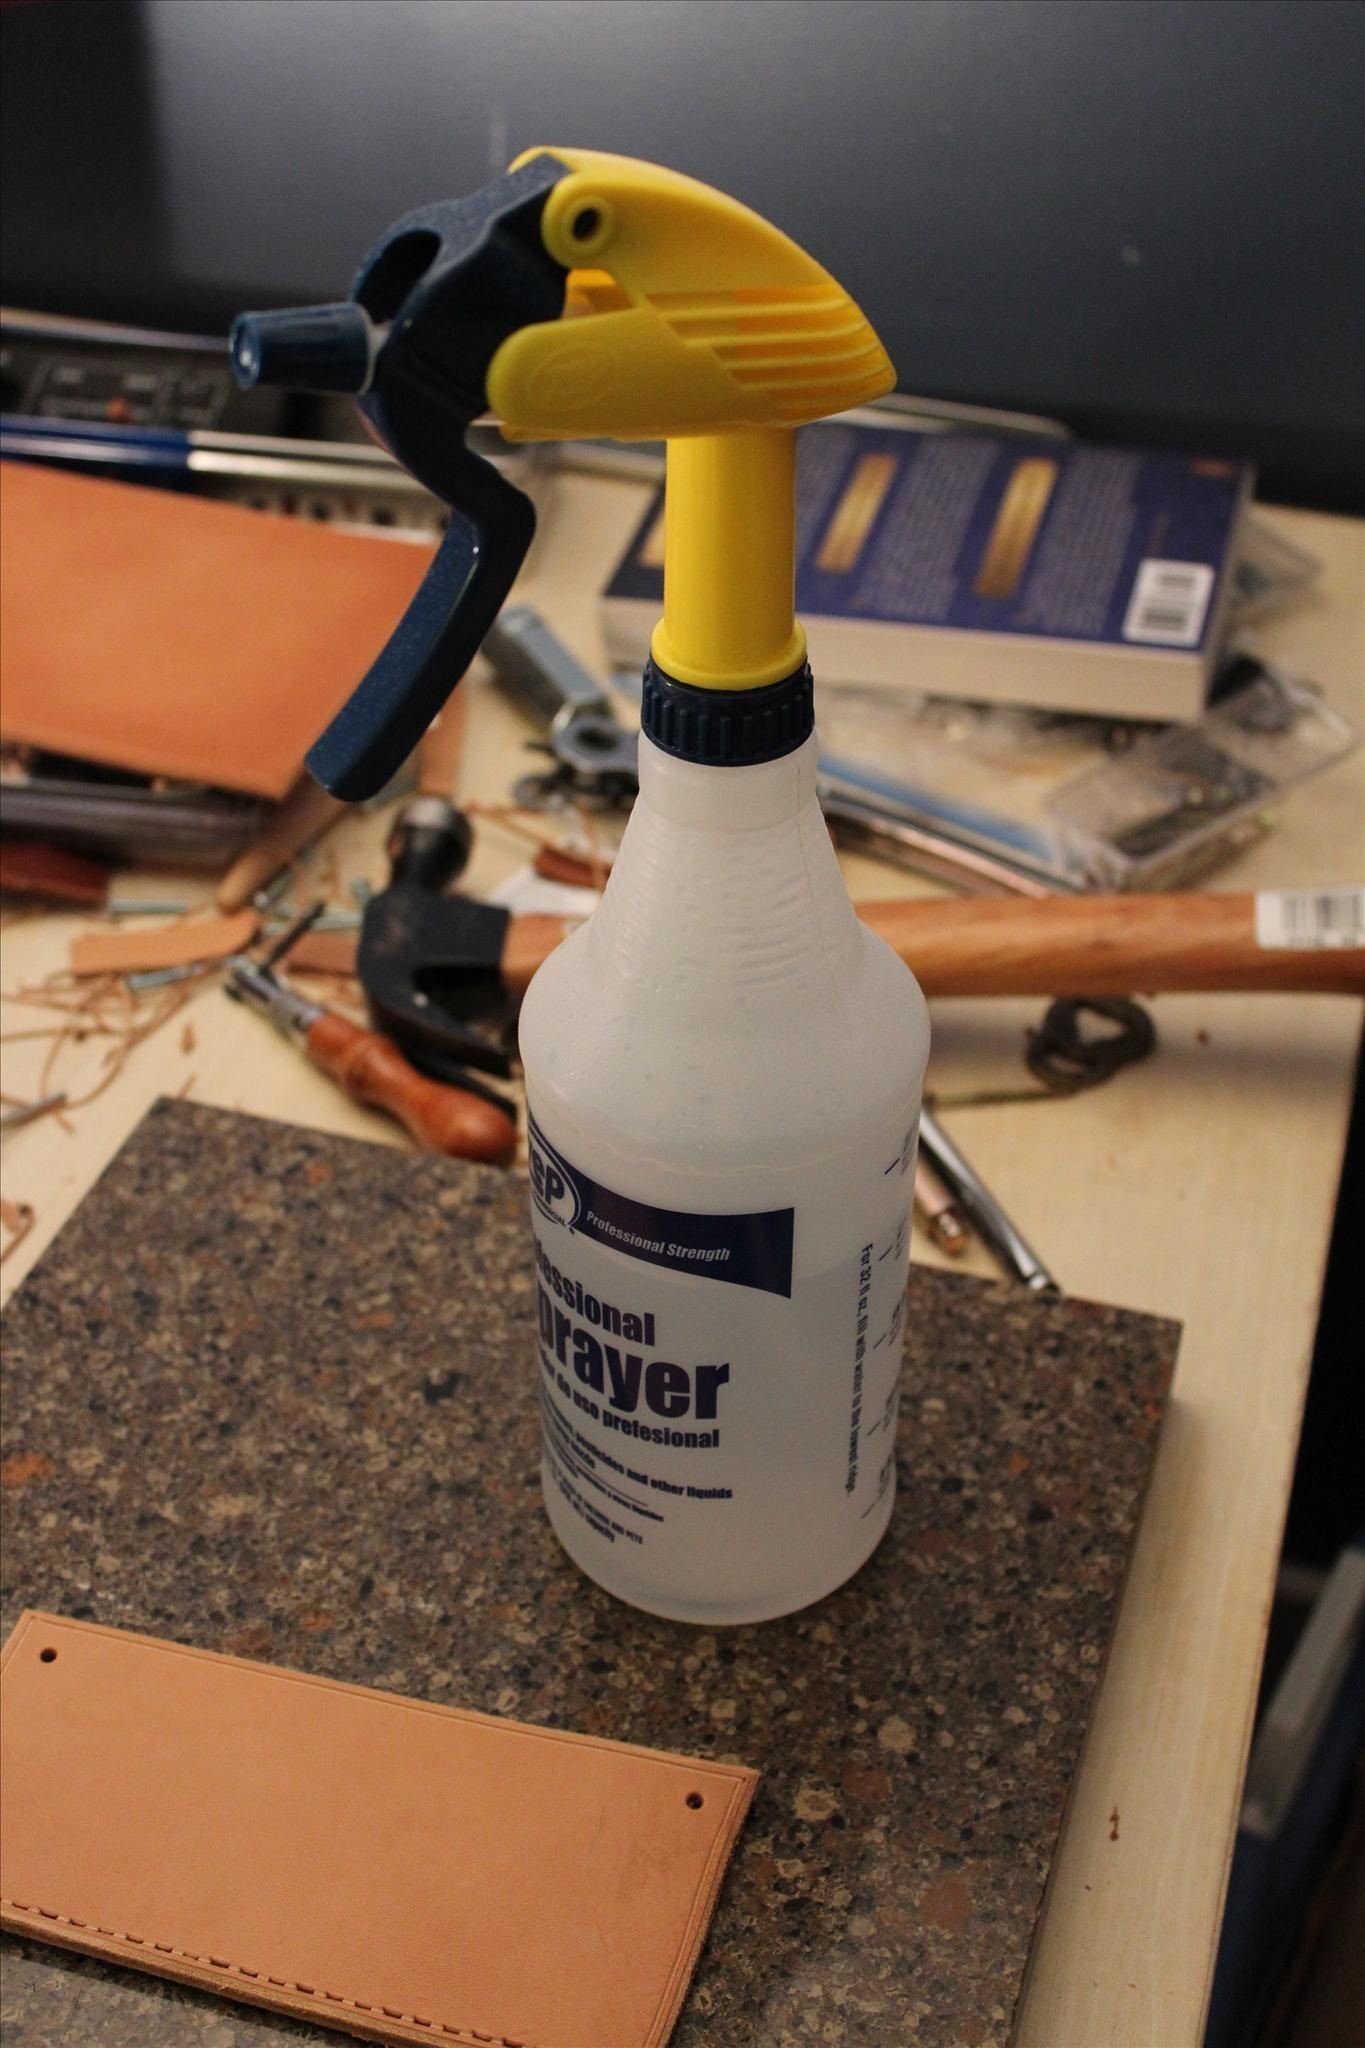
Just one or two sprays is normally good enough. You don't want it to be soaking wet, but just... well, wet. It should look like this:

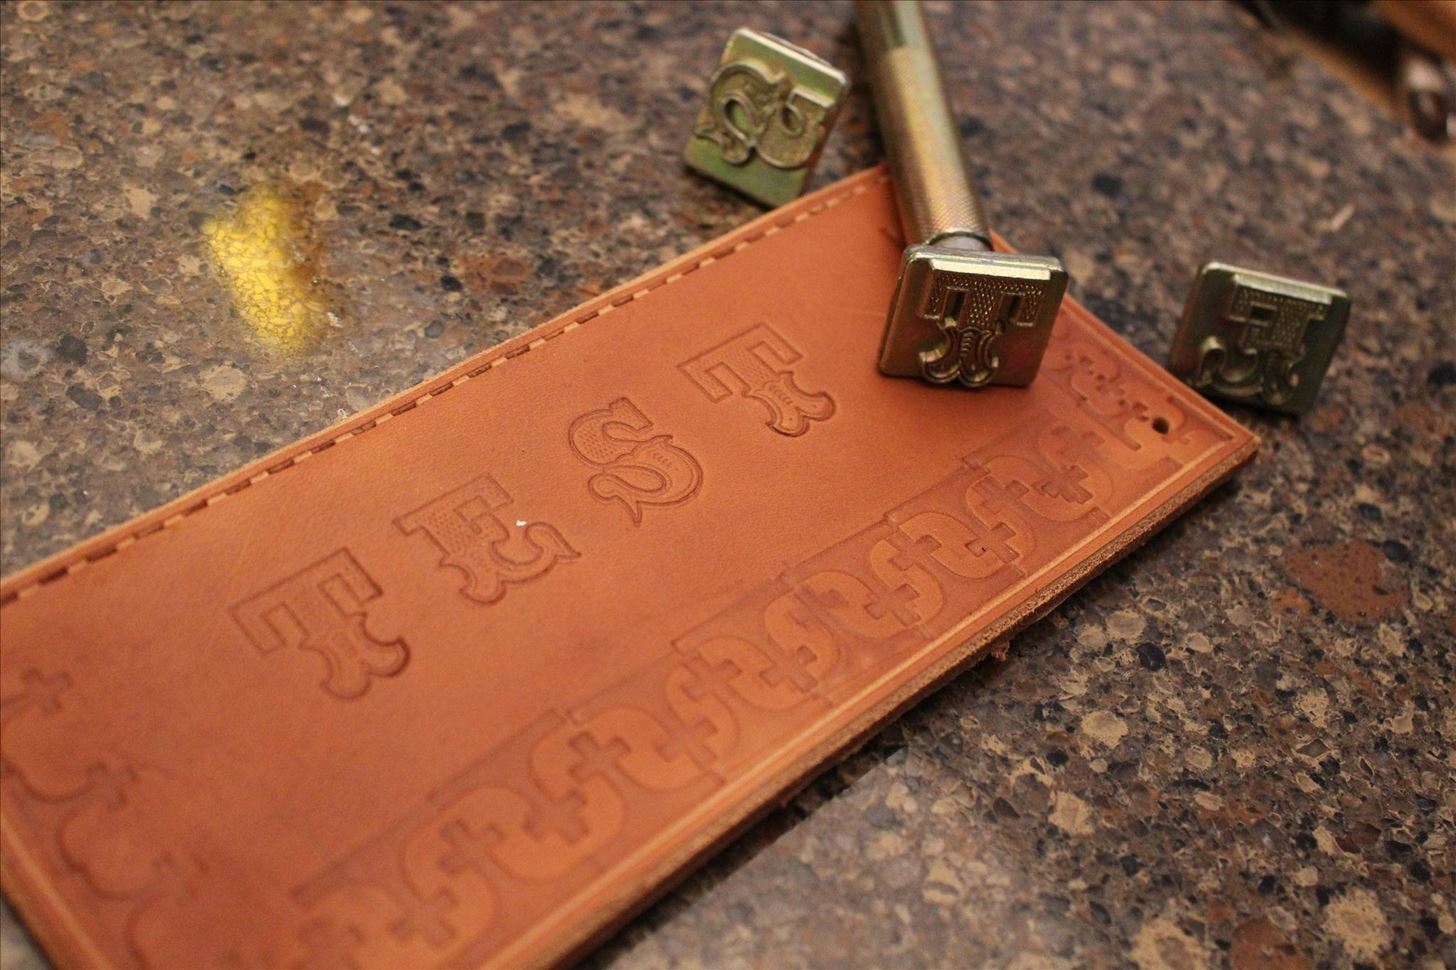
The water will quickly get absorbed into the leather. Once it has, you can stamp away. Now, back to the picture I showed above with the stamp. Let me show it to you again, so that we can talk about it.
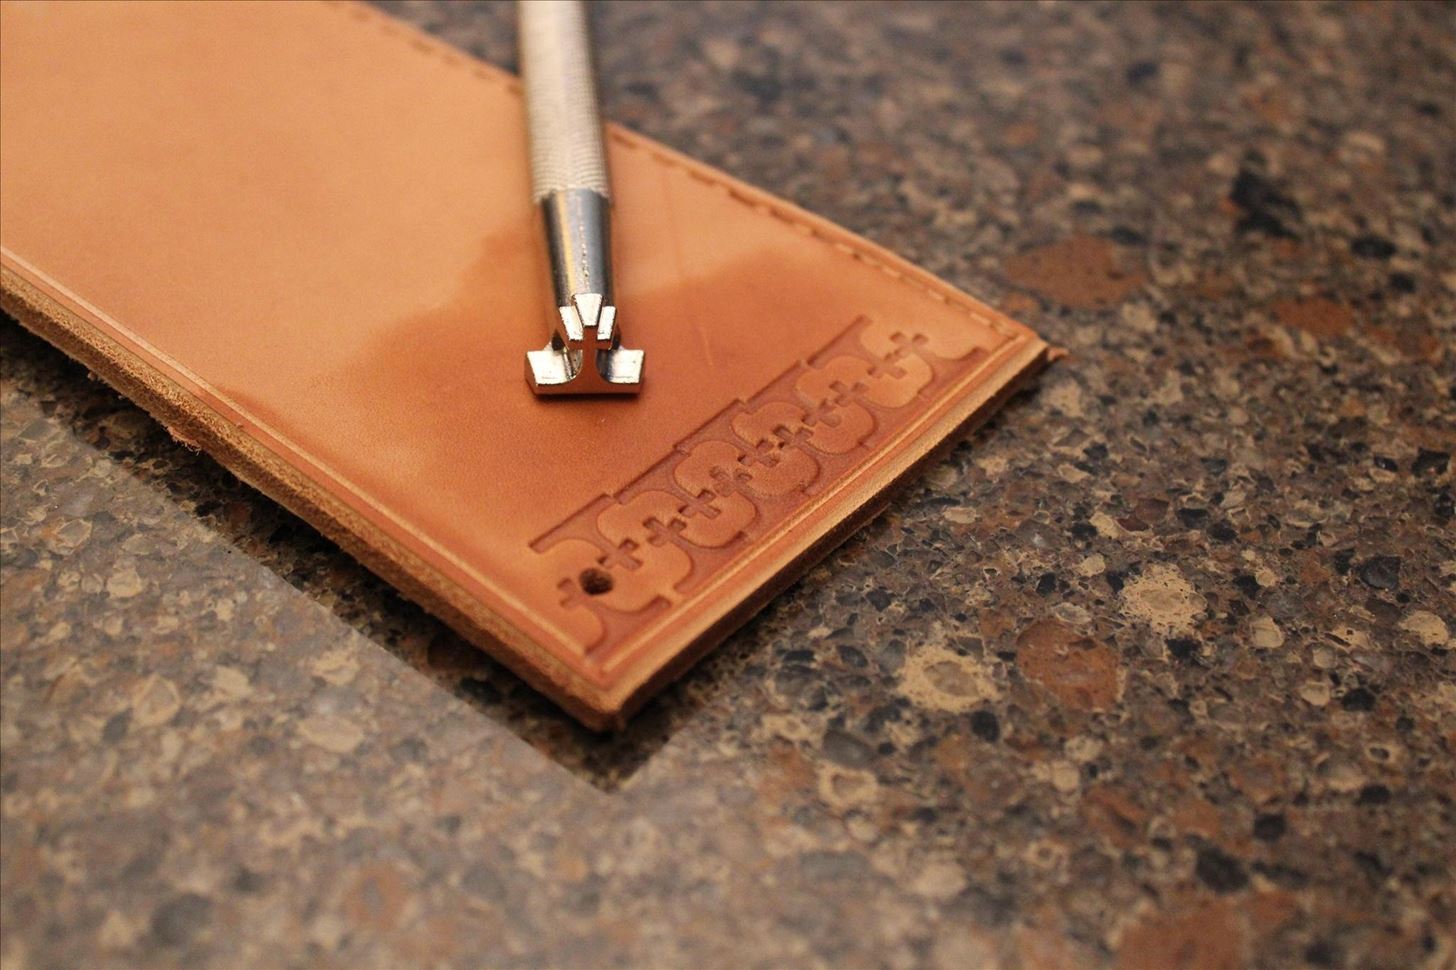
In the above picture, you can see that I used the stamp twice in the same area to create a more complex pattern. It's not the most even pattern in the world, and also not the best-looking, but you get the idea.
On the next side, I did a similar pattern with a larger stamp of the same design.
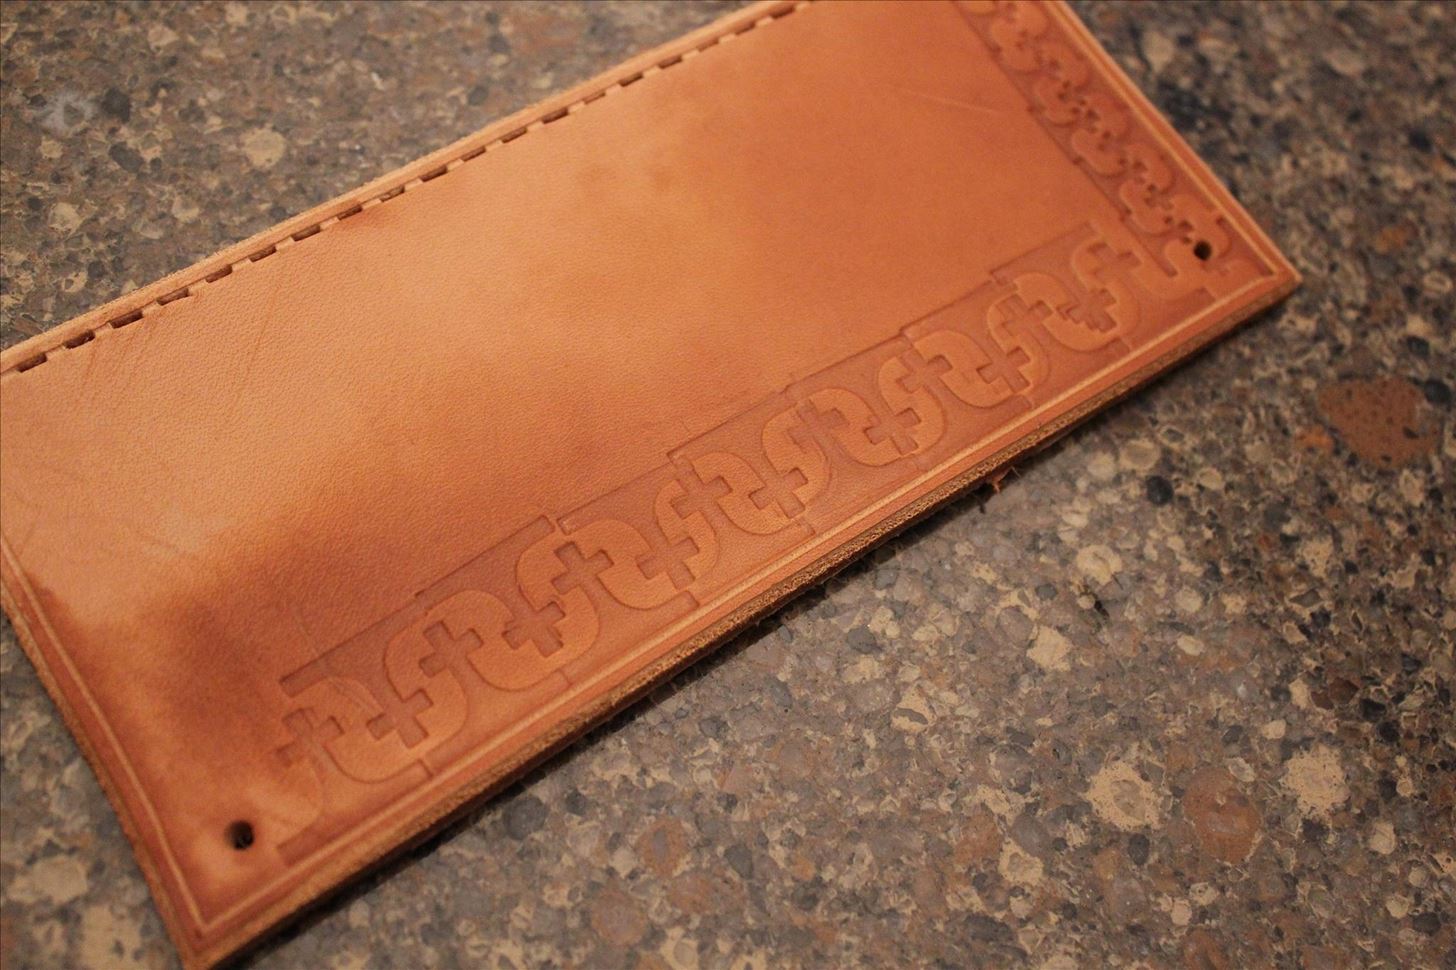
Then finally I did just a single row for the last side.

With the borders done, I decided to stamp something in the middle. I have a set of alphabet stamps, so I wrote 'TEST', as this is just a sample piece.
Now my piece of leather is all set! The designs are done, the holes are punched, and there's only one step left before moving on to dying it: burnishing.
However, you'll have to click here to read the next article for that!
Just updated your iPhone? You'll find new emoji, enhanced security, podcast transcripts, Apple Cash virtual numbers, and other useful features. There are even new additions hidden within Safari. Find out what's new and changed on your iPhone with the iOS 17.4 update.


2 Comments
Great article. I was most surprised to learn that the leather had to be moistened for certain aspects of the tooling. I always thought wetting leather was a big no-no, but now I know-know.
I read the article about a month ago, and just now scanned it. I was wondering if there was somewhere to get the tools. If you mentioned it in the post, I apologize for not seeing it.
Would just going online be the best bet?
Thank you very much for this, I've always wanted to be able to make my own leather parts for props (particularly a holster for my gun because most of the ones I see either aren't my style or are far out of my price range) but I've been putting off because the general idea of working with leather intimidated me. But this is a great basic introduction and I'll totally have to give this a shot sometime!pew pew
Share Your Thoughts